Administrator Quick Start Guide
Login to Apporto
If you have a Single Sign-on (SSO) integration, you may log in to your Apporto instance (e.g. mysite.www.apporto.com) with your SSO account. If not, your Apporto Customer Success Manager (CSM) will create a local account for you in Apporto. In this case, you should receive a Welcome Email sent from [email protected]. (Check your spam folder if you do not see the email in your inbox.)
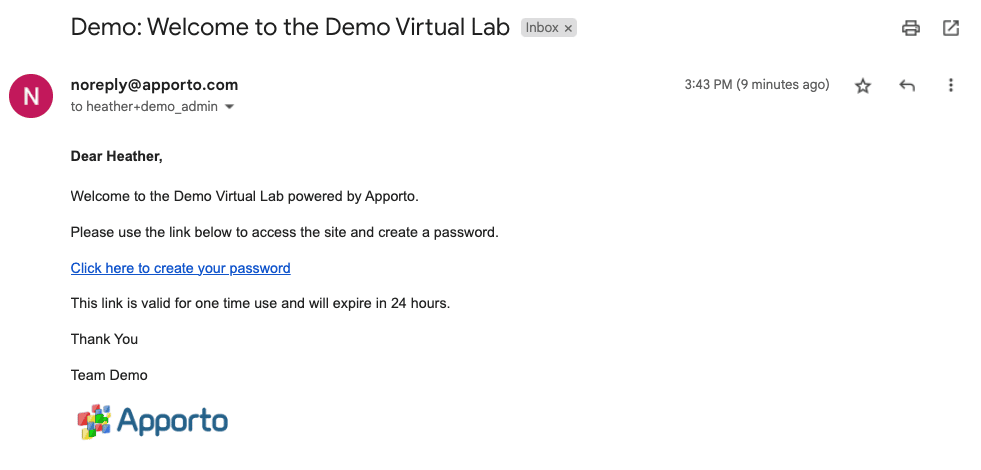
Click on the one-time login link to login and create a password.
My Desktops
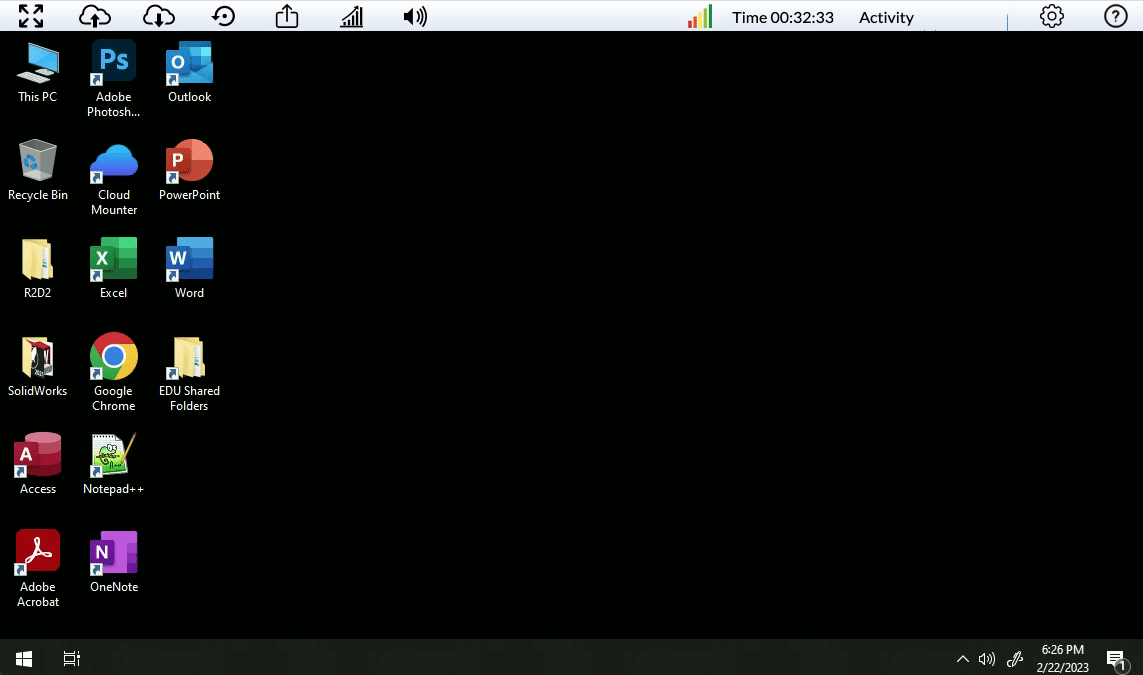
When you login to Apporto, you will land on My Desktops. From here, you can launch any desktops or applications published to you. This is the landing page your end users will see when they login.

Management Portal
Expand the left side menu to access screens that enable management of your Apporto instance. As an Administrator, you will have access to Users, Groups, Desktops, Servers, Calendar, Analytics, Logs, and Setup screens.

Add a Custom Logo
Click Setup from the left side menu.

Click ‘Upload Logo’ to upload a custom logo. Click ‘Save Changes’ when finished. Your logo will be displayed in the upper left corner of the Login and My Application pages.
Add Users
Expand the left side menu to see all available screens. Click Users to view a list of all users for your instance:

Click ‘Create New User’ to add a local user. (If you have an SSO integration, accounts will automatically be created when the user logs in. Alternatively, you may import a list of users from a CSV file).

Enter the email, first and last name, and password (for local accounts only, not SSO).
Select a role if needed. (User is the default selection).
Check the box to send a Welcome Email (for local accounts only, not SSO).
Scroll to the bottom to save changes.
Note: Users may optionally add an avatar.
Create Groups
Navigate to the Groups screen to see a list of existing groups of users for your instance.

By default, a group called “All Users” exists. It can be edited (for example to publish a desktop to all users), but cannot be deleted.
Click ‘Create New Group’ or ‘Add’ to create a group. Clicking ‘Add’ will create a child group under the selected row.

Enter a unique group name and description. Then, scroll down to save changes.
Note: Currently, we support a group hierarchy of up to 4 levels. All Users is the top level. Three additional child levels may be created under All Users.
Add Users to Groups
You may add users to Groups in bulk via User Import or by passing an SSO attribute. However, from time to time you may want to add an individual to a group. In this case, locate the desired group from the Groups list and click ‘Edit’. The ‘Edit Group’ screen displays and the first tab (‘Users in Group’) is open.

Click ‘Add User’ to add users to the group.

You can search for a specific user or check boxes from a list of existing users. When you’re finished, click ‘Add Users’. Make sure to hit ‘Save Changes’ as well.
Assign a Desktop to a Group
First, to see a list of desktops available for your instance, expand the left side menu and navigate to the ‘Desktops’ screen. (Most likely, you will see a Windows Desktop that has already been set up by your Customer Success Manager.)

Go back to the ‘Groups’ screen, locate the desired group, and click ‘Edit’. Click the ‘Assigned Desktops’ tab.

Click ‘Add Desktop’.

Search for the relevant desktop or select from the list of available desktops. Check the box and click ‘Add Desktops’. Be sure to save changes in the ‘Edit Group’ screen.
Define Group Permissions
If you wish to configure the desktop features (menu bar options) available to a group, click on the ‘Desktop Permissions’ tab in the ‘Edit Group’ screen. A list of available features displays and the default value is shown (either enabled or disabled by default).

Note: Please ignore the ‘Network Objects’ tab for now. This Zero Trust feature will be added in our next release. It will enable you to grant group access to particular IPs and subnets in your network.
Click ‘Edit’ to change a default setting. For example, you might want to disable Screen Sharing and Messenger during an exam. Click ‘Edit’ for the relevant permission and select ‘Disabled’ from the dropdown menu.

Click ‘Set Value’ when you’re finished.
When users in the group launch the desktop, only enabled features appear in the top menu bar.

Congratulations! Your users are now able to login, launch applications published to them, and access desktop features for which they have permissions.
View Session Logs
To see how many users are using your Apporto instance, navigate to ‘Logs’. The ‘Session Logs’ tab (1st tab) displays.

Click ‘Audit Logs’ tab (2nd tab) to see a list of all events in the portal.

Server Management
While Apporto provides full support for software installation, image creation, and deployment as a part of our service, some IT departments prefer to manage these processes. So, we provide tools that enable Apporto administrators to:
- View Servers
- Create an Image
- Deploy an Image
View Servers
To view a list of your servers, expand the left side menu and click ‘Servers’. The Servers list displays.
Servers are typically grouped by server pool / farm. Each pool includes a base image server and one or more production servers.
 .
.
The servers list provides the following information:
-
SERVER NAME: Unique server name
-
SERVER TYPE: Either a ‘Base Image’ or ‘Production’ server
- IMAGE DATE: Image creation date (‘No image available’ appears if an image has not yet been created)
-
SERVER STATE: The current operational state of the server (stopped, starting, or running)
Create an Image
Locate the relevant ‘Base Image’ server.

If an image has not yet been created, “No image available” is shown in the Image Date column. Once an image has been created, a date and time stamp will appear. (Only one image is stored – the last one created.)
Click ‘Start’ to start the base image server.
Wait about 30 seconds (AWS) to 2 minutes (Azure) for the server to start.
When the server state shows as running, click ‘Connect’ to launch the server. The desktop will open in a new browser tab.
As an Apporto Administrator you will have Windows administrative permissions. You may install software and configure the desktop as needed.
When finished, navigate back to the ‘Servers’ screen.
Locate the relevant ‘Base Image’ server and click ‘Manage Image’. Select ‘Create Image’ from the dropdown menu.

Image creation typically takes about 30 minutes (AWS) or up to 2 hours (Azure) depending on the image size.
A notification will display in the Notification center ![]() when the process completes. Also, the date and time stamp will update in the ‘Image Date’ column.
when the process completes. Also, the date and time stamp will update in the ‘Image Date’ column.
Note: You may not start or connect to the base image server during this time.
Deploy an Image
After creating an image, you may deploy (replicate) it to production servers in the server pool.
Locate the relevant ‘Base Image’ server and click ‘Manage Image’. Select ‘Deploy Image’ from the dropdown menu.

Deployment typically takes 30 minutes to 1 hour, depending on the size of the farm. When the process finishes, a notification will display in the Notification Center ![]() .
.
Note: Scheduling of deployment is not yet available in the beta but is on our roadmap.
To test that your deployment has been successful, locate the relevant ‘Production’ server(s) and click ‘Start’. When the server state changes to Running, click ‘Connect’. The desktop will launch in a new browser tab.
Check to make sure you see the software you installed and that the environment configuration is as expected.
View Audit Logs
To review changes to your Apporto instance, navigate to ‘Logs’. Click the ‘Audit Logs’ tab (2nd tab) to see a list of log records.

For example, you can see when an image creation process began and ended.