Configuring Help and Support Links
By default, the HELP menus in the App Store and desktop point to the Apporto User Guide and Support pages on www.apporto.com. If you want to point users to your own documentation and support systems, you may configure this via the Help Menu Setup page.
Help Menu
Using your preferred web browser, navigate to the URL for your Apporto system, for example, “mycollege.www.apporto.com”, and log in to the system using your Admin credentials.
Click the Setup ![]() icon at the bottom of the Navigation panel.
icon at the bottom of the Navigation panel.
The ‘Setup’ submenu displays.
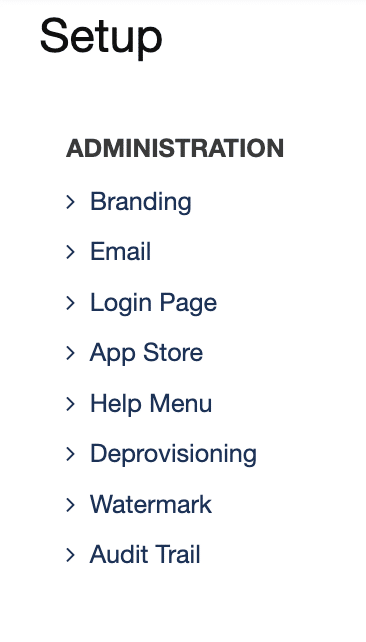
Click Help Menu
The ‘Help Menu Setup’ page displays.

A list of resources available in the App Store and desktop HELP menus displays.
Two types of resources are supported: “website” and “help desk”.
- Website resources are defined by a Name and URL. This is useful for things like User Guides, Feedback Forms, FAQs, etc. You may create up to five Website resources.
- Help Desk resources are defined by a Name, URL, and email. This is intended specifically for help desk / support systems. You may create only one Help Desk resource.
Add a Website Resource
Click New to add a new menu option.
The ‘Add Resource’ screen displays.

Select ‘Website’ from the Resource Type dropdown menu. 
Enter a Name in the text box. Make the name descriptive of the site content, such as “User Guide” or “FAQ”. This name will appear in the HELP menu.
Enter a valid URL.
Click Add
The screen refreshes to display the resource, and a success message shows at the top of the screen.
Click Save to save changes.
The new menu option will appear in the HELP menu in the upper right corner of the App Store.

It will also appear in the desktop help menu.

You may add up to five website resources that will appear in the help menu.
Add a Help Desk Resource
Click New to add a new menu option.
The ‘Add Resource’ screen displays.
Select ‘Help Desk’ from the Resource Type dropdown menu.
Enter a Name in the text box. Make the name descriptive of the site content, such as “Help Desk” or “Support Request”. This name will appear in the HELP menu.
Enter a valid URL.
Enter a valid email.
Click Add
The screen refreshes to display the resource, and a success message shows at the top of the screen.
Only one resource of type Help Desk is allowed. An error message will display if you attempt to add more than one.
Click Save to save changes.
The new menu option will appear in the HELP menus in both the App Store and desktop.
The email will appear in the desktop error message and the Enable Logging confirmation.


Edit Resource
On the Help Menu screen, click the ACTIONS ![]() dropdown for the desired resource and choose Edit.
dropdown for the desired resource and choose Edit.
The ‘Edit Resource’ screen displays.
Edit the Name, URL, or email (if applicable) as desired.
Click Submit
Click Save
Delete Item
On the Help Menu screen, click the ACTIONS ![]() dropdown for the desired MENU item, then choose Delete.
dropdown for the desired MENU item, then choose Delete.
The ‘Delete Resource’ screen displays.

Click Confirm to delete the menu item.
The screen refreshes and the selected menu item is removed from the list.