Can AI Grade Essays?
AI can help grade essays by analyzing writing quality, structure, grammar, and rubric alignment to generate consistent feedback. Teachers still review the results and make final grading decisions. AI grading tools like PowerGrader support faster feedback, improved consistency, and streamlined assessment without replacing human judgment.
Somewhere between the third essay of the night and the fifteenth comment that starts to sound the same, the question sneaks in. Quietly. Can AI grade essays?
Grading essays has always been part craft, part endurance test. It takes hours. It spills into weekends. And over time, grading fatigue sets in, even for the most committed teachers. When feedback is rushed, student writing suffers. When grading drags on, learning stalls. Everyone feels it.
At the same time, new AI tools promise to save time, speed up grading essays, and deliver timely feedback without sacrificing standards. That sounds appealing. Also unsettling.
So what’s real, and what’s hype? This article walks through how AI actually grades essays, where it genuinely helps teachers, where it clearly falls short, and why human judgment still matters. Most importantly, it shows how teachers can stay firmly in control while using AI responsibly.
What Does It Actually Mean When People Say “AI Can Grade Essays”?
When people say AI can grade essays, they’re usually picturing one of two extremes. Either a robot replacing teachers entirely, or a magic button that spits out perfect grades in seconds. Neither is accurate.
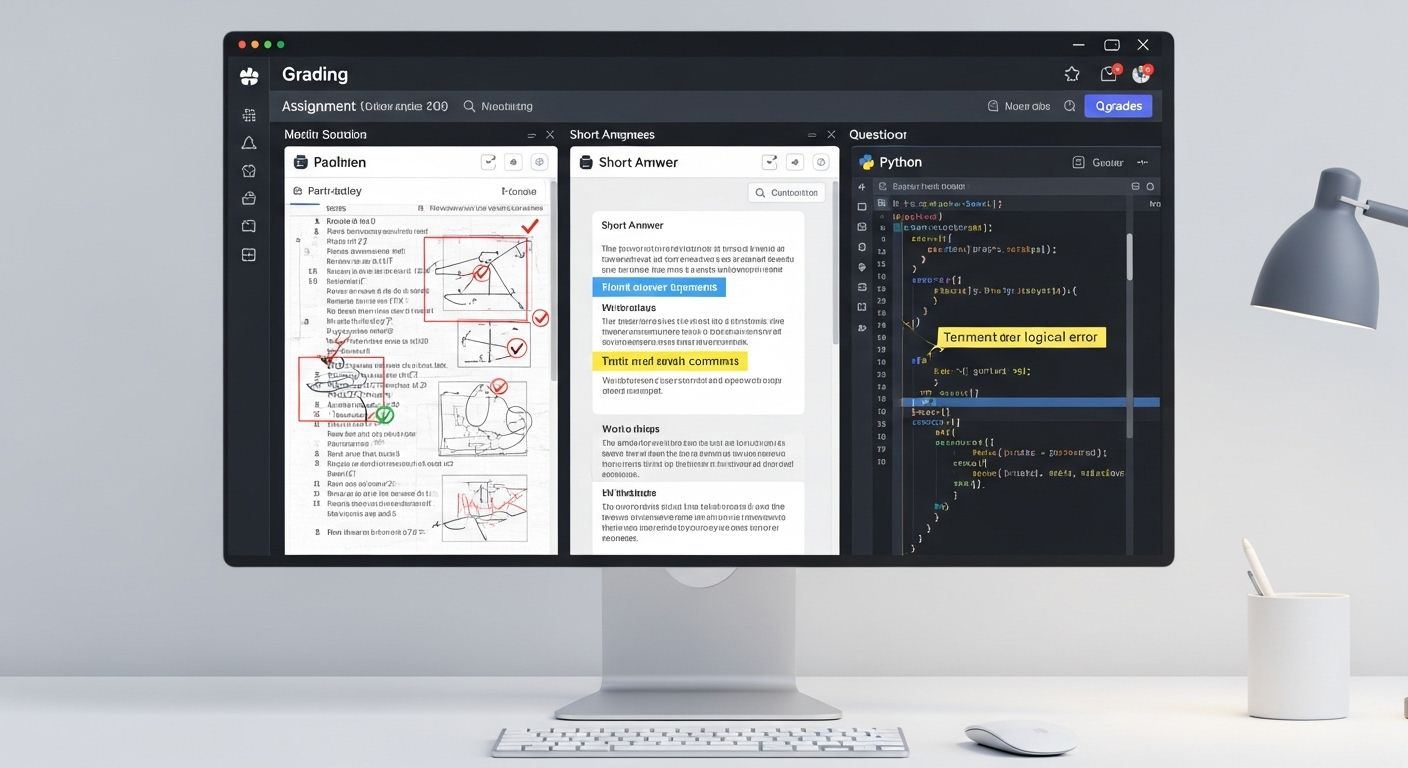
In practice, AI essay grading is best understood as assisted grading, not automated replacement. An AI essay grader reads student essays using artificial intelligence, analyzes them against defined criteria, and generates structured feedback.
That feedback might highlight strengths, point out gaps, or flag areas that need revision. But it does not replace human grading.
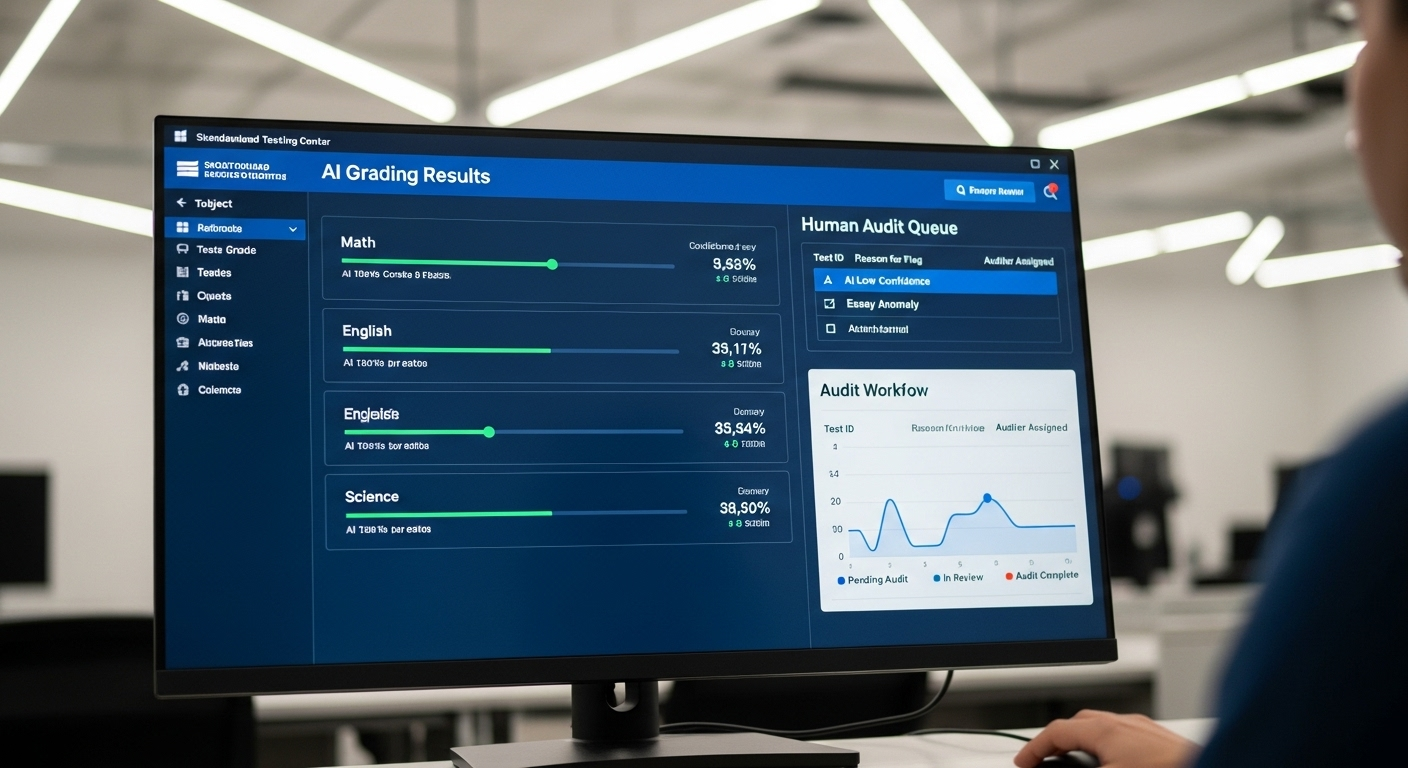
Most educators using AI today treat it as a first pass assistant in the grading process. The AI reviews student writing, applies the grading rubric consistently, and surfaces patterns across submissions. The teacher then reviews that feedback, adjusts it as needed, and makes the final call. The final grade always remains a human decision.
Generative AI plays a role here, especially in explaining why certain elements met or missed expectations. But AI use doesn’t remove teacher authority. It shifts where time is spent. Less time correcting the same grammar issue twenty times. More time thinking about ideas, growth, and next steps.
AI can support grading essays. Teachers still own the outcome.
How AI Grades Essays Behind the Scenes (Without Guessing)

Despite the mystery surrounding it, AI grading is not guesswork. It follows a structured process grounded in data, rules, and comparison.
At the core is natural language processing, or NLP. This allows AI models to break down written work and examine how language is used. Sentence structure. Syntax. Clarity. Coherence.
From there, AI systems evaluate how ideas connect, whether arguments are logically developed, and how closely the essay aligns with the grading rubric.
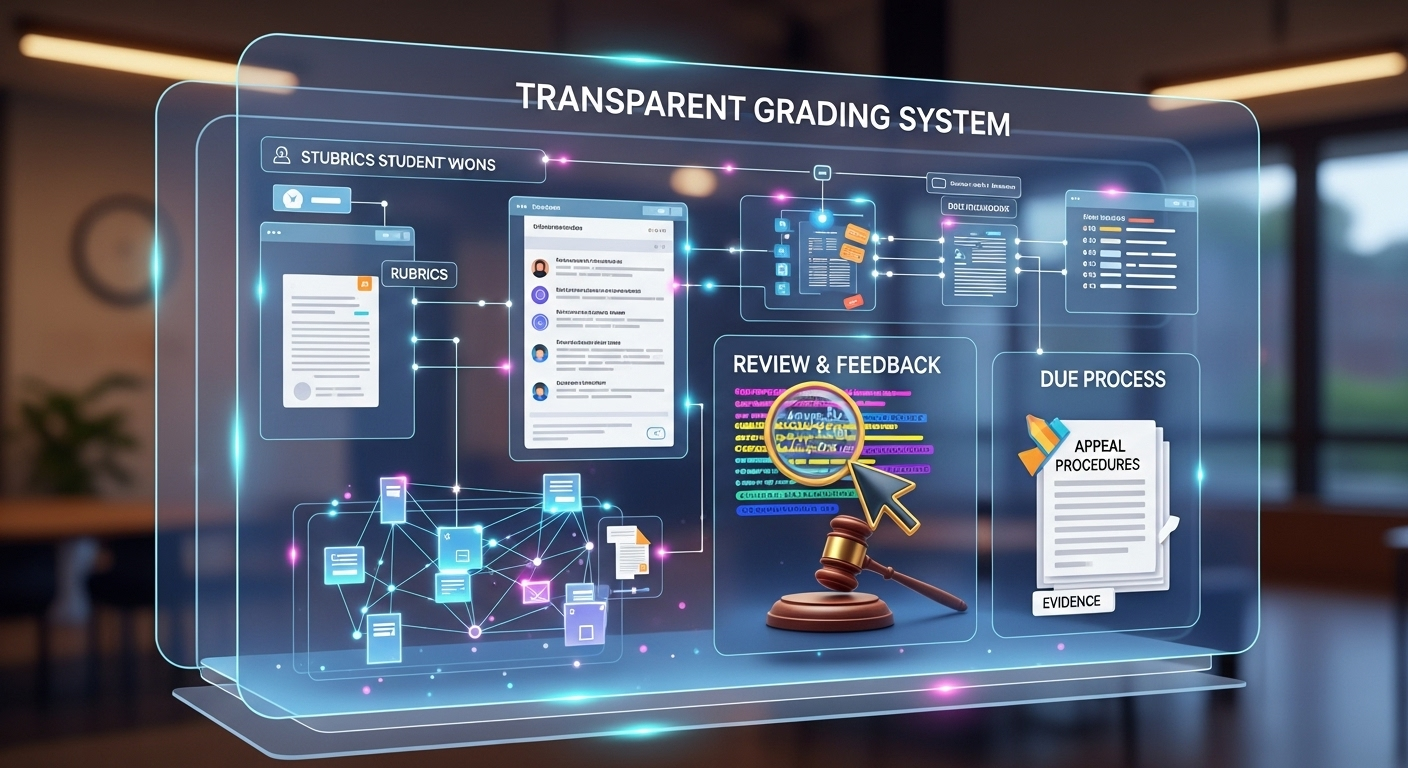
Rubrics are critical. AI does not invent standards on its own. It scores essays based on the grading criteria teachers define. That’s how consistent grading is maintained across an entire class, even when submissions vary widely in style or length.
To make this more concrete, AI grading typically involves:
- NLP for written work analysis, examining grammar, organization, and clarity
- AI models comparing student submissions to identify patterns and common strengths or weaknesses
- Rubric-based scoring to ensure grading standards are applied evenly
- Pattern detection across essays, which helps surface trends teachers might otherwise miss
Because every essay is evaluated using the same criteria, consistency improves. Fatigue plays less of a role. And teachers gain a clearer, more structured view of student performance before stepping in with their own judgment.
AI doesn’t replace insight. It organizes it.
Can AI Grade Essays Fairly and Consistently Across All Students?
In some ways, AI improves fairness. In others, it needs careful supervision.
AI reduces inconsistency caused by fatigue. Every essay is evaluated using the same grading standards, regardless of when it’s submitted or how many papers came before it. That alone helps ensure consistent grading across an entire class.
But fairness also depends on training data. If an AI system was trained on narrow writing samples, it may struggle with diverse voices or unconventional structures. Bias doesn’t disappear just because the grader is digital. It shifts shape.
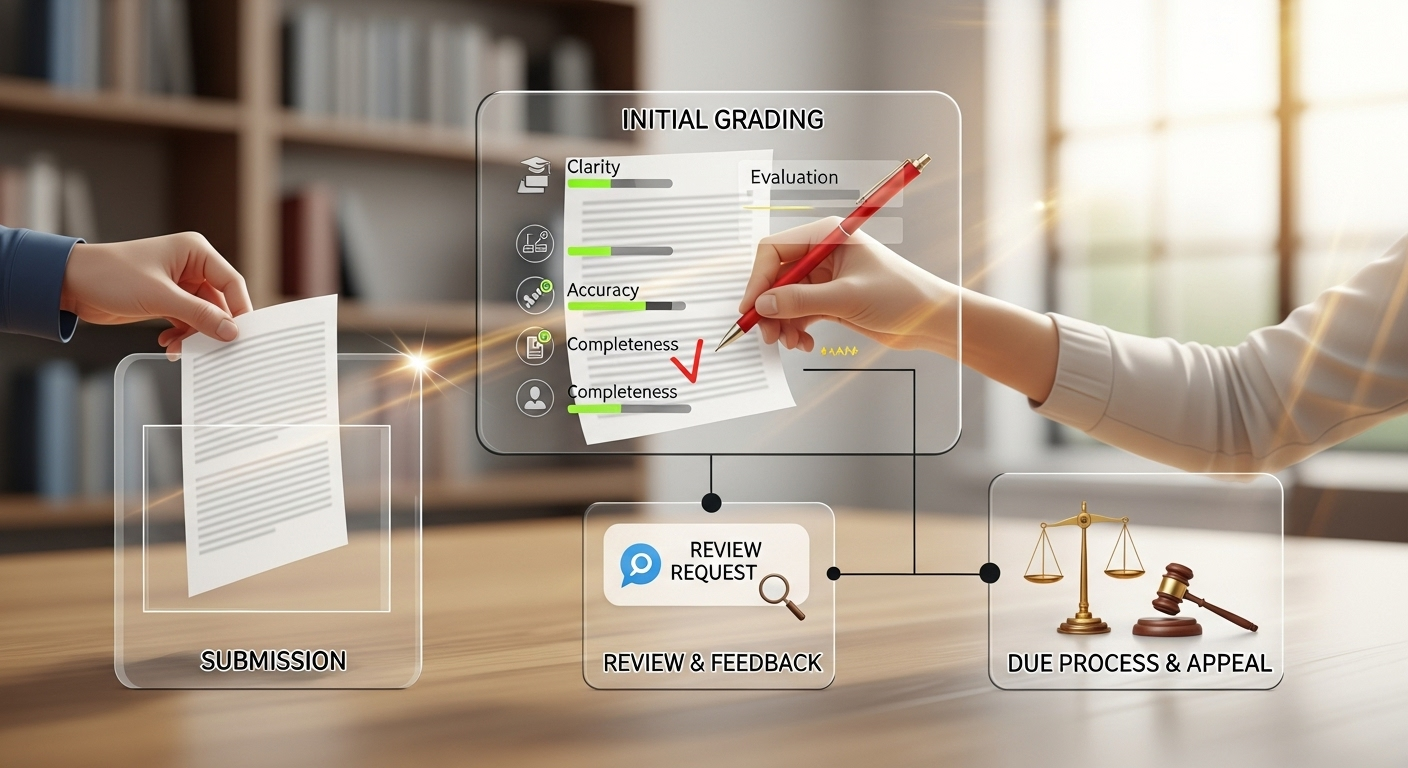
This is where human review matters. Teachers who double-check AI feedback, especially on edge cases, prevent unfair outcomes. Clear rubrics also help. The more explicit the criteria, the less room there is for subjective drift, human or machine.
Used thoughtfully, AI can support fairness. Used blindly, it can amplify problems. The difference lies in oversight, transparency, and clear grading standards that apply equally to all students.
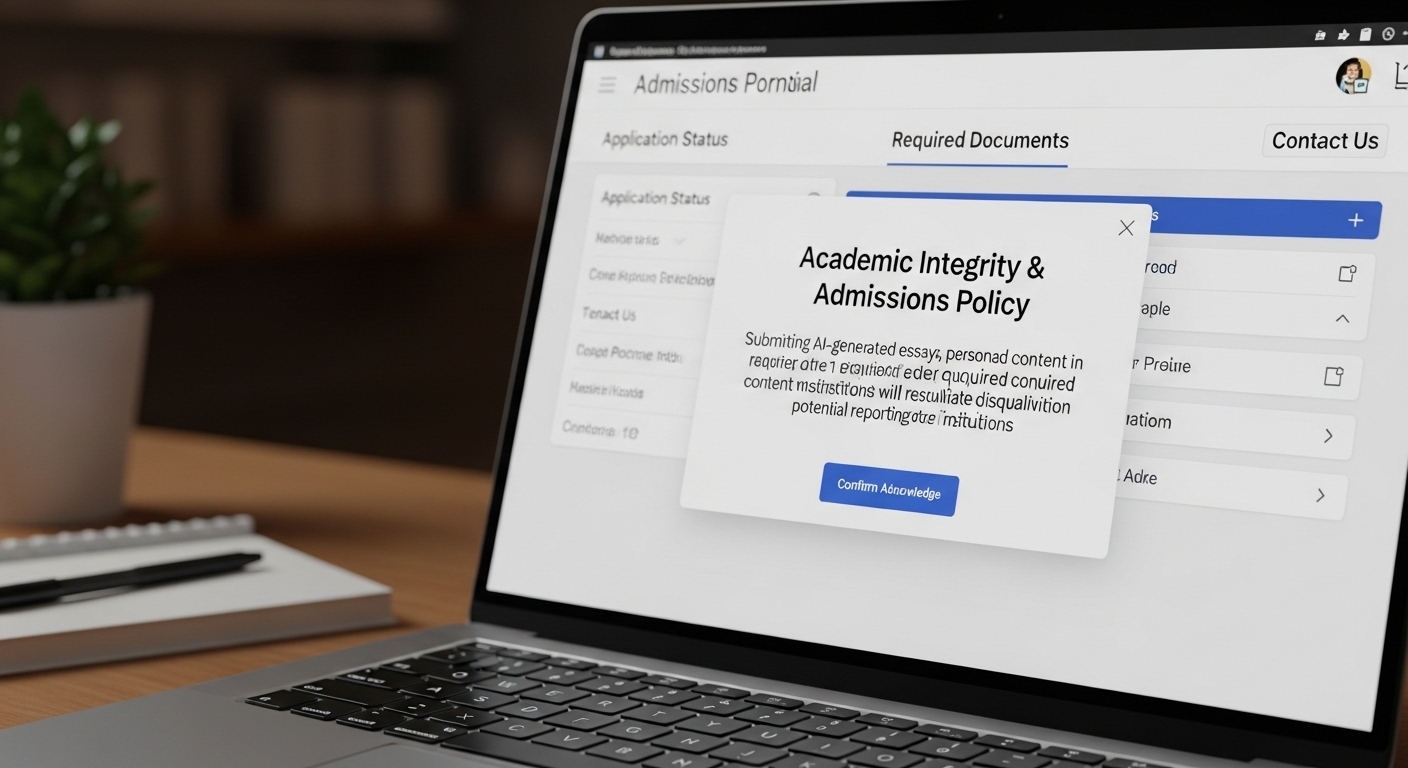
What About Academic Integrity, AI Detection, and Plagiarism?
This is where confusion often creeps in.
Using AI to grade essays is not the same thing as students using AI to write them. One supports assessment. The other can cross into misconduct, depending on policy and context.
Modern AI grading tools often include AI detection features that flag potential issues. These tools look for patterns suggesting plagiarism or AI-generated content. But they don’t make accusations. They raise questions.
That distinction matters. AI should flag, not punish. A flagged essay invites review, conversation, and judgment by a teacher who understands the student’s work. Auto-penalties undermine trust and invite errors.
Transparency also matters. When students know AI supports grading, they’re more likely to engage honestly. Clear expectations reduce confusion and anxiety. Academic integrity is strengthened when boundaries are explicit, not hidden.
AI feedback should support fairness, not replace due process.
How Teachers Are Actually Using AI to Grade Essays Today
The reality is far less dramatic than headlines suggest.
Most teachers using AI aren’t handing over final grades. They’re using AI as a first pass. Draft feedback. Pattern spotting. A way to move faster without lowering standards.
High school English teachers often use AI for formative feedback on drafts, where speed matters more than precision. In higher education, AI shows up in writing-heavy courses and large lecture sections where grading papers would otherwise consume weeks.
In both cases, teachers describe AI as an incredibly helpful tool, not a decision-maker. It surfaces issues early. It highlights trends. It frees time for real teaching moments.
AI doesn’t replace conversations. It creates room for them.
How AI Essay Grading Improves Feedback (Not Just Speed)
Speed is the obvious win. But feedback quality often improves too.
When grading time drops, teachers can give more feedback, not less. AI-generated comments offer a starting point, which instructors refine, personalize, or expand. Students receive clearer explanations of what worked and what didn’t.
That changes the feedback loop. Faster responses lead to quicker revisions. Students write more. They experiment. They improve.
What students gain:
- Immediate insights into strengths and weaknesses
- Actionable next steps instead of vague comments
- Stronger writing practice through faster revision cycles
AI doesn’t replace positive feedback or encouragement. It makes room for more of it.
Student Data, Privacy, and Clear Boundaries Teachers Must Set
Any AI system handling written assignments touches student data. That deserves care.
Responsible tools comply with FERPA and GDPR, anonymize submissions where possible, and minimize personal data collection. Teachers should know where data is stored, how it’s used, and who has access.
Clear boundaries matter too. Students should understand how AI is used in grading and where it is not. Transparency builds trust. Silence breeds suspicion.
AI systems should support teaching, not quietly reshape it.
How PowerGrader Helps Teachers Grade Essays With AI — Without Losing Control
PowerGrader was built around a simple principle: teachers stay in charge.
Instructors control the rubric. They decide what matters. PowerGrader applies those criteria consistently across student essays, surfaces patterns, and generates structured feedback that teachers can edit or override entirely.
The system supports Google Classroom integration and higher education platforms, making it easy to slot into existing workflows. Essays stay connected to course goals, not abstract scoring models.
What PowerGrader enables:
- Instructor-controlled AI grading
- Uploading and tweaking your own rubric
- Pattern detection across student essays
- Full human-in-the-loop review before final grades
It saves time without taking authority. That balance is the point.
Conclusion
AI essay grading isn’t about replacing teachers. It’s about protecting them from burnout.
When grading pressure drops, feedback improves. When feedback improves, students write more. When students write more, learning deepens. AI technology can support that cycle, but only when control, transparency, and trust remain intact.
Frequently Asked Questions (FAQs)
1. Do teachers use AI to grade essays?
Yes, many teachers use AI tools to assist with essay grading, especially for formative feedback and large writing assignments. AI helps review grammar, structure, and rubric alignment more consistently, while teachers remain responsible for evaluating critical thinking, creativity, and assigning final grades.
2. How can I use AI to grade essays?
You can use AI to grade essays by uploading student writing into an AI grading platform that evaluates submissions against a rubric. These tools generate structured feedback, highlight writing patterns, and identify areas for improvement while allowing teachers to review, edit, and finalize grades.
3. Can teachers tell if an essay was written by AI?
Teachers can sometimes identify AI-written essays by noticing unusual writing patterns, inconsistent tone, generic arguments, or sudden changes in student writing quality. Many schools also use AI detection tools, although these systems are not fully reliable and still require human review and context.
4. Is it ethical to use AI to grade essays?
Yes, when AI supports grading rather than replacing judgment, and when students are informed about how AI is used in the assessment process.
5. Can AI replace human graders entirely?
No. AI lacks the contextual understanding and ethical judgment required for final grading decisions, especially for subjective or high-stakes writing.
6. Does AI grading work for high school English classes?
Yes, especially for formative feedback and drafts, where timely feedback and consistency help students improve writing skills more quickly.
7. How do teachers prevent bias when using AI grading tools?
By using clear rubrics, reviewing AI feedback, auditing outcomes, and maintaining human oversight for final grading decisions.
8. Can ChatGPT grade essays?
ChatGPT can help evaluate essays by reviewing grammar, organization, clarity, and argument structure based on provided instructions or rubrics. However, it should support the grading process rather than replace teachers, since human judgment is still necessary for fairness, context, and nuanced evaluation.
9. What must teachers avoid when using AI tools?
Teachers should avoid relying entirely on AI-generated grades or feedback without human review. They should also avoid unclear grading criteria, automatic penalties based on AI detection, and tools that lack transparency, privacy protections, or consistent oversight in the assessment process.
10. Should students be told when AI helps grade their work?
Yes. Transparency builds trust and helps students understand expectations, boundaries, and how feedback is generated.