How to Configure Azure Virtual Desktop?
Configuring Azure Virtual Desktop involves setting up Azure resources, creating host pools, deploying session host virtual machines, configuring application groups, and assigning user access through Microsoft Entra ID. Azure Virtual Desktop provides scalable remote desktop delivery, while browser-based platforms like Apporto simplify deployment by reducing infrastructure and management complexity.
Azure Virtual Desktop (AVD) is Microsoft’s cloud-based solution that lets users securely access desktops and applications from anywhere, using any device.
Instead of relying on physical machines, you deliver a virtual desktop experience through the Azure cloud—flexible, scalable, and centrally managed.
As hybrid and remote work continue to reshape how organizations operate, Virtual desktop infrastructure (VDI) has become a critical tool for IT teams looking to maintain security, reduce hardware costs, and support distributed users.
It removes the complexity of managing local machines while keeping users productive with familiar Windows environments.
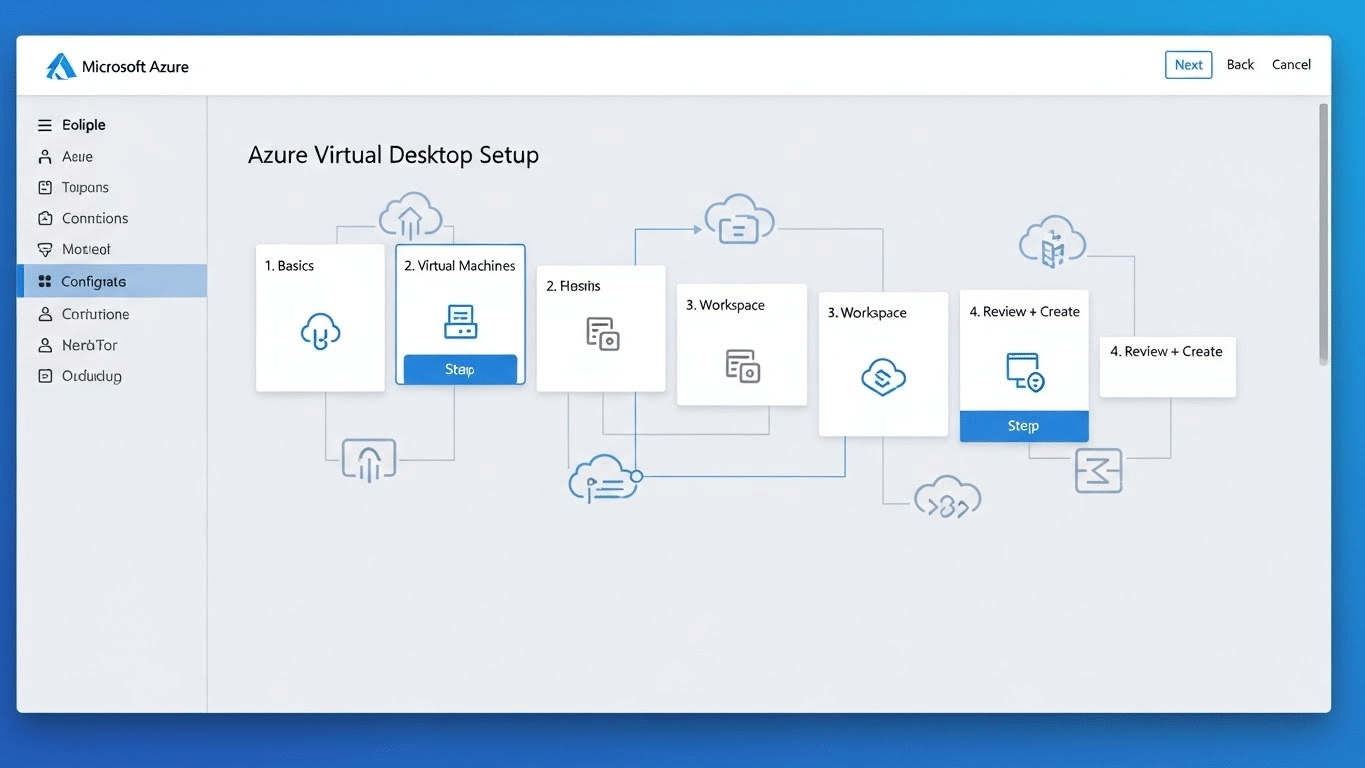
In this guide, you’ll walk through a practical, step-by-step approach to configuring Azure Virtual Desktop—from setup prerequisites to user access. No fluff—just what you need to get it working.
What Do You Need Before You Configure Azure Virtual Desktop?
Before diving into the setup, it’s important to ensure a few foundational pieces are in place. Azure Virtual Desktop depends on having the right infrastructure, permissions, and access controls ready to go. Here’s a quick checklist of what you’ll need:
- An active Azure subscription – This is where your virtual machines and services will live.
- Microsoft Entra ID (formerly Azure Active Directory) – You’ll use this to manage user identities and access.
- A user account with appropriate Role-Based Access Control (RBAC) – This should have permissions to create and manage resources.
- A virtual network (VNet) – Ensure it’s configured with a Network Security Group (NSG) to manage traffic and protect your environment.
- Basic knowledge of directory services and operating systems – Familiarity with Active Directory, Windows 10/11, or multi-session Windows Server is helpful.
Depending on your licensing model, you may also need Microsoft 365 or Windows Enterprise licenses to use certain AVD features.
With these essentials in place, you’re ready to move on to configuring your host pool.
How Do You Create a Host Pool in Azure?
A host pool in Azure Virtual Desktop is a collection of session hosts—virtual machines that deliver desktops and applications to users. Think of it as the engine that powers the virtual desktop experience. All users assigned to the pool share access to these session hosts, which can be scaled based on usage.
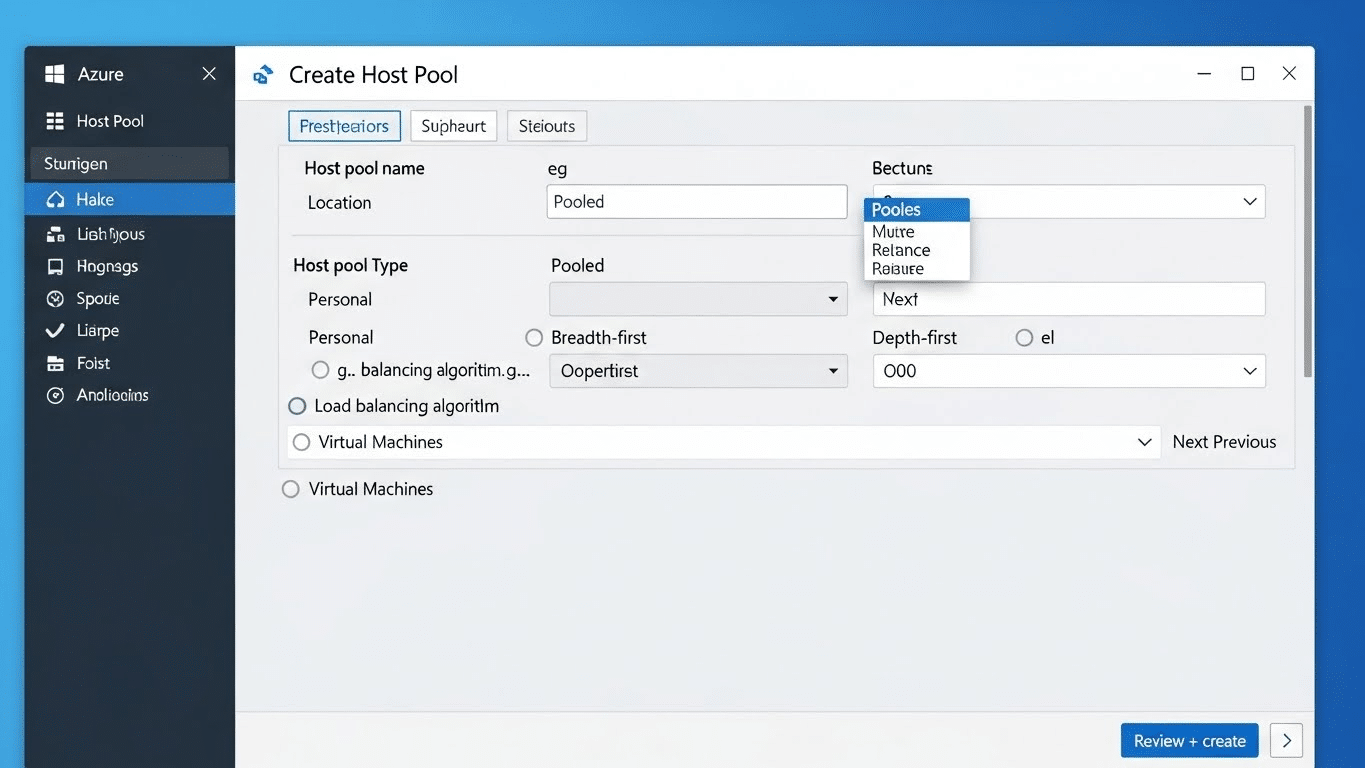
To create a host pool in the Azure portal, start by searching for “Azure Virtual Desktop”, then select “Host pools” and click “+ Create”.
You’ll need to:
- Enter a name and optional name prefix to identify your pool
- Select the Azure region where your resources will be hosted
- Define the number of virtual machines you want to deploy
- Choose the disk type (e.g., Premium SSD for better performance)
- Set the session limit (how many users per session host)
- Choose an operating system, like Windows 10 multi-session, for shared environments
This forms the foundation of your AVD setup—where scalability and user access begin.
How Do You Configure the Virtual Machines for Your Desktop Users?
Once your host pool is created, the next step is configuring the virtual machines (VMs) that users will connect to. Start by selecting the appropriate VM size and image based on the performance needs of your users. Lightweight tasks may require fewer resources, while power users might need higher specs.
During setup, you’ll need to choose the domain to join—either Microsoft Entra ID or a hybrid setup if you’re connecting to an on-premises Active Directory. Then, create a local administrator account by setting a username and password that will allow initial configuration.
Under network settings, make sure your VMs are attached to the correct virtual network and subnet. Review public inbound ports—typically, these should be disabled for better security unless required for your use case.
Finally, choose your storage option—Premium SSD is recommended for better speed and reliability. With these configurations in place, your environment is now ready to support real users.
What’s the Role of Application Groups in Azure Virtual Desktop?
Application Groups define what users can access within Azure Virtual Desktop. These groups control whether a user receives a full desktop experience or specific RemoteApps—individual applications published through AVD.
There are two types:
- Desktop Application Group – Grants users access to a full virtual desktop
- RemoteApp Group – Delivers specific apps without the full desktop interface
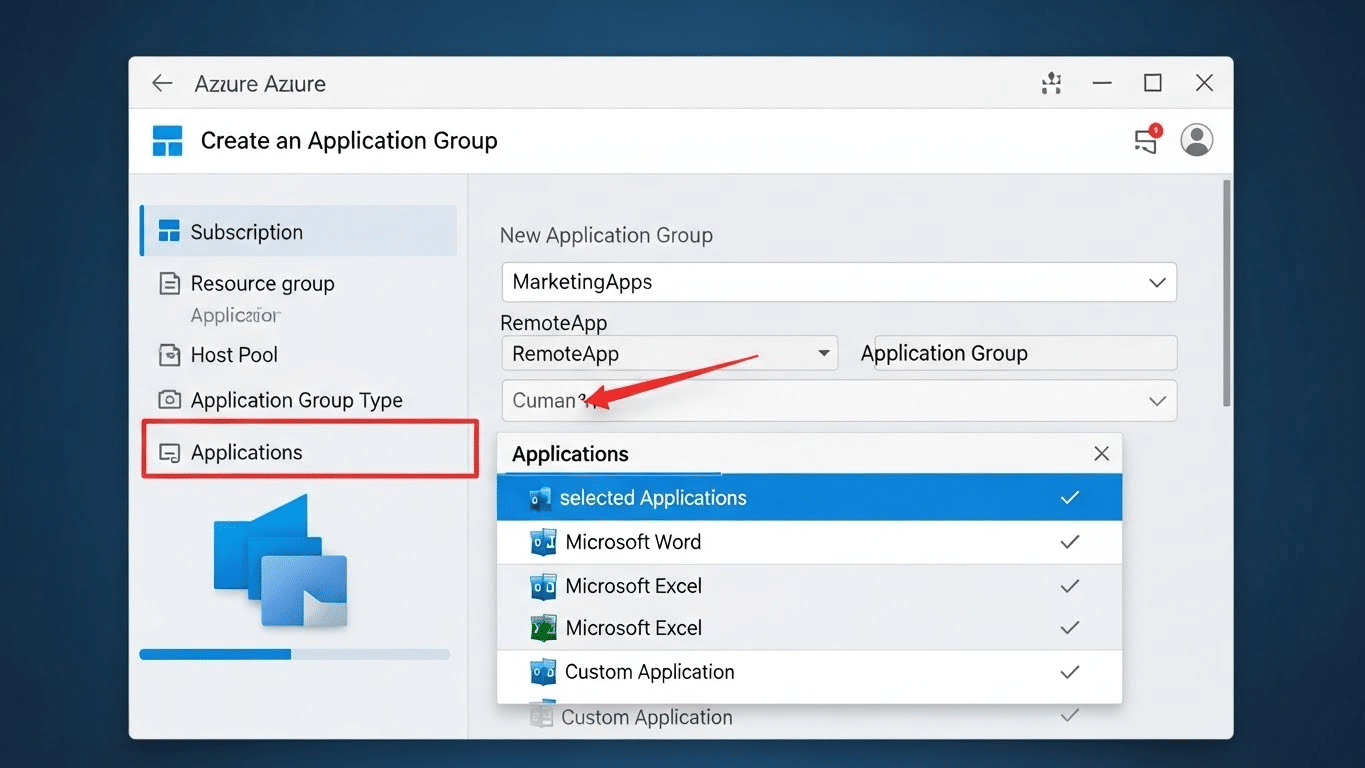
When setting up an application group, you choose the desktops and applications you want to deploy, then assign users from Microsoft Entra ID. It’s essential to match the group to the right host pool and ensure user permissions are correctly configured.
The group select process is tied to Role-Based Access Control (RBAC), which allows you to manage who can access what. With proper planning, application groups help ensure that users get exactly what they need—nothing more, nothing less—while keeping administration streamlined.
How Do You Create and Register a Workspace in Azure Virtual Desktop?
A Workspace in Azure Virtual Desktop acts as the user-facing portal for accessing assigned desktops and applications. It’s the layer that ties together application groups and user access, giving your team a clean, centralized place to connect.
To create a Workspace, go to the Azure Portal, search for and select “Azure Virtual Desktop,” then choose Workspaces and click “+ Create.” Enter a name, select the resource group, and link it to the relevant application group from your earlier setup.
After filling in the details, click Review + Create, then deploy the workspace.
Once the workspace is registered, users can connect to their remote desktops and applications through the Remote Desktop client or web portal. The workspace acts as the gateway—giving users what they need, without exposing the infrastructure behind it.
How Do You Connect to Azure Virtual Desktop as a User?
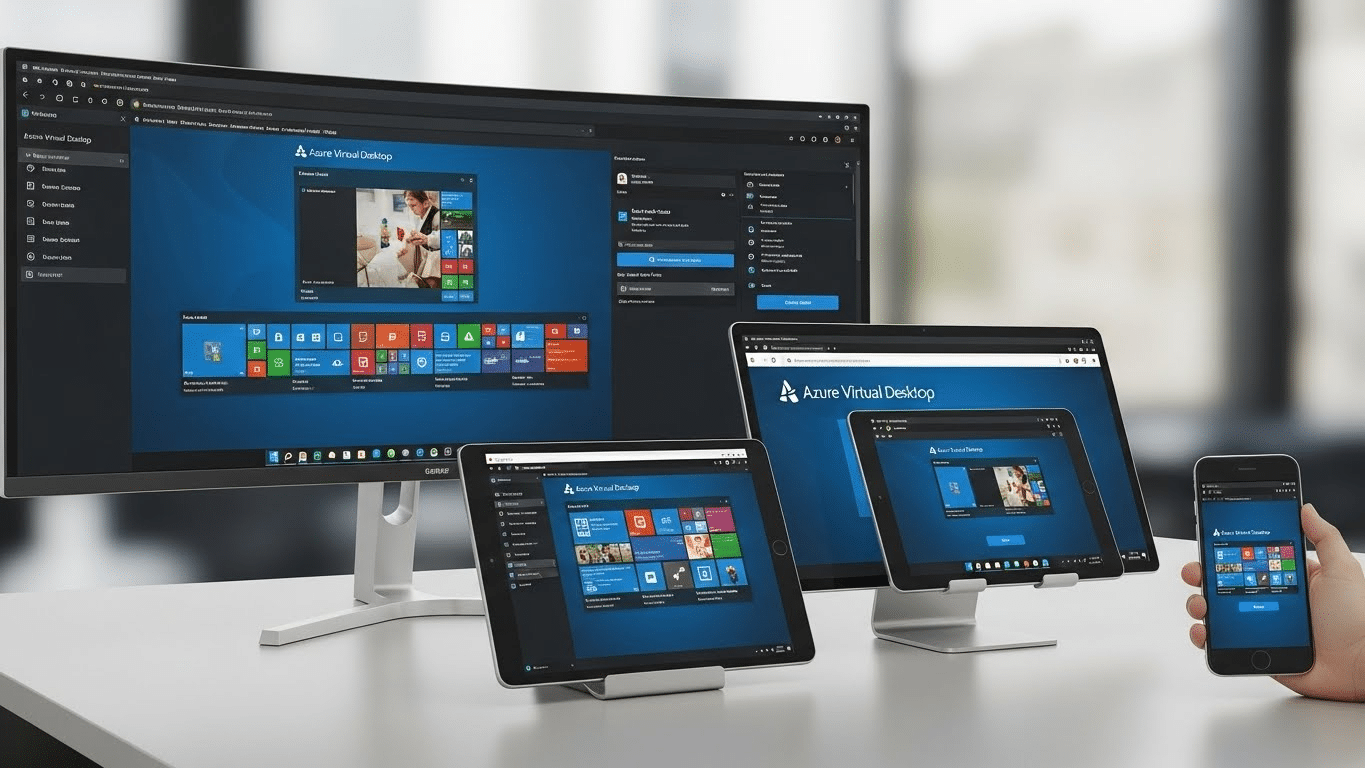
Connecting to Azure Virtual Desktop is straightforward. First, download and install the Remote Desktop client from Microsoft’s official site. It’s available for Windows, macOS, iOS, and Android.
Once installed, users sign in using their Microsoft Entra ID—this grants access to any assigned workspaces, desktops, or RemoteApps.
There are two ways to connect:
- Through the Remote Desktop app, which provides full functionality
- Or directly through a web browser, offering a lightweight, no-install option
Single sign-on support simplifies access, especially in managed environments. Once connected, session settings (like resolution or multi-monitor support) are applied automatically based on the user’s device.
How Can You Manage and Monitor Azure Virtual Desktop After Setup?
Once your Azure Virtual Desktop environment is live, ongoing management and monitoring become essential. The Azure Portal provides built-in tools to track performance, usage, and session activity.
You can:
- Monitor session hosts for health and uptime
- View session limits, user activity, and connection status
- Adjust scaling policies to align with peak usage periods
Azure’s insights dashboard offers real-time analytics to help you troubleshoot bottlenecks or underutilized resources. If something’s off—slow login times, disconnected sessions—you’ll see it.
Managing updates and configurations becomes easier through centralized controls. You’re also able to enforce policies, collect user feedback, and integrate with external tools for extended insights.
This is where Azure really shines: a consistent, cloud-native environment that gives IT teams the control they need—without endless maintenance overhead.
Why Apporto Is a Simplified Alternative to Azure Virtual Desktop
If Azure Virtual Desktop feels complex to configure—or more than your team needs—Apporto offers a streamlined alternative. It’s a fully browser-based virtual desktop solution that eliminates the need to manage infrastructure like host pools, session hosts, or networking layers. For another comparison, see how Citrix stacks up against other virtual desktop solutions.
With zero client installs, built-in LMS integration, and real-time collaboration tools, Apporto is built for speed, scalability, and simplicity. Whether you’re delivering labs for higher education or managing remote desktops for business users, Apporto delivers secure, consistent performance—with less setup and ongoing maintenance.
For organizations that want the benefits of virtual desktops without the heavy lift, Apporto offers a smarter path forward. Try Apporto today
Final Thoughts
Azure Virtual Desktop offers impressive flexibility, control, and enterprise-grade scalability, making it a strong option for teams managing complex environments or large user bases. To better understand how Azure Virtual Desktop compares with other solutions, such as cloud desktops vs. VDI, it’s helpful to look at the benefits, costs, and key differences between the two approaches. It supports a wide range of configurations, integrates with Microsoft services, and enables secure access to desktops and apps from anywhere.
But with great flexibility comes greater complexity. Before committing to a full deployment, consider running a test configuration to better understand how it fits into your infrastructure, user needs, and support capacity.
If you need tight integration with Microsoft’s ecosystem and have the IT resources to manage it, Azure Virtual Desktop is a powerful solution. For others, simpler alternatives may offer better ROI and less operational overhead. The secret is alignment.
Frequently Asked Questions (FAQs)
1. How to setup Azure Virtual Desktop step by step?
Setting up Azure Virtual Desktop involves creating Azure resources, deploying virtual machines, configuring networking and security settings, creating host pools, assigning application groups, and connecting users through Microsoft Entra ID. Ongoing monitoring and scaling are managed through the Azure Portal and centralized administrative controls.
2. How do I assign users to Azure Virtual Desktop?
Users are assigned to Azure Virtual Desktop through application groups linked to specific host pools. Administrators use Microsoft Entra ID and Role-Based Access Control (RBAC) to grant users access to published desktops, RemoteApps, and workspace resources securely and centrally.
3. What is a host pool in Azure Virtual Desktop?
A host pool is a collection of virtual machines that users connect to. These machines, called session hosts, deliver the desktops and apps assigned to users through application groups.
4. Can I use Azure AD instead of traditional Active Directory?
Yes, Azure Virtual Desktop now supports Microsoft Entra ID (formerly Azure AD) for cloud-only environments. Hybrid options are still available if you need to join on-premises domains.
5. Do I need to create a workspace for each user?
No. A single workspace can serve multiple users by linking it to one or more application groups. Users only see the desktops and apps assigned to them.
6. What’s the difference between application group and workspace?
An application group defines what users can access—full desktops or specific apps. A workspace is the portal where those apps and desktops are delivered and accessed by users.
