What Are the Best TestOut Labs Alternatives?
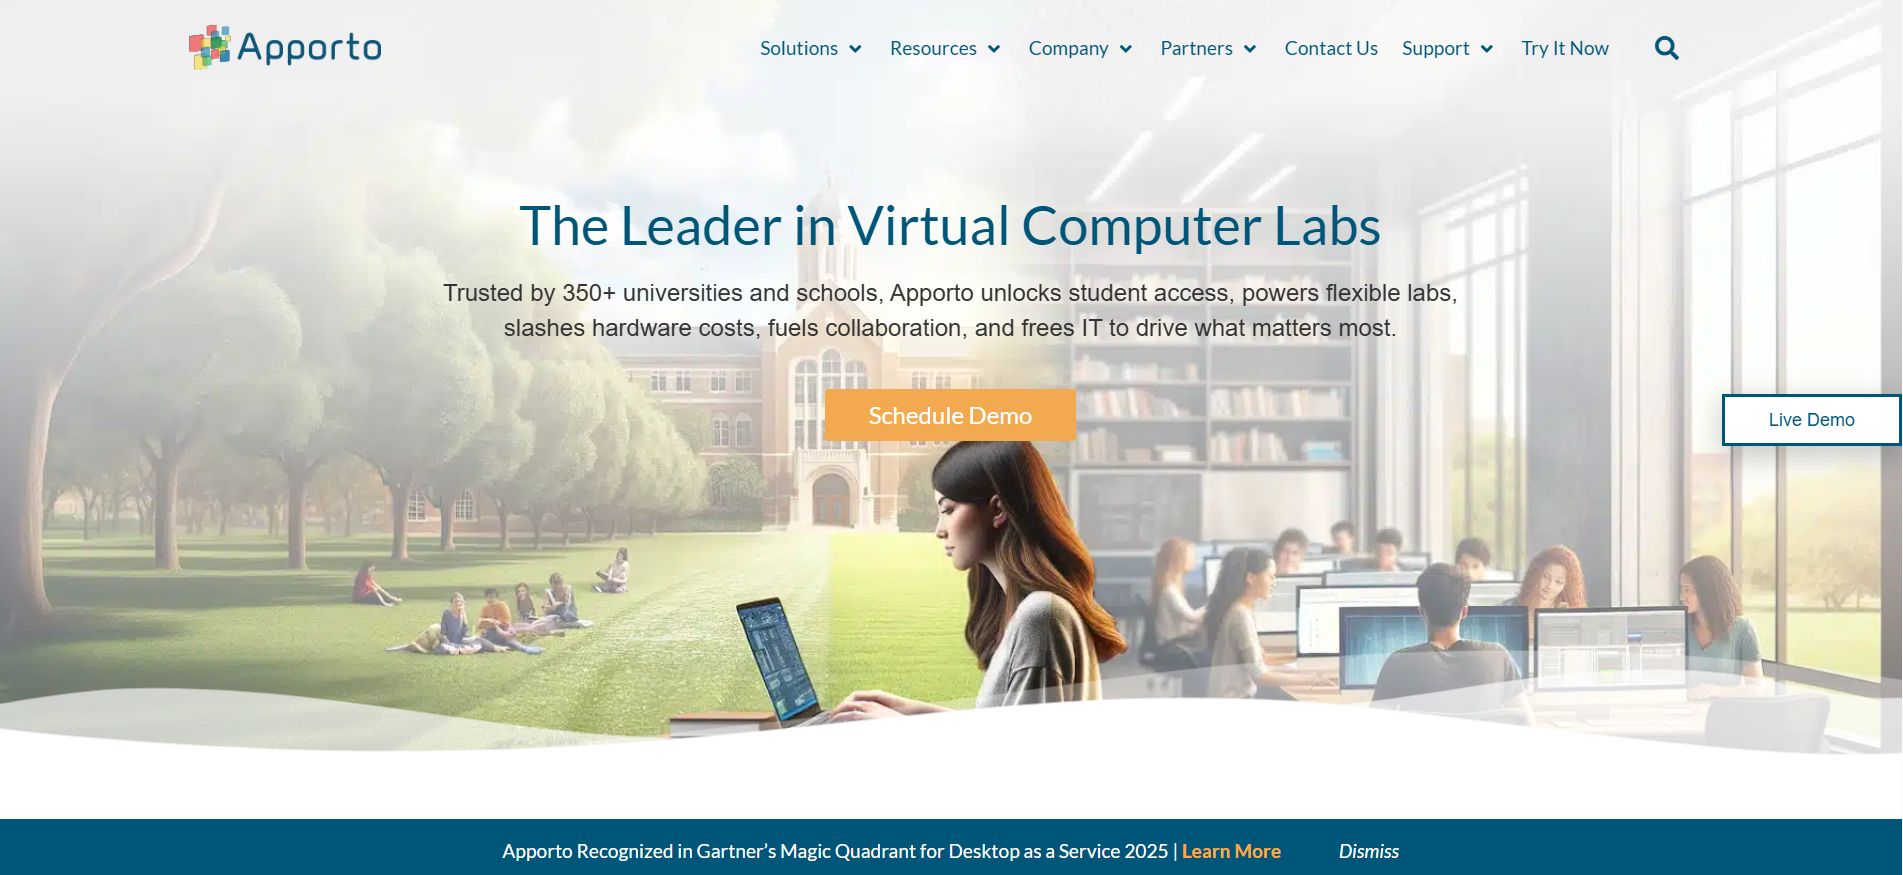
Apporto Virtual Computer Labs is the best TestOut Labs alternative for higher education and workforce training, offering browser-based virtual labs, centralized management, and secure software access without local installation.
TestOut Labs has earned a solid reputation for IT training, simulations, and certification preparation, but it is no longer the only platform professionals consider. As organizations place greater emphasis on live labs, practical training, and cloud-based learning, many learners are exploring TestOut Labs alternatives that offer more flexibility and broader certification support.
Another factor is industry recognition. While TestOut credentials can demonstrate technical skills, CompTIA certifications remain more widely recognized by employers across many IT roles.
In this guide, you’ll compare leading platforms based on the quality of their labs, hands-on training experience, certification readiness, technical depth, scalability, and overall value to help you choose the right solution.
How We Evaluated These TestOut Labs Alternatives?

Selecting the right TestOut Labs alternative involves more than comparing course libraries or subscription costs. The platform should help you build practical technical skills, prepare for industry certifications, and continue delivering value as technologies evolve. To keep this comparison objective, each solution was evaluated across four areas that consistently influence the quality of IT training and long-term learning outcomes.
How Effective Are Their Hands-On Labs?
Hands-on labs are one of the most important parts of technical training because they allow you to apply concepts in realistic environments rather than simply reading about them. We evaluated the quality of the labs, the availability of live software environments, and how effectively each platform develops practical skills through real-world experience. Live labs provide up-to-date IT training by allowing learners to work with current technologies, while simulations offer consistent training that requires fewer updates over time. We also considered how browser-based environments, including CloudLabs, eliminate the need for physical IT infrastructure, making practical learning more accessible. Ultimately, hands-on experience plays a major role in improving technical readiness before you take a certification test or begin working in production environments.
How Well Do They Support Certification Preparation?
Certification preparation extends beyond reading study materials. We reviewed practice exams, video instruction, certification pathways, and overall career development resources. Platforms that combine engaging video lessons with practical labs generally provide stronger learning outcomes. We also considered industry recognition, since CompTIA certifications remain more widely recognized than TestOut certifications across many IT roles. Providers such as CBT Nuggets and ACI Learning stand out for delivering comprehensive certification-focused training and professional development.
How Flexible Are Their Learning Platforms?
A modern training platform should fit around your schedule rather than the other way around. We evaluated browser accessibility, cloud delivery, self-paced learning, virtual labs, and scalability. Browser-based platforms remove many traditional deployment challenges while making learning accessible from almost anywhere. We also looked at how Skillable adapts quickly to changing technologies and how CloudShare delivers flexible virtual labs that support a wide range of technical training needs.
How Do They Balance Cost, Content, and Long-Term Value?
Finally, we assessed long-term value by comparing learning quality, technical content, platform updates, subscription models, and enterprise scalability. Providers such as Pluralsight are known for structured learning paths, while ACI Learning offers comprehensive content that supports ongoing professional development. Together, these factors provide a clearer picture of which platforms continue delivering value as your training requirements expand.
Quick Comparison Table: Which TestOut Labs Alternative Fits Your Needs?
Before exploring each platform in detail, it helps to compare their core strengths side by side. Some TestOut Labs alternatives focus on certification preparation, while others prioritize browser-based virtual labs, enterprise training, cybersecurity, or cloud-based technical learning. The table below provides a quick overview of each platform’s ideal use case, pricing model, and standout capability, making it easier to identify the solution that best aligns with your learning goals and organizational requirements.
| Platform | Best For | Browser-Based | Pricing | Standout Feature |
|---|---|---|---|---|
| Apporto Virtual Computer Labs | Higher Education | Yes | Custom | Browser-Based Virtual Labs |
| CBT Nuggets | IT Certification | Yes | Subscription | Video + Virtual Labs |
| ACI Learning (ITPro) | Professional Development | Yes | Subscription | Certification Training |
| Pluralsight | Technical Skills | Partial | Subscription | Structured Learning Paths |
| Hack The Box (HTB) | Cybersecurity Training | Yes | Free & Paid | Attack & Defense Labs |
| Skillable | Enterprise Training | Partial | Custom | Performance-Based Labs |
| CloudShare | Product Training | Yes | Custom | Sandbox Environments |
Testout Labs Alternatives (A complete Overview)
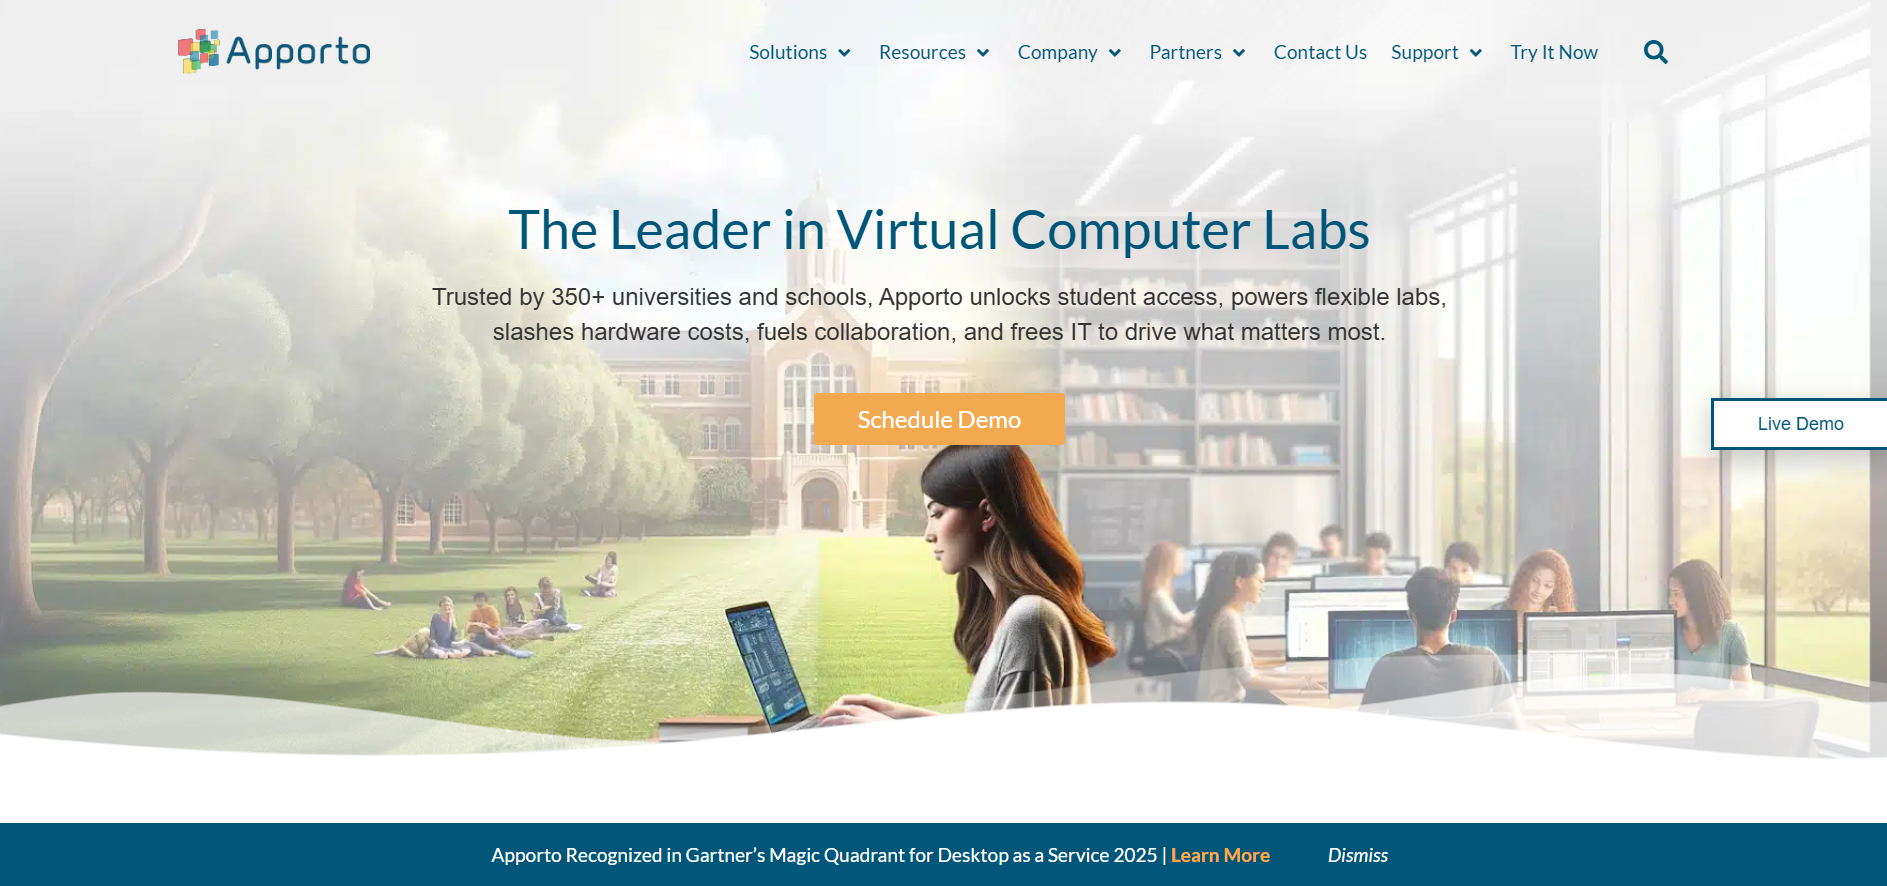
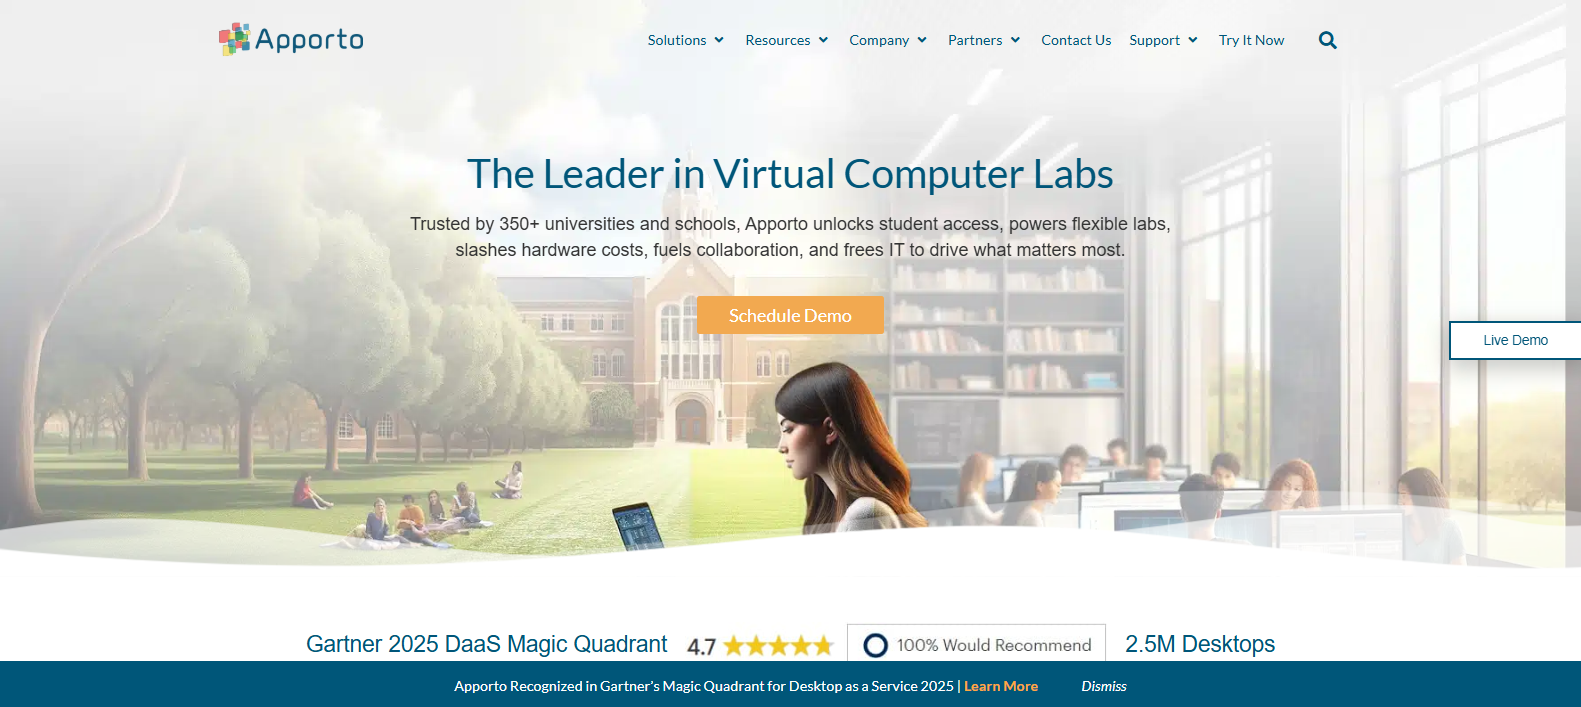
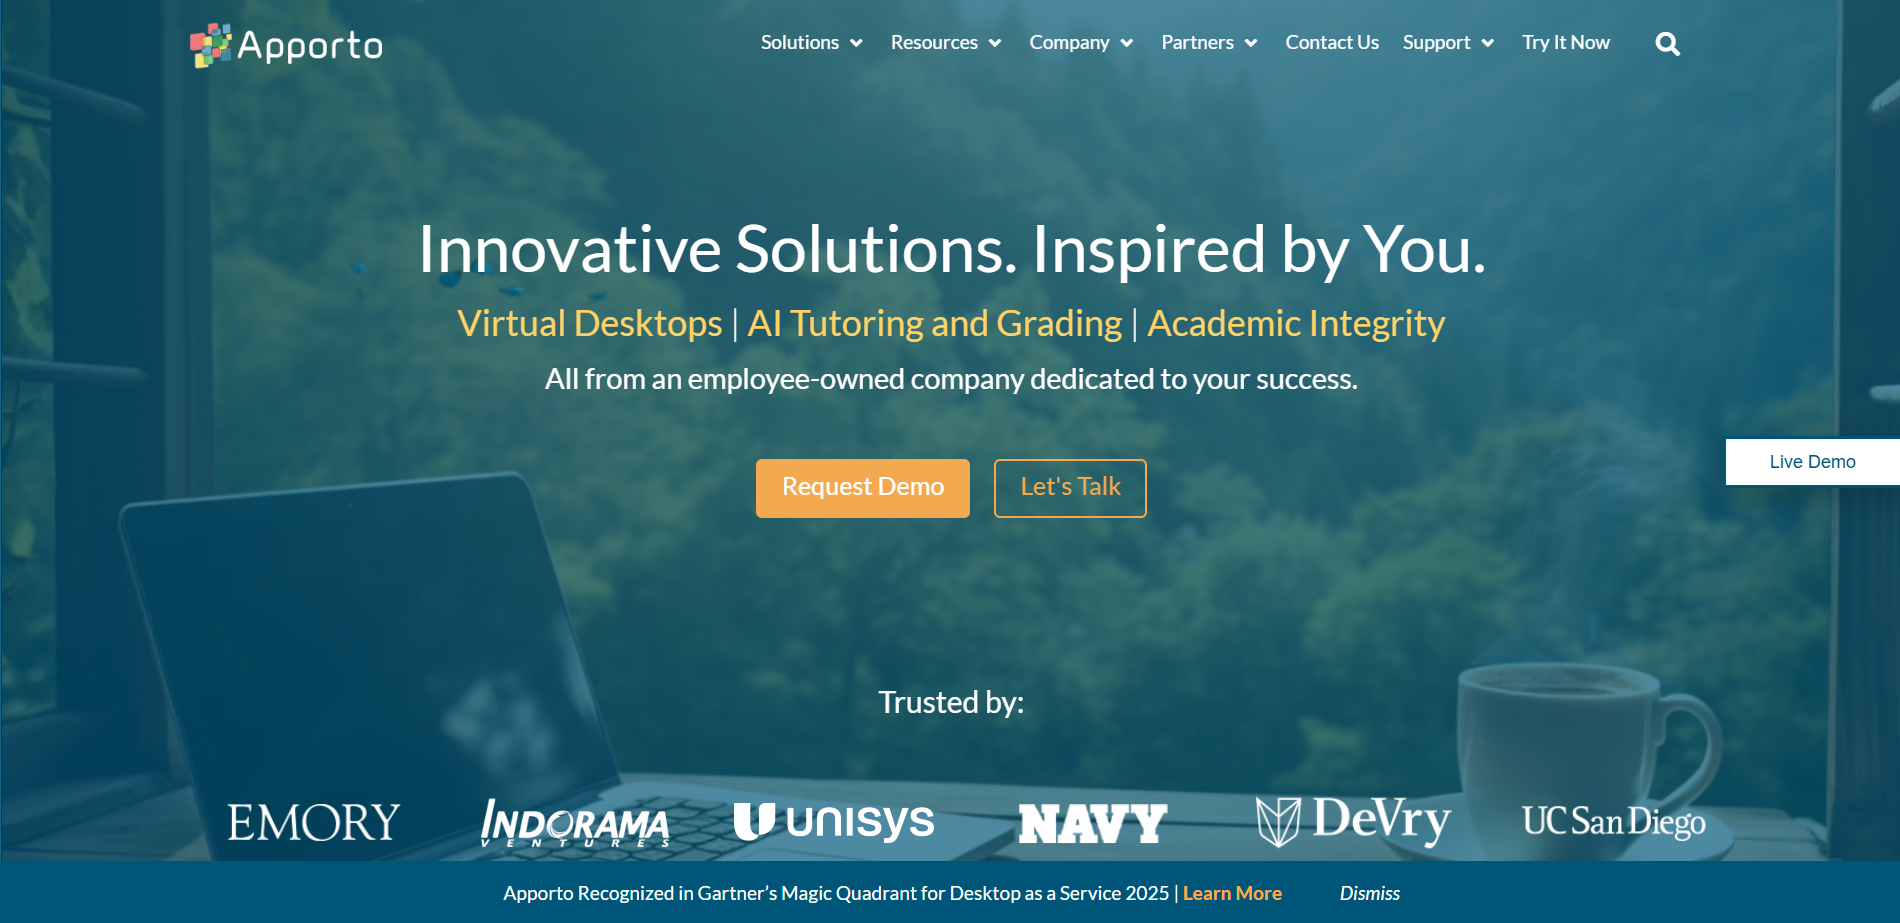
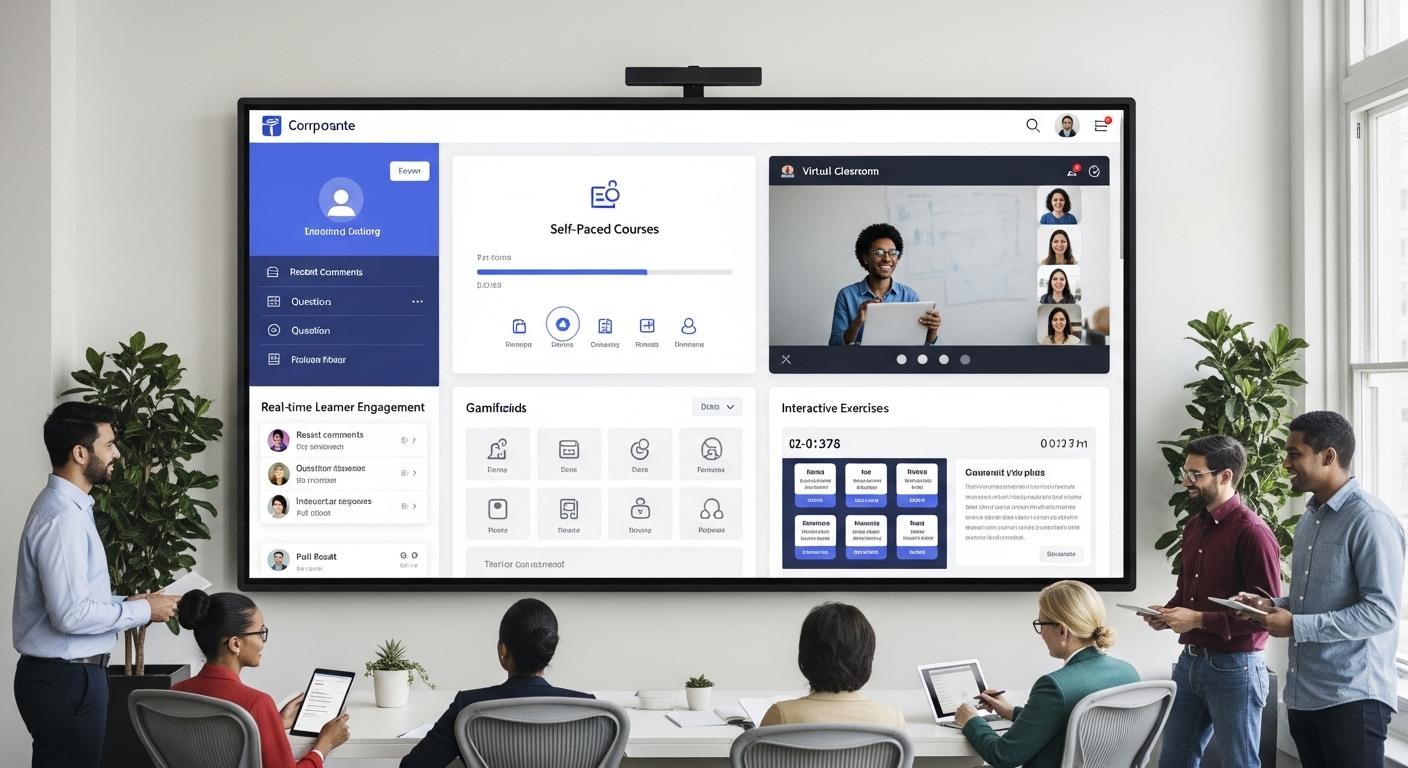
1. Apporto Virtual Computer Labs (Best Browser-Based TestOut Labs Alternative for Higher Education)

Overview
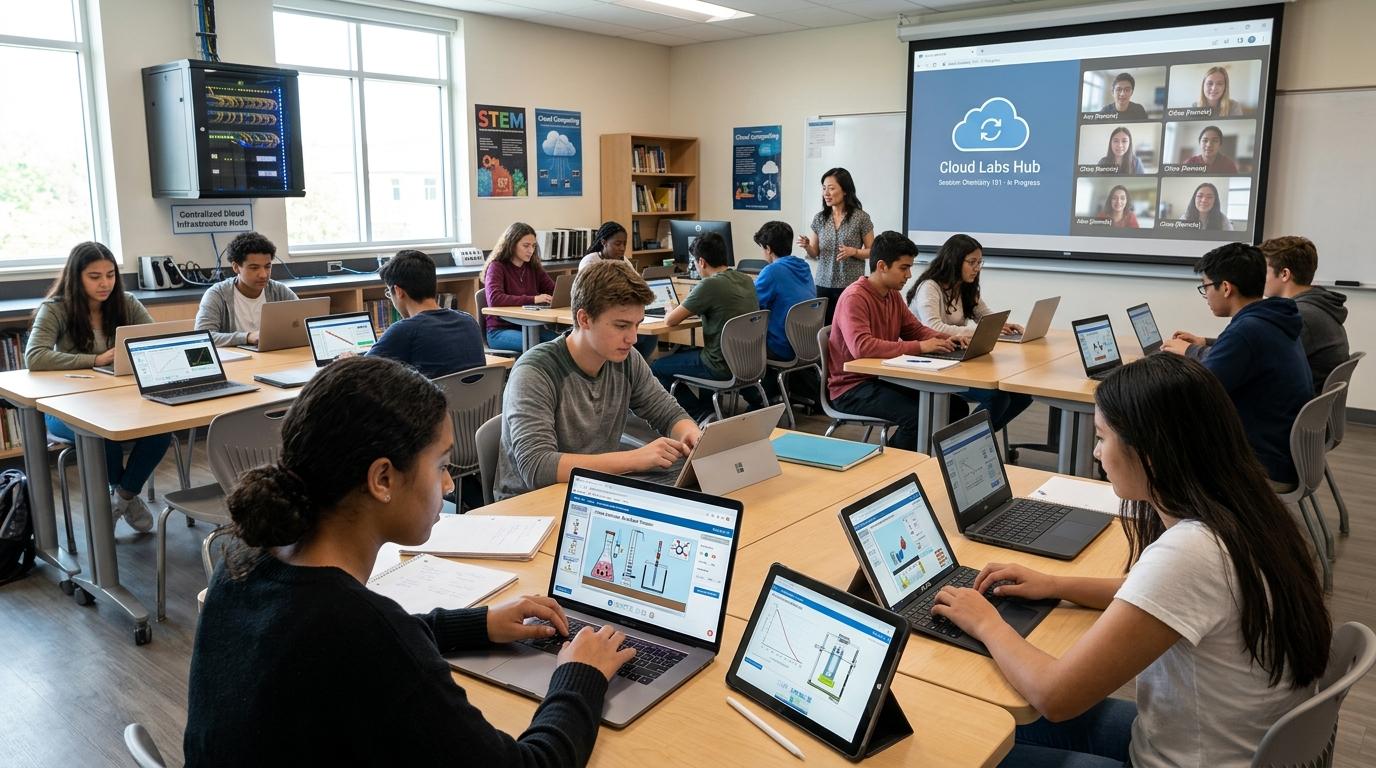
Apporto Virtual Computer Labs takes a modern approach to technical training by delivering fully managed virtual labs through a web browser. Instead of relying on local software installations or dedicated computer labs, the platform gives students immediate access to course applications and learning environments from virtually any device. This browser-first design makes it easier for educational institutions to provide consistent IT training while reducing the complexity of managing physical infrastructure.
What makes Apporto particularly compelling is its focus on accessibility and operational efficiency. Students spend more time building practical skills and less time troubleshooting software or configuring devices. Instructors can launch courses without extensive technical preparation, while IT administrators manage applications, user permissions, and lab resources from a centralized interface. As programs expand, this streamlined model helps institutions maintain a consistent learning experience without significantly increasing administrative overhead.
Highlights
- Browser-Based Virtual Labs: Deliver applications and desktops through a browser without software installation.
- Rapid Lab Deployment: Launch virtual labs quickly for IT courses, certification programs, and technical workshops.
- Centralized Administration: Manage users, applications, permissions, and lab resources from one platform.
- Secure Access Controls: Protect learning environments with built-in authentication and role-based access management.
- Scalable Infrastructure: Support growing student populations while maintaining reliable performance across virtual labs.
Best For:
Universities, colleges, technical training providers, and organizations seeking browser-based virtual labs with simplified IT management.
Limitations:
Organizations focused primarily on enterprise software testing or specialized cybersecurity exercises may require additional platform-specific capabilities.
Pricing:
Custom pricing based on institution size, deployment requirements, software applications, and concurrent user needs.
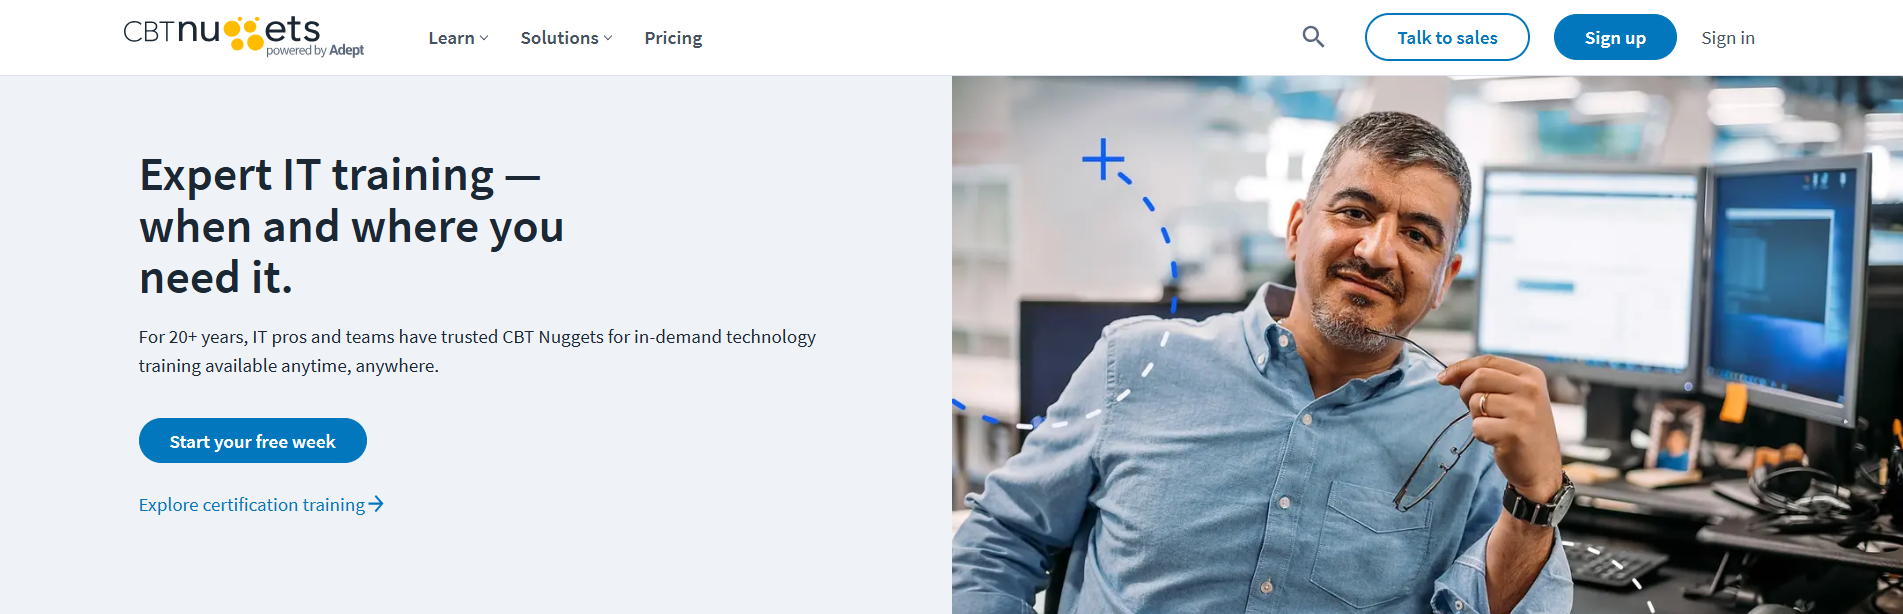
2. CBT Nuggets (Best for IT Certification Training)
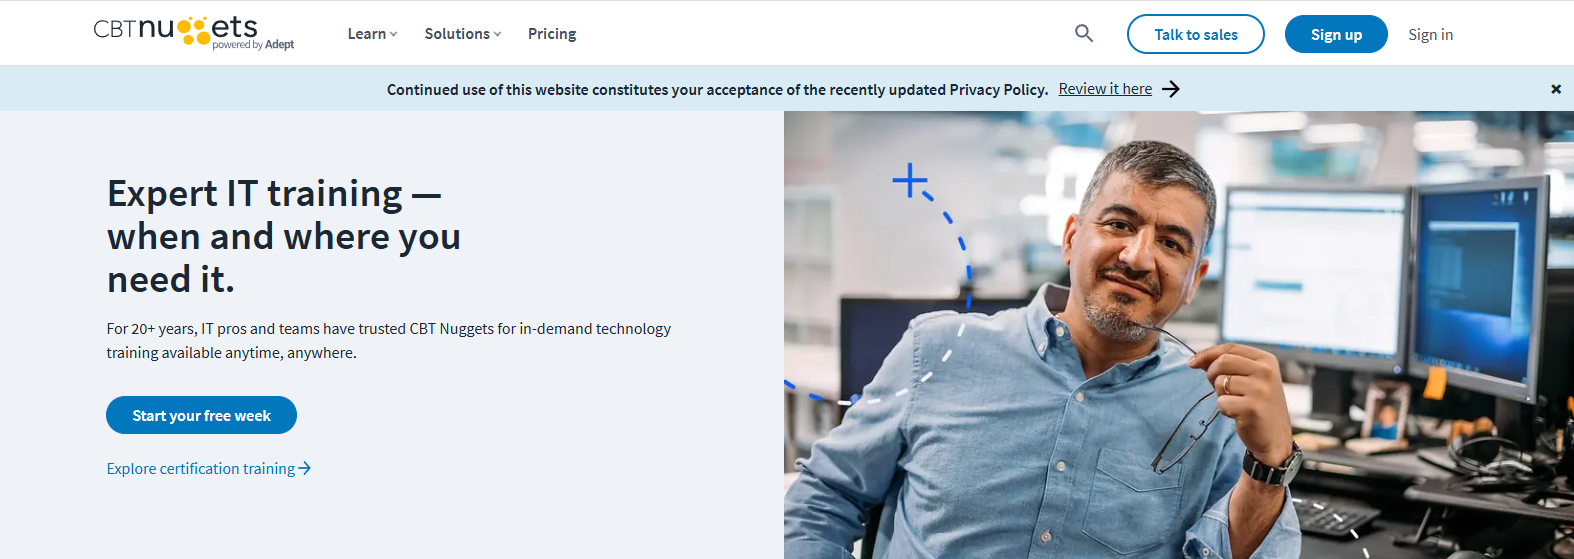
Overview
CBT Nuggets approaches IT training with a clear focus on helping learners move from understanding concepts to applying them in real-world scenarios. Instead of separating theory from practice, the platform blends instructor-led video lessons with hands-on labs, allowing users to immediately test what they’ve learned. This integrated approach is especially useful for those preparing for certifications, where both knowledge and practical skills are essential.
The platform’s content library spans a wide range of technologies, including CompTIA, Cisco, Microsoft, AWS, Linux, and cybersecurity. Learners can follow structured paths designed around specific certification goals, making it easier to stay on track and measure progress. By combining guided instruction with interactive lab environments, CBT Nuggets creates a learning experience that feels both practical and goal-oriented, helping users build confidence as they prepare for certification exams and real-world IT tasks.
Highlights
- Certification-Focused Learning: Prepare for CompTIA and other industry certifications through structured training paths.
- Integrated Virtual Labs: Reinforce technical concepts with practical labs that mirror real-world IT environments.
- Expert Video Instruction: Learn from experienced instructors through engaging, easy-to-follow lessons.
- Extensive Course Library: Access training covering Microsoft, AWS, Cisco, Linux, cybersecurity, and other in-demand technologies.
- Self-Paced Learning: Complete courses and revisit labs whenever additional practice is needed before your certification test.
Best For:
IT professionals, students, and organizations seeking certification training, practical labs, and comprehensive learning resources that support long-term technical development.
Limitations:
The platform focuses primarily on certification preparation and may offer fewer customization options for organizations requiring highly tailored virtual lab environments.
Pricing:
Subscription-based pricing with individual and team plans. Higher-tier subscriptions provide broader access to training, labs, certification resources, and additional learning content.
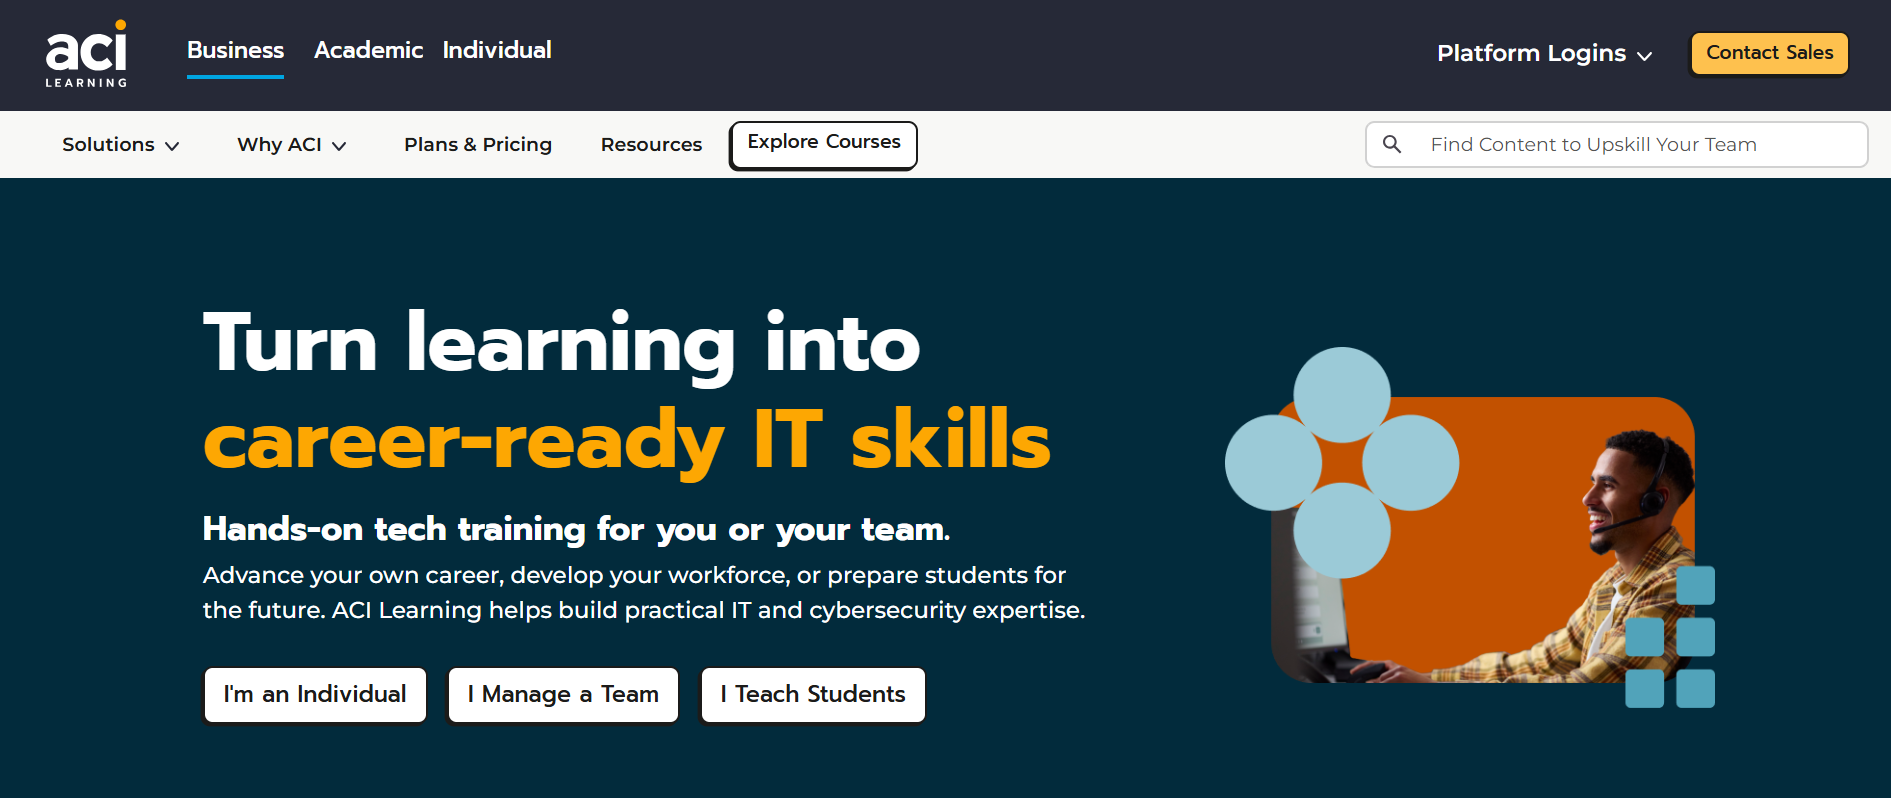
3. ACI Learning (ITPro) (Best for Professional IT Development)
Overview
ACI Learning (ITPro) takes a career-focused approach to IT training, positioning itself as more than just a course provider. Instead of offering standalone lessons, it delivers a structured learning experience designed to support long-term professional growth. Learners can move through guided paths that combine instruction, practice, and certification preparation, making it easier to build both knowledge and confidence over time.
What sets the platform apart is how it blends consistency with depth. Courses are organized to help learners progress logically, while hands-on labs provide opportunities to apply concepts in realistic scenarios. Content is regularly refreshed to stay aligned with evolving technologies, ensuring that learners are not only preparing for certifications like CompTIA but also developing skills that remain relevant in real-world IT environments.
Highlights
- Comprehensive IT Training: Access structured learning paths covering networking, cybersecurity, cloud computing, and systems administration.
- Hands-On Labs: Reinforce classroom concepts through practical labs that develop real technical skills.
- Certification Preparation: Prepare for CompTIA and other industry-recognized certifications with guided learning resources.
- Professional Development: Build long-term technical expertise through continuously updated training content.
- Flexible Learning Experience: Study at your own pace while following structured courses designed around career progression.
Best For:
IT professionals, corporate training teams, and organizations seeking high-quality training, hands-on labs, and comprehensive professional development.
Limitations:
The platform emphasizes certification and career development, making it less focused on browser-based virtual lab management or customized enterprise learning environments.
Pricing:
Subscription-based pricing with plans for individuals and organizations. Available features and learning resources vary depending on the selected subscription tier.
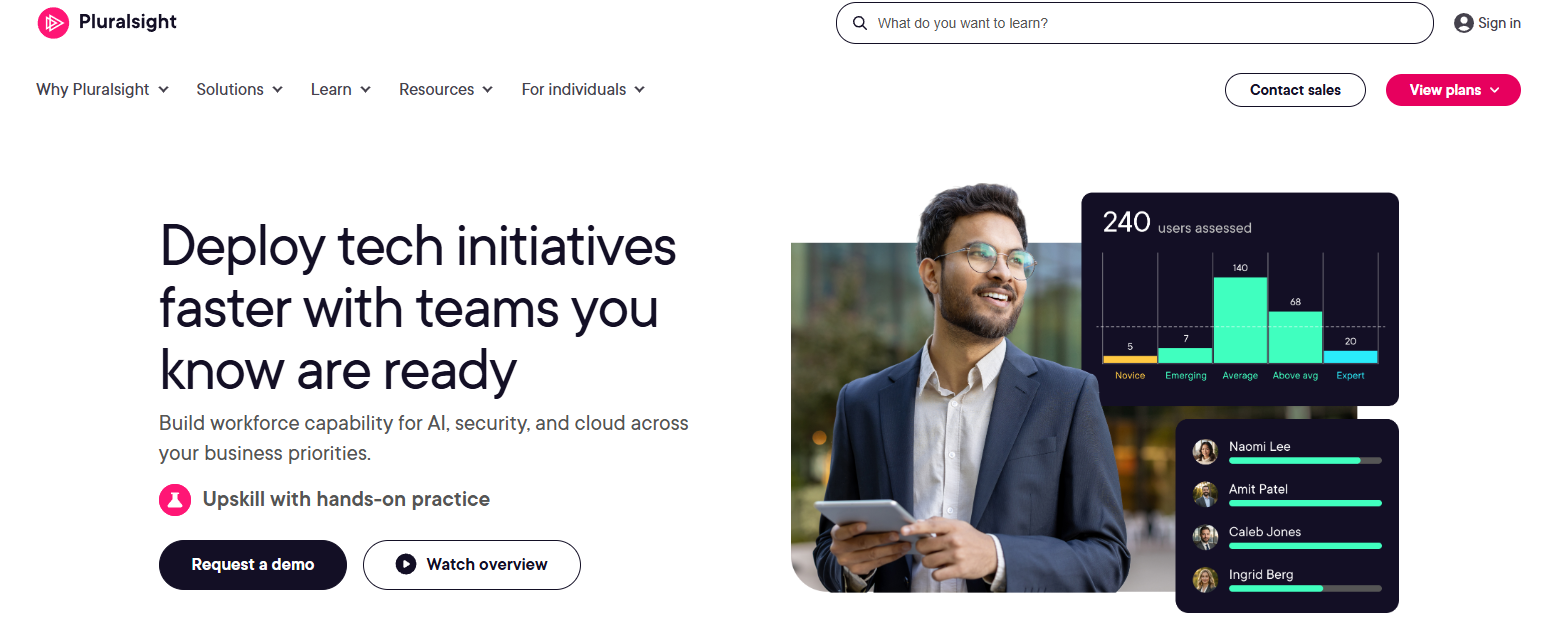
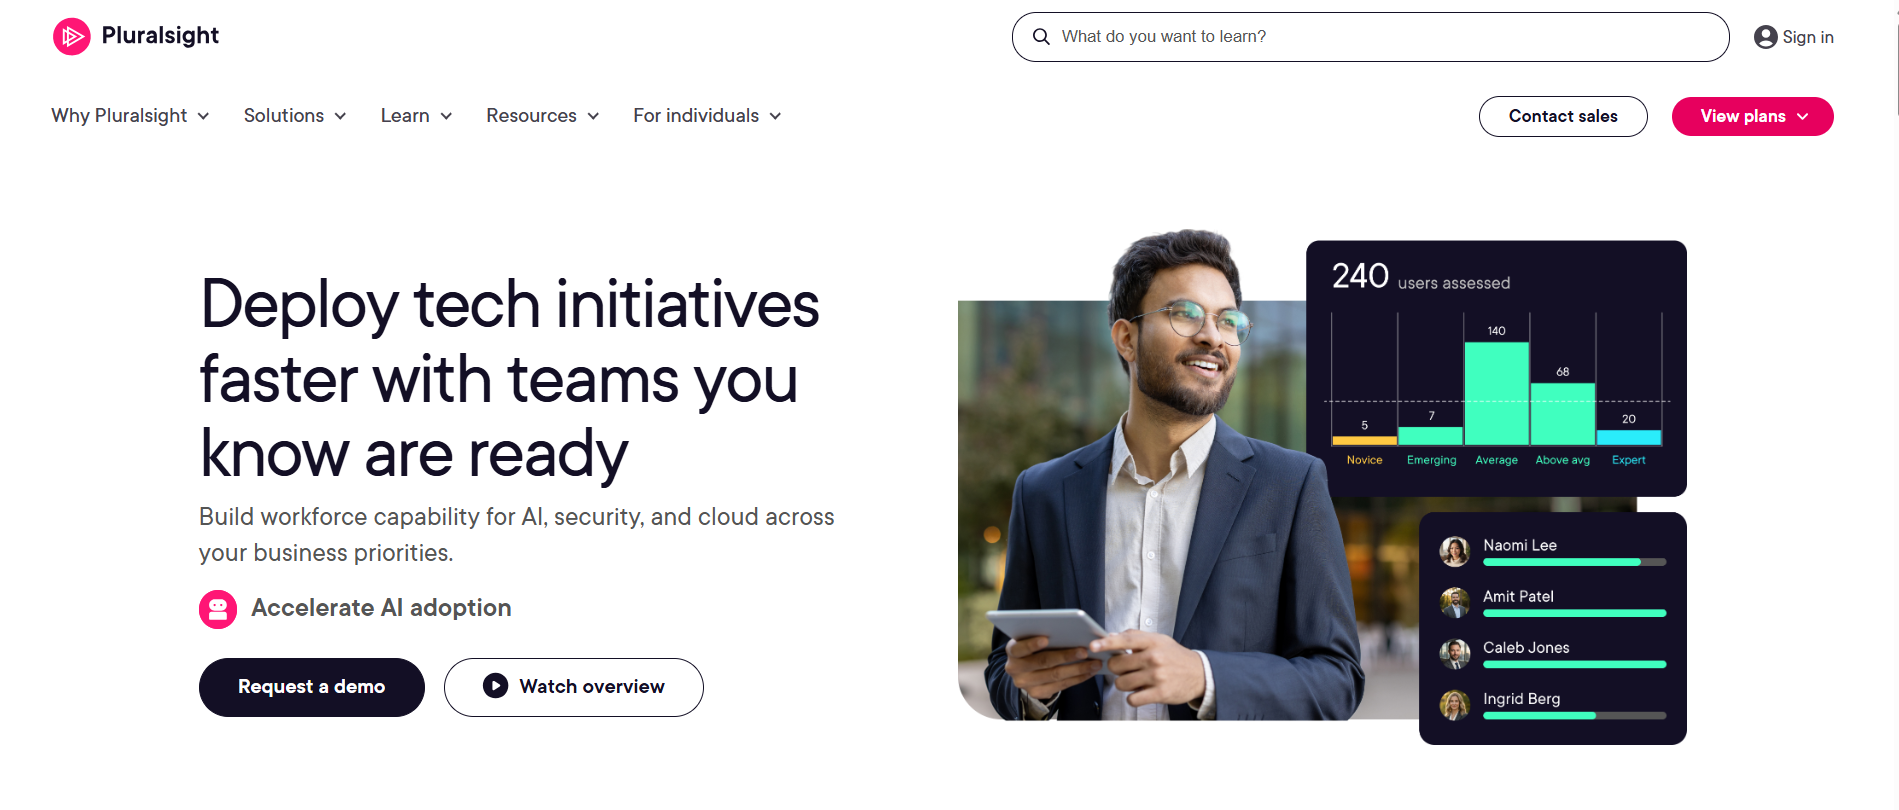
4. Pluralsight (Best for Technical Skills Development)
Overview
Pluralsight approaches technical training with a clear focus on skill progression rather than isolated course consumption. Instead of presenting content as standalone lessons, the platform organizes material into structured paths that guide learners through a logical sequence of topics. This makes it easier to build confidence over time, especially when navigating complex areas like cloud computing, cybersecurity, software development, and IT operations.
What makes the experience effective is how learning is reinforced at multiple levels. Courses are paired with assessments that help identify knowledge gaps, while labs provide opportunities to apply concepts in a practical setting. At the same time, Pluralsight continuously updates its content to reflect evolving technologies, ensuring that learners are not working with outdated material. The result is a training environment designed to support both immediate skill development and long-term technical growth.
Highlights
- Structured Learning Paths: Follow curated training paths that guide learners from beginner to advanced skill levels.
- Hands-On Labs: Reinforce key concepts through practical labs that support real-world application.
- Skill Assessments: Measure current knowledge and identify areas for improvement before starting new training.
- Extensive Technical Library: Access courses covering cloud platforms, cybersecurity, software development, networking, and data technologies.
- Regular Content Updates: Stay aligned with current industry trends through continuously refreshed learning materials.
Best For:
IT professionals, developers, and organizations looking to strengthen technical skills through structured training and practical learning resources.
Limitations:
Although labs are available for many subjects, the platform places greater emphasis on guided learning paths than on fully managed virtual lab environments.
Pricing:
Subscription-based pricing with individual and business plans. Features, labs, and assessment tools vary depending on the selected subscription level.
5. Hack The Box (Best for Cybersecurity Skills)
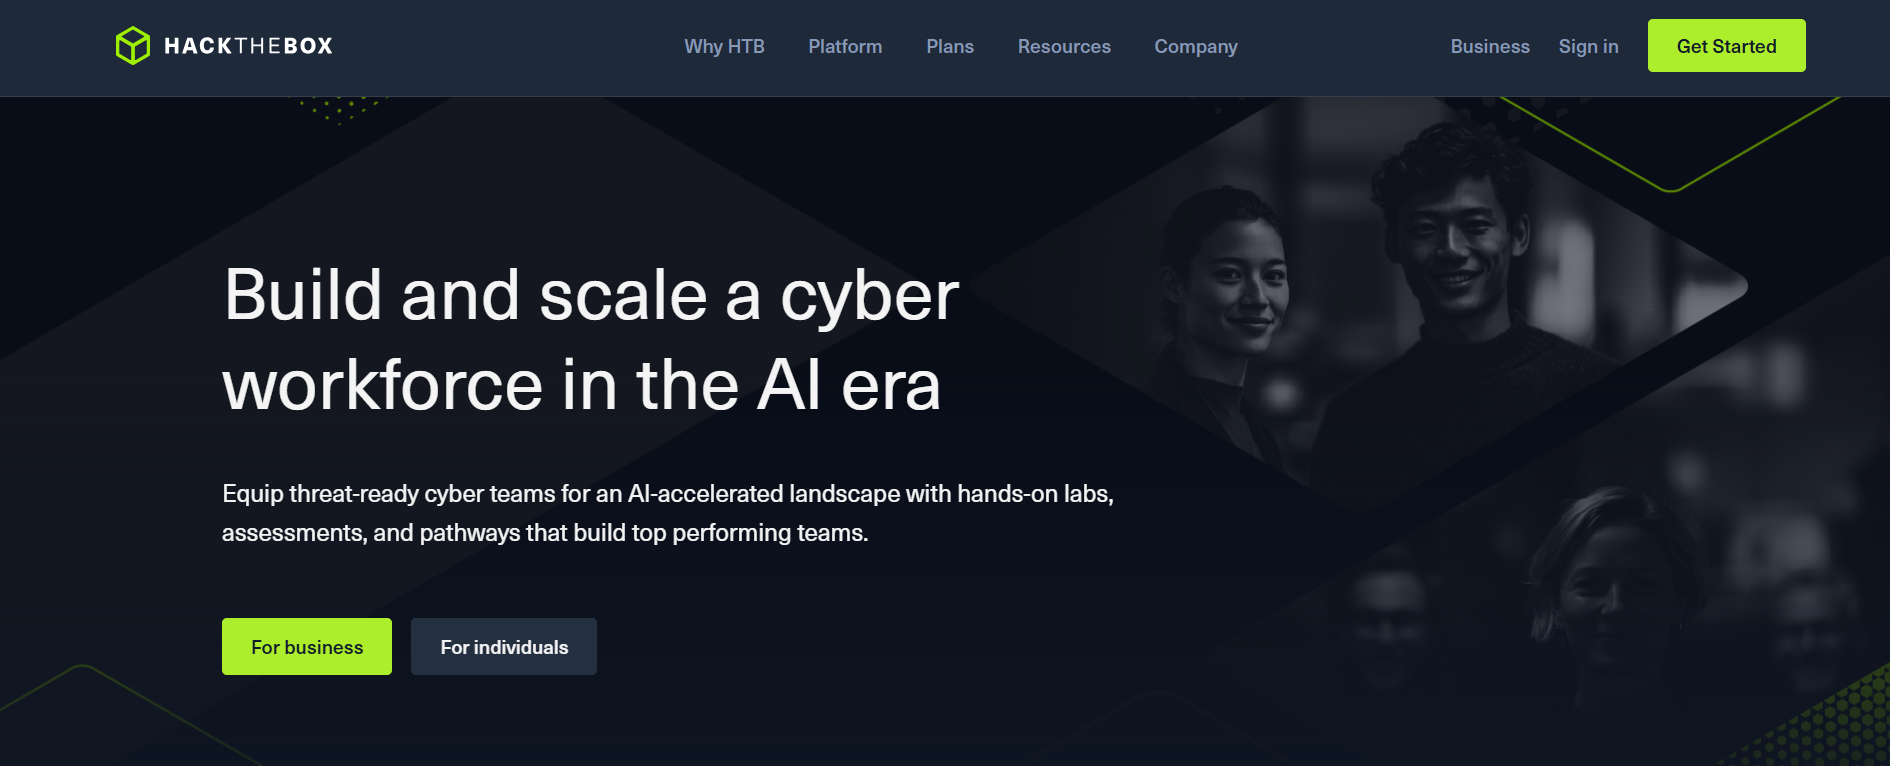
Overview
Hack The Box takes a different approach to technical training by focusing almost entirely on cybersecurity. Rather than relying on traditional classroom instruction, the platform encourages learners to build their skills by solving realistic security challenges inside hands-on labs. This practical format allows you to test your knowledge in controlled environments while gaining experience with the tools, techniques, and problem-solving methods commonly used in cybersecurity roles.
The platform stands out because it transforms learning into an active process. Instead of simply reading about vulnerabilities or defensive strategies, you interact with live systems, investigate scenarios, and complete guided exercises that mirror real-world situations. This approach helps reinforce technical concepts while keeping the training engaging. As your experience grows, you can move from beginner-friendly labs to more advanced security challenges, creating a clear path for continuous development.
Highlights
- Hands-On Cybersecurity Labs: Build practical security skills through interactive labs that simulate real-world environments.
- Realistic Training Scenarios: Test your knowledge by working through attack and defense exercises in controlled settings.
- Progressive Learning Paths: Advance from foundational concepts to more complex cybersecurity topics at your own pace.
- Active Skills Development: Strengthen problem-solving abilities through practical training rather than passive instruction.
- Community Challenges: Participate in guided exercises and competitive events that encourage continuous learning and skill improvement.
Best For:
Cybersecurity professionals, students, and IT teams seeking practical training, interactive labs, and opportunities to test their skills in realistic environments.
Limitations:
The platform is heavily focused on cybersecurity, making it less suitable for organizations looking for broader IT certification training or general-purpose virtual labs.
Pricing:
Offers both free and paid plans. Premium subscriptions unlock additional labs, learning paths, advanced training content, and enterprise features.
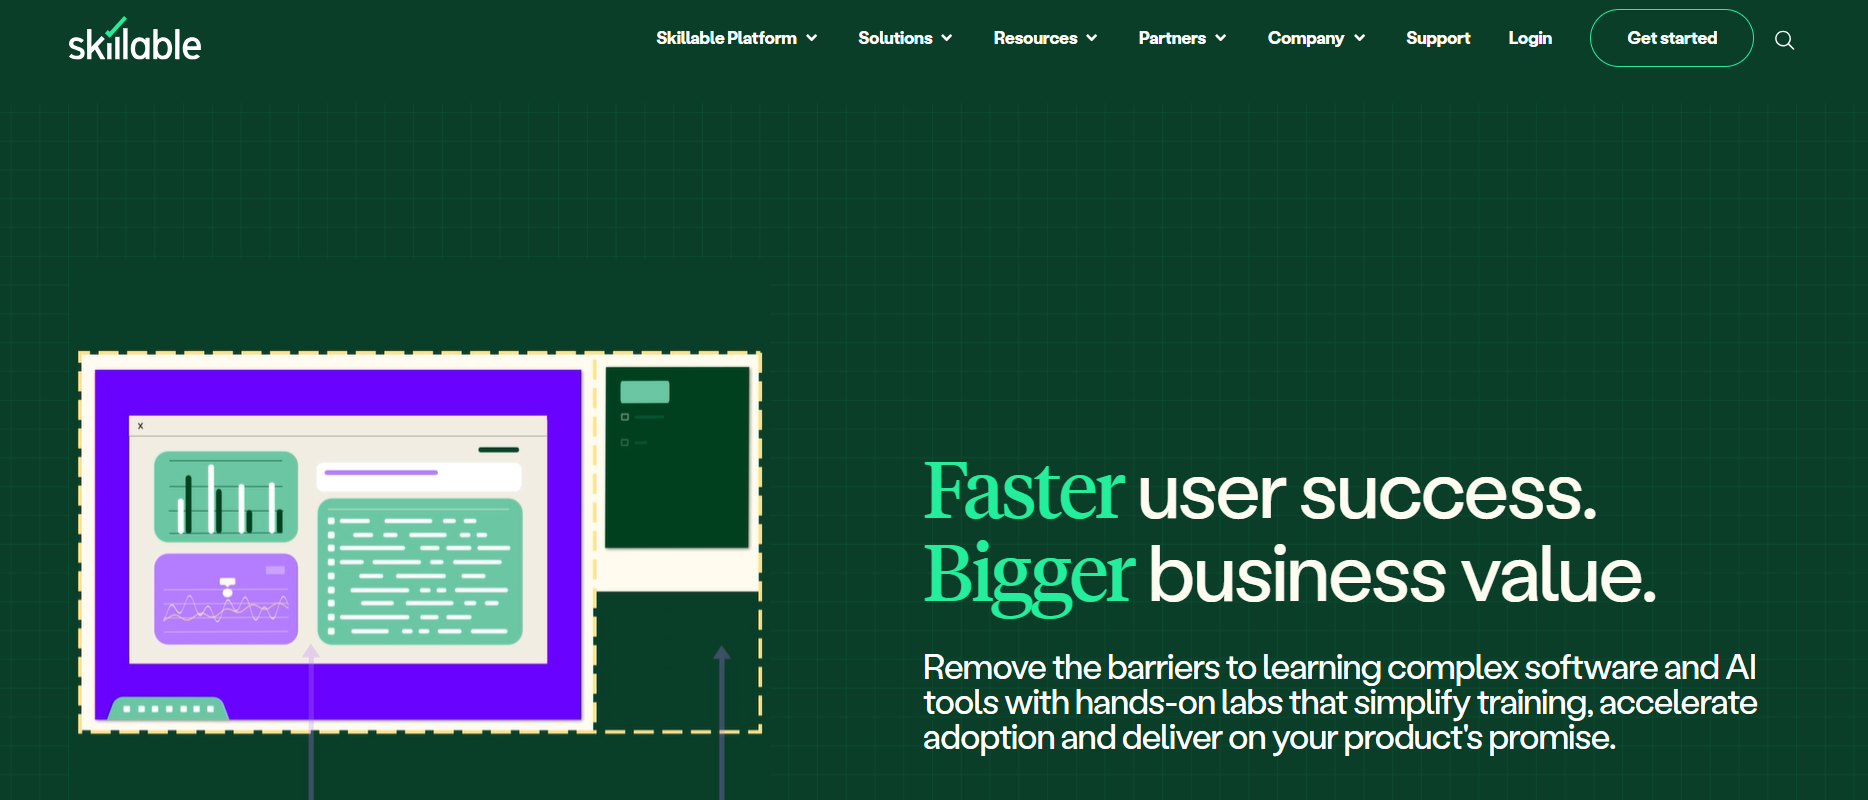
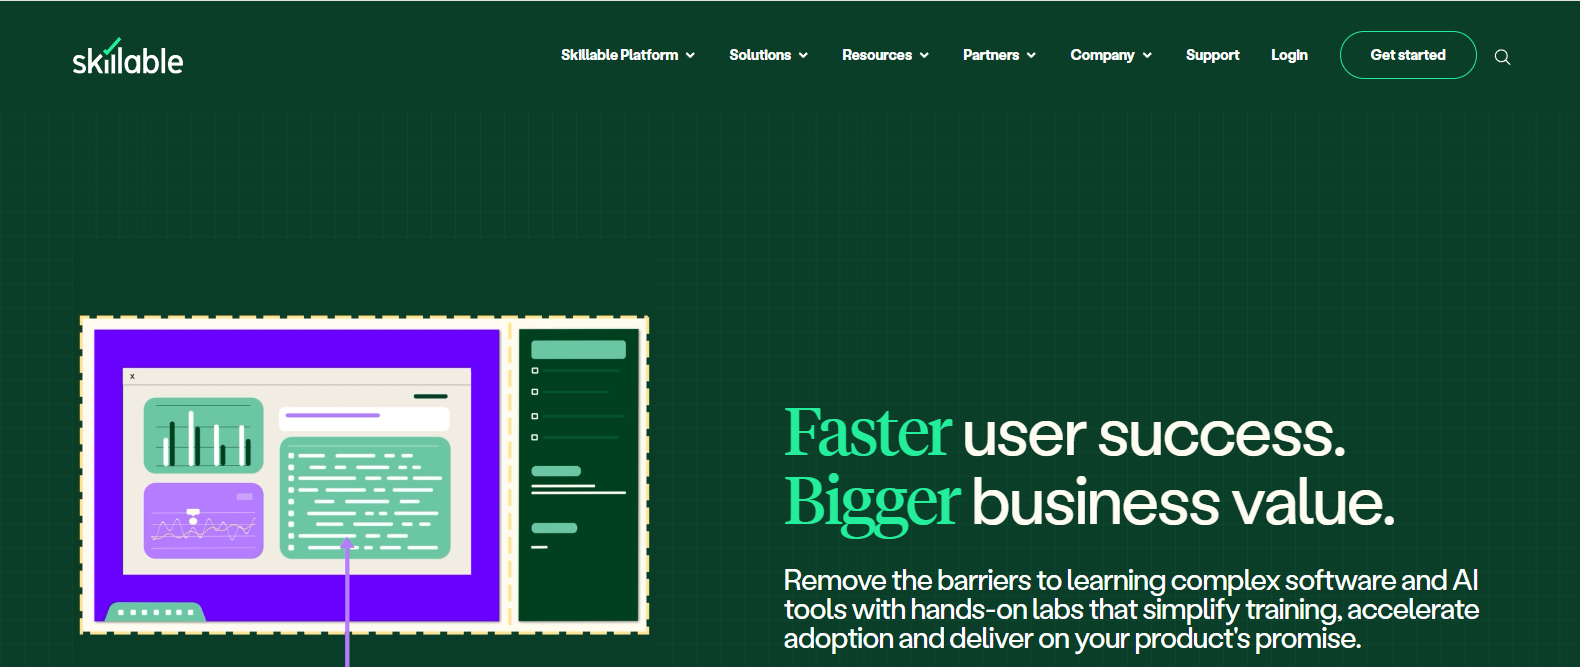
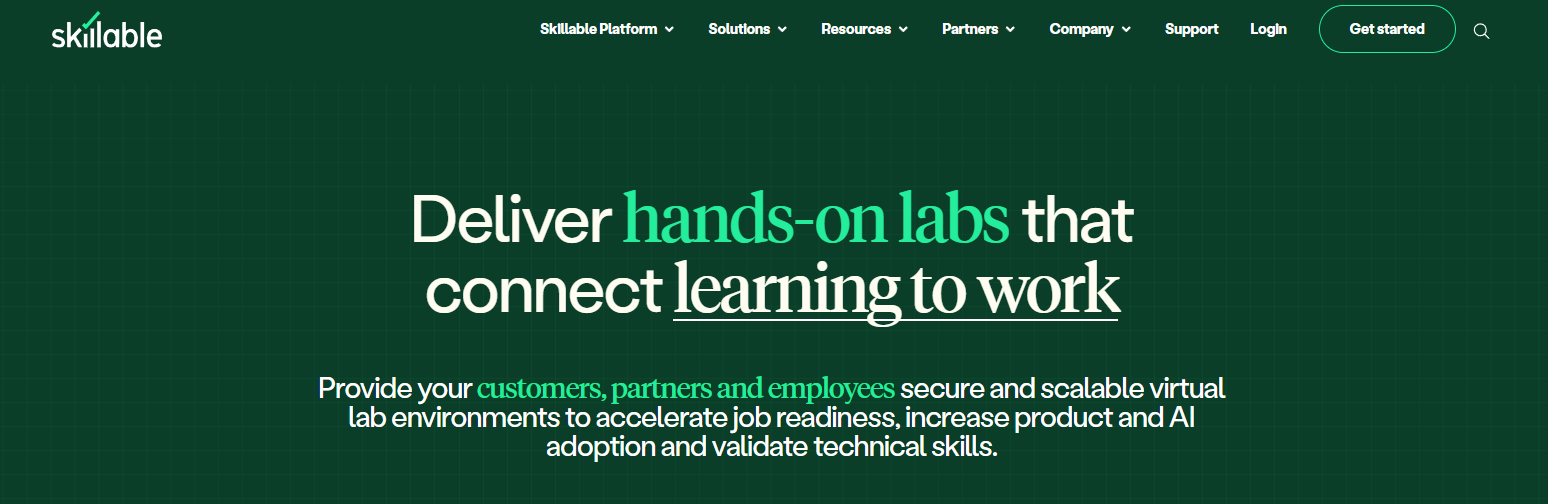
6. Skillable (Best for Enterprise Hands-On Labs)
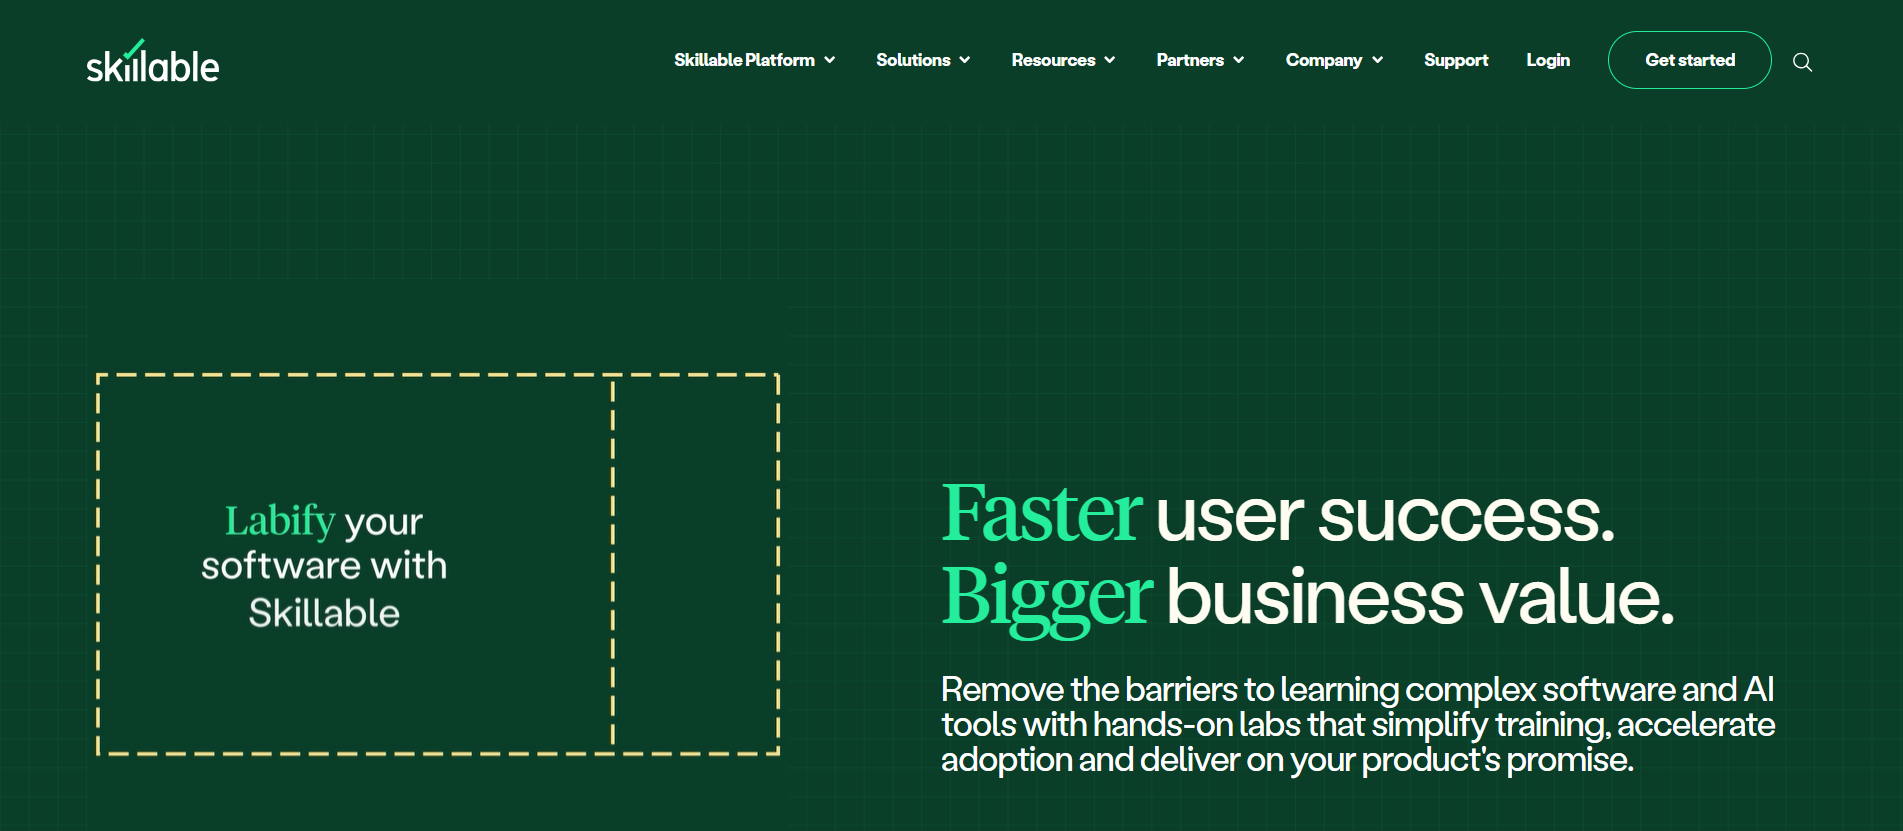
Overview
Skillable is built for organizations that want technical training to reflect real workplace tasks rather than purely academic exercises. The platform emphasizes hands-on labs that place learners in realistic environments where they can apply concepts, complete guided activities, and demonstrate practical ability. This performance-based approach makes Skillable particularly valuable for enterprise teams that need measurable outcomes from their training programs instead of simply tracking course completion.
One of the platform’s biggest advantages is its ability to evolve alongside changing technologies. As new tools, platforms, and certification requirements emerge, Skillable adapts its labs and learning experiences to remain relevant. Administrators can monitor learner progress through detailed analytics, while employees strengthen their technical skills by completing real-world scenarios. Although the platform is not designed exclusively around CompTIA certification paths, its practical approach complements certification preparation by helping learners apply the concepts they study in realistic IT environments.
Highlights
- Performance-Based Labs: Develop practical skills through interactive labs that mirror real workplace scenarios.
- Enterprise Training: Deliver consistent technical training across teams with scalable learning environments.
- Detailed Analytics: Monitor learner progress, skill development, and overall training performance through comprehensive reporting.
- Custom Lab Experiences: Create tailored learning environments that align with organizational goals and technical requirements.
- Certification Support: Reinforce concepts that help learners prepare for CompTIA and other industry-recognized certifications through practical application.
Best For:
Enterprise organizations, corporate learning teams, and businesses seeking scalable hands-on labs with measurable training outcomes.
Limitations:
Public pricing is not available, and smaller organizations may find the platform’s enterprise-focused capabilities exceed their immediate requirements.
Pricing:
Custom pricing based on the number of users, lab usage, deployment requirements, and organizational training needs.
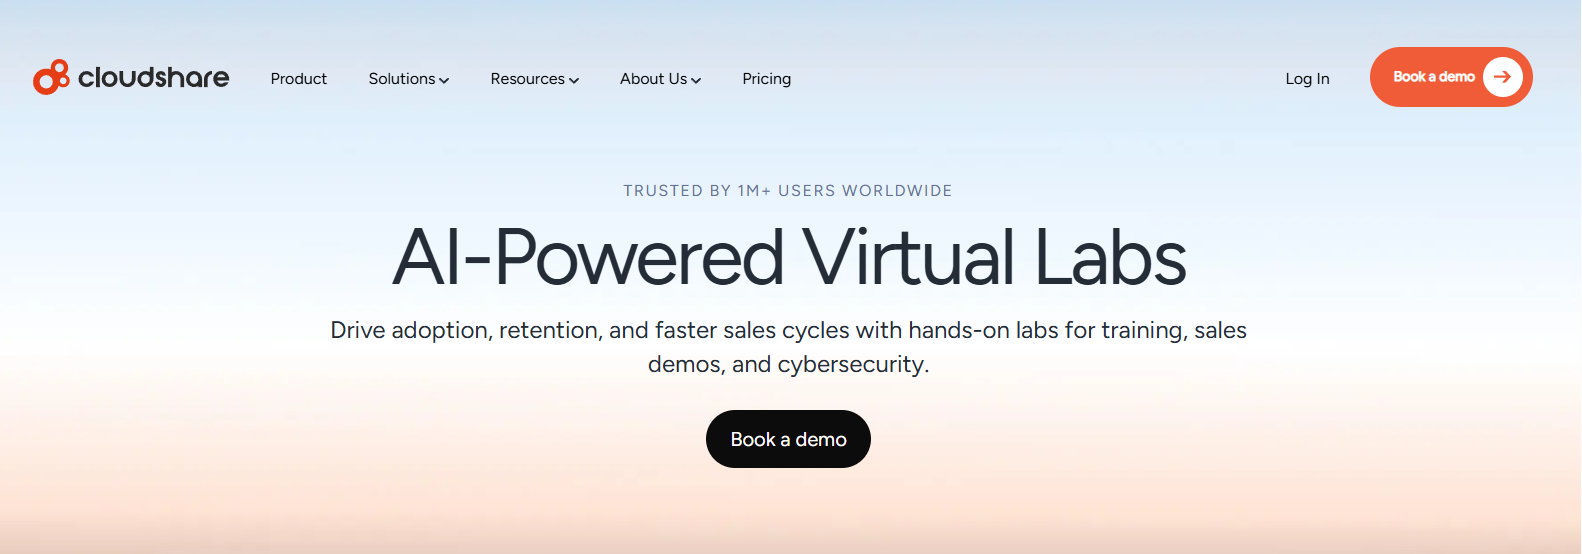
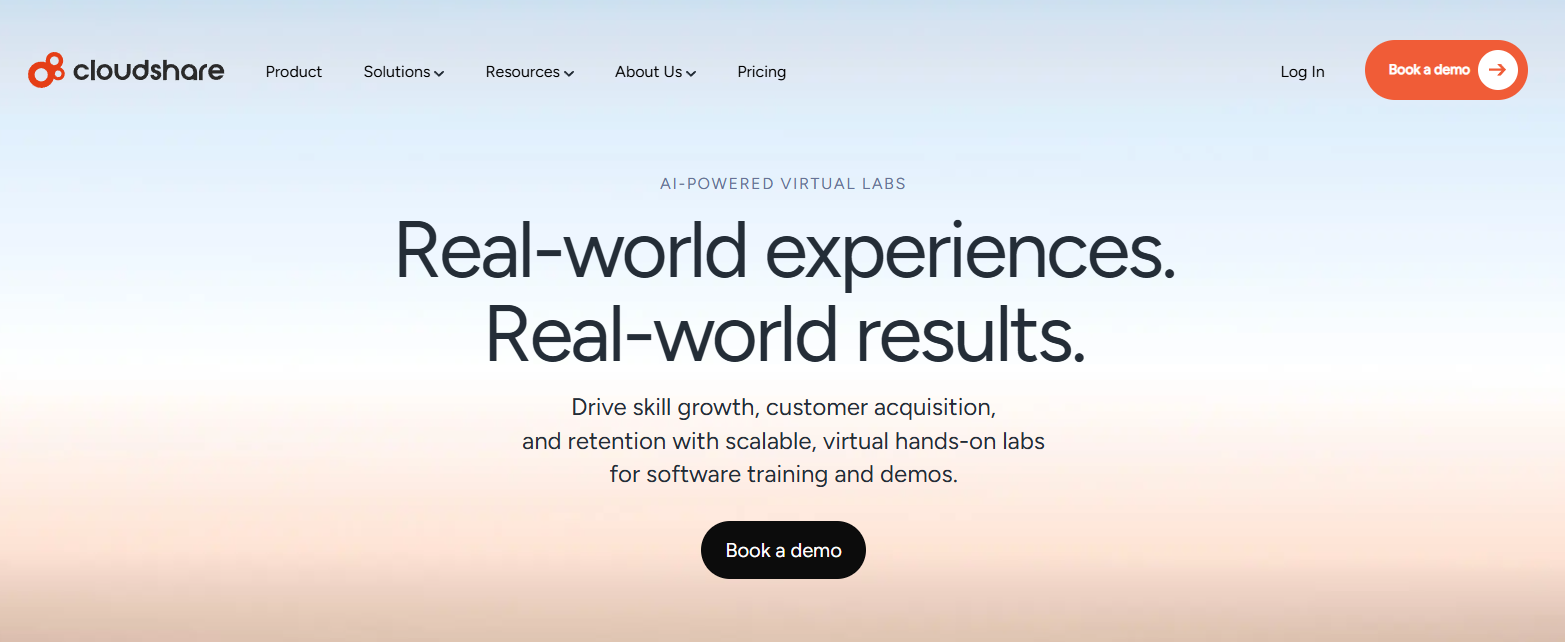
7. CloudShare (Best for Virtual IT Labs and Product Training)
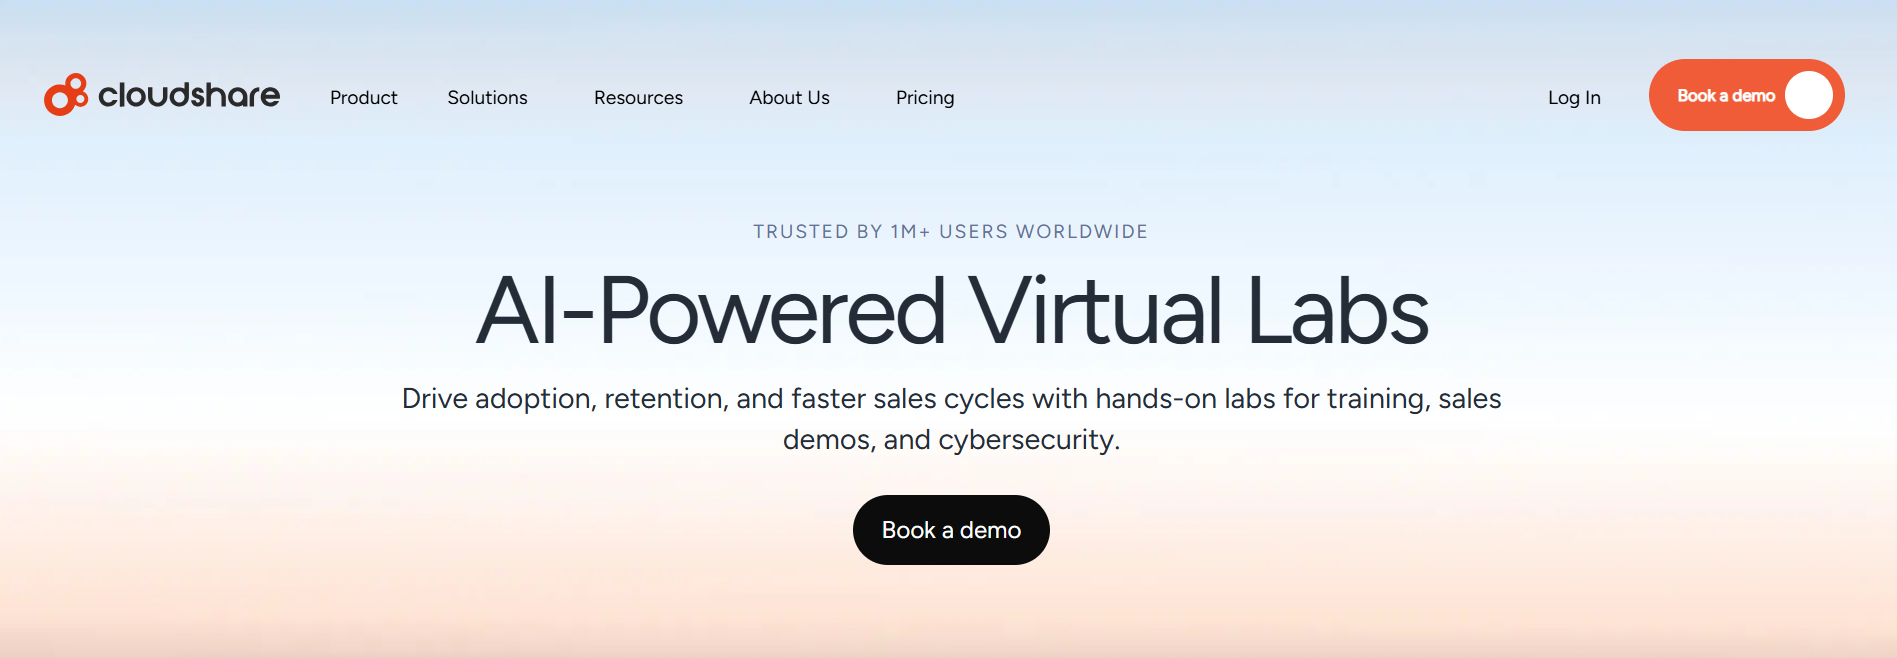
Overview
CloudShare approaches technical learning by combining virtual labs with flexible cloud environments that support both internal training and customer education. Rather than limiting learning to predefined exercises, the platform allows organizations to create realistic IT environments where users can explore applications, complete guided activities, and gain practical experience. This flexibility makes CloudShare a strong option for businesses that deliver technical training, product demonstrations, onboarding programs, or certification support through interactive cloud-based experiences.
The platform’s biggest strength lies in its ability to simplify lab delivery without sacrificing realism. Administrators can provision cloud environments quickly, monitor learner activity, and manage resources from a centralized interface, while participants gain access to consistent training environments through a web browser. As training programs expand, this approach helps organizations scale virtual labs efficiently while reducing the complexity of maintaining physical infrastructure. The result is a learning experience that feels practical, accessible, and easier to manage over time.
Highlights
- Virtual IT Labs: Deliver browser-accessible labs that support technical training, workshops, and certification preparation.
- Cloud-Based Environments: Create realistic cloud environments for learning, product demonstrations, and customer onboarding.
- Rapid Environment Provisioning: Launch training labs quickly with centralized management and administration tools.
- Built-In Analytics: Monitor learner activity and evaluate training effectiveness through detailed reporting.
- Scalable Infrastructure: Expand cloud-based training programs without investing in additional physical hardware.
Best For:
Software companies, enterprise organizations, and training providers looking for scalable cloud-based labs that support technical training, product education, and customer onboarding.
Limitations:
Environment-based pricing may become more expensive as cloud resource usage increases, particularly for organizations running a large number of concurrent labs.
Pricing:
Custom pricing based on cloud environment usage, deployment requirements, and organizational needs. CloudShare also offers a free trial for teams evaluating the platform.
What Features Should You Look for in a TestOut Labs Alternative?

Choosing the right TestOut Labs alternative involves more than comparing course catalogs or subscription prices. The best platforms combine practical learning, recognized certification support, flexible delivery, and long-term value. As your training needs grow, you should look for a solution that not only teaches technical concepts but also gives learners opportunities to apply them in realistic environments.
Hands-On Labs and Practical Learning
Practical experience remains one of the most valuable parts of IT training. Look for platforms that offer live labs alongside simulations, allowing learners to strengthen technical skills in controlled practice environments before working with production systems. Live labs expose you to current software and technologies, while simulations provide a consistent learning experience that is easier to maintain over time. Together, they create realistic training opportunities that improve confidence and job readiness.
Certification Preparation
If earning industry certifications is one of your goals, evaluate how well a platform supports exam readiness. Features such as practice exams, expert video instruction, and structured learning paths can make preparation more effective. CompTIA certifications continue to carry broad industry recognition, while TestOut certifications are generally less recognized by employers.
Learning Content and Platform Quality
The quality of training content often determines how much long-term value you receive. Platforms such as Pluralsight provide structured learning paths that support continuous skill development, while ACI Learning emphasizes professional development through comprehensive courses. Skillable complements these strengths with practical, performance-based labs that reinforce technical knowledge through real-world application.
Scalability and Cloud Delivery
Modern learning platforms should make technical training easy to access and simple to manage. Browser access, virtual labs, cloud infrastructure, and enterprise deployment capabilities help organizations deliver consistent learning experiences without maintaining extensive physical hardware. CloudLabs demonstrates how cloud-hosted environments simplify deployment, while CloudShare offers flexible virtual labs that scale as training programs expand. Microsoft lab hosting solutions also highlight the growing role of browser-based cloud delivery in technical education.
Pricing and Long-Term Value
Finally, consider how pricing aligns with your long-term objectives. Compare subscription pricing, enterprise licensing, ongoing operating costs, and expected return on investment. A platform that balances quality training, scalable infrastructure, and predictable costs is more likely to continue delivering value as your learners, teams, and technical requirements grow.
How Do You Choose the Right TestOut Labs Alternative?

The right TestOut Labs alternative depends on your learning objectives, technical requirements, and long-term plans. Some platforms are designed for academic environments, while others focus on enterprise training, professional certifications, or advanced cybersecurity practice. Rather than choosing the platform with the longest feature list, look for the one that aligns with the way you plan to learn, train employees, or scale technical education across your organization.
Higher Education
Educational institutions often benefit from platforms that reduce administrative complexity while improving accessibility.
- Browser-Based Labs: Allow students to access applications and virtual labs without installing software.
- Student Access: Support learning from virtually any location or compatible device.
- Simplified IT: Reduce infrastructure management through centralized administration and cloud-based delivery.
Enterprise Training
Organizations need solutions that help employees build practical skills while supporting long-term professional development.
- Hands-On Labs: Reinforce technical knowledge through realistic learning environments.
- Professional Development: Provide structured learning paths that encourage continuous skill growth.
- Certification Readiness: Prepare employees for industry-recognized certifications through practical training and guided instruction.
Cybersecurity & Cloud Teams
Specialized technical teams require platforms that keep pace with evolving technologies.
- Cybersecurity Practice: Develop defensive and offensive security skills through realistic lab environments.
- DevOps: Build experience with automation, cloud technologies, and modern deployment workflows.
- Cloud Infrastructure: Gain practical knowledge by working in scalable cloud-based learning environments.
Budget Planning
- Subscription Pricing: Compare recurring subscription costs with the training resources included.
- Enterprise Licensing: Evaluate licensing models that support growing teams and organization-wide learning.
- Long-Term Scalability: Choose a platform that can expand alongside your technical requirements without significantly increasing operational complexity.
Final Thoughts:
The best TestOut Labs alternative depends on your learning goals, technical requirements, and audience. Apporto Virtual Computer Labs stands out for browser-based delivery and simplified IT management, making it ideal for higher education. CBT Nuggets supports certification-focused learning with engaging instruction, while ACI Learning emphasizes professional development. Pluralsight excels at structured skill building for long-term growth.
For cybersecurity teams, Hack The Box offers immersive, hands-on practice. Skillable provides performance-based labs suited for enterprise training, and CloudShare delivers flexible cloud environments for scalable technical programs.
Ultimately, the right choice aligns with your budget, scalability needs, and training strategy. If browser-based labs, simplified IT, and scalable access are priorities, Apporto is worth a closer look. Schedule Demo Now.
Frequently Asked Questions (FAQs)
1. What are the best TestOut Labs alternatives in 2026?
Some of the best TestOut Labs alternatives in 2026 include Apporto Virtual Computer Labs, CBT Nuggets, ACI Learning (ITPro), Pluralsight, Hack The Box, Skillable, and CloudShare. Each platform serves a different purpose, ranging from higher education and certification training to enterprise learning, cybersecurity, and cloud-based technical labs.
2. Which TestOut Labs alternative is best for higher education?
Apporto Virtual Computer Labs is one of the strongest options for higher education. Its browser-based virtual labs give students access to course applications from almost any device, while centralized management helps IT teams simplify administration and reduce infrastructure complexity.
3. Are CompTIA certifications more valuable than TestOut certifications?
In many IT roles, CompTIA certifications are more widely recognized by employers than TestOut certifications. TestOut remains useful for developing practical skills, but CompTIA credentials generally carry broader industry recognition and can strengthen your resume when applying for technical positions.
4. What features should you prioritize in a TestOut Labs alternative?
Look for platforms that offer hands-on labs, browser accessibility, certification support, quality training content, scalable cloud infrastructure, and straightforward administration. The right solution should also provide reliable performance, flexible learning options, and pricing that aligns with your long-term training goals.
5. Can TestOut Labs alternatives support enterprise IT training?
Yes. Many TestOut Labs alternatives are designed for enterprise IT training. Platforms such as Skillable, CloudShare, and ACI Learning support employee development through practical labs, structured learning paths, analytics, and scalable training environments.
6. Is Apporto a good TestOut Labs alternative for universities?
Yes. Apporto is an excellent TestOut Labs alternative for universities because it delivers browser-based virtual labs, centralized IT management, secure access controls, and scalable infrastructure. This allows institutions to provide consistent technical training while reducing the burden of managing traditional computer labs.