
How to Connect Zoom VDI?
Zoom VDI is a virtual desktop infrastructure solution that optimizes Zoom meetings in environments like Citrix, Azure Virtual Desktop, and VMware Horizon. It improves audio, video, and screen-sharing performance by offloading media processing to local devices through specialized plugins. Platforms like Apporto simplify virtual desktop delivery with cloud-based, Zoom-ready workspaces.
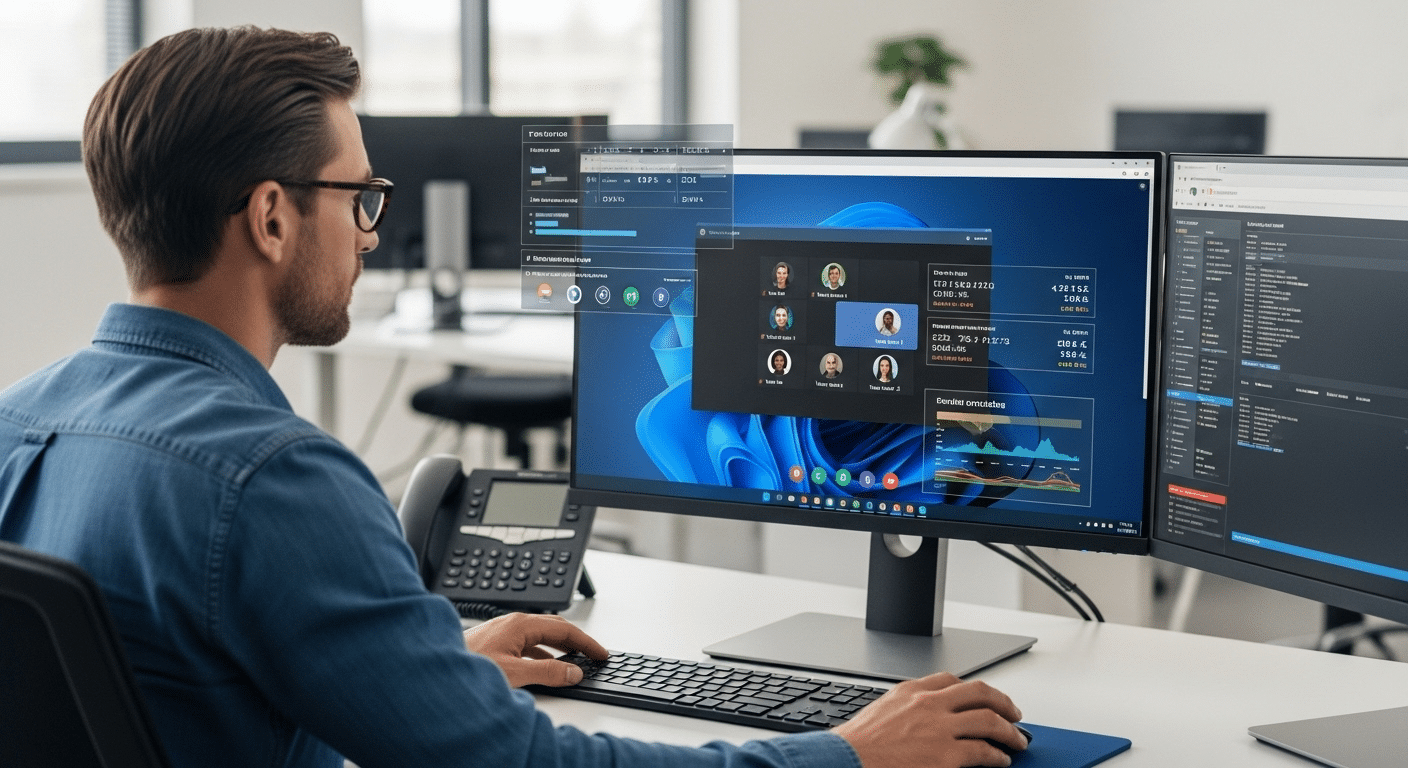
When you’re running Zoom inside a virtual desktop environment, performance matters. Video lag, audio glitches, and screen sharing delays can quickly add up, especially in meetings that demand clarity and speed. That’s where Zoom VDI comes in.
Zoom’s Virtual Desktop Infrastructure (VDI) setup is designed to optimize performance on platforms like Citrix, Azure Virtual Desktop (AVD), and VMware Horizon.
By separating media processing from the virtual desktop, it significantly reduces latency and improves the overall experience.
But it’s not just about installing Zoom. You need the right Zoom VDI client, the proper plugin, and a few careful configuration steps to make sure everything works as it should.
Whether you’re an IT admin setting up for hundreds of users or just trying to optimize your own remote desktop, this guide will walk you through everything, from system requirements to troubleshooting. Let’s begin with the basics.
What Is Zoom VDI and Why Is It Needed in a Virtual Desktop Environment?
Zoom VDI is Zoom’s specialized solution for improving performance inside a virtual desktop environment. In traditional VDI setups, video and audio data are routed through the remote desktop, which often results in lag, low quality, or dropped frames, especially when bandwidth is limited or the system is under load.
To fix this, Zoom developed the Zoom VDI client and plugin, a combination that separates the media engine from the remote session.
This allows audio and video streams to be processed locally on the endpoint device (like a thin client), rather than being piped through the central VDI server.
For users, this means higher-quality meetings, faster screen sharing, and fewer delays. The plugin acts as a bridge, enabling Zoom to recognize and offload media to the local machine while keeping the Zoom app itself running in the virtual session.
Without this setup, Zoom behaves like any other app running in VDI, functional but not optimized. So if you’re running Zoom on platforms like Citrix, Azure Virtual Desktop, or VMware, installing the VDI-ready client with the correct plugin is essential for a smoother experience.
What Do You Need Before Installing Zoom VDI?

Before you install anything, make sure you’ve got the right pieces in place. A successful Zoom VDI setup requires specific software versions, proper access, and a few technical checks.
Here’s what you’ll need:
- Administrator Privileges
You must have admin rights on the remote computer or virtual desktop environment to install the Zoom VDI client and plugin. - Access to Your VDI Server or Remote Machine
Make sure you have permission to make changes and install software on the target VDI server or user endpoint. - A Compatible Zoom VDI Plugin
Zoom provides specific plugins for different platforms:- Citrix Workspace Client
- VMware Horizon
- Azure Virtual Desktop (AVD)
Each plugin is built for a particular environment and must match the Zoom VDI client version exactly.
- Latest Version of Zoom VDI Client
Download the most updated and recommended version from Zoom’s official site. The Zoom VDI Workspace App is regularly improved to support better performance and compatibility. - Thin Client or Local Device Setup
If you’re using a thin client, make sure it supports the plugin and has access to the required system resources.
Once all of this is in place, you’re ready to begin the installation.
How Do You Download and Install the Zoom VDI Client and Plugin?
Installing the Zoom VDI client and plugin doesn’t take long, but each step matters. To avoid connection issues or plugin errors, make sure you follow the correct sequence and use compatible versions.
Here’s how to get started:
- Visit the Zoom VDI download page
Go to the official Zoom support site and locate the VDI download section. You’ll find direct links to both the client and plugin packages. - Select the correct version
Choose the version that matches your virtual desktop platform, whether it’s Citrix, AVD, or VMware Horizon. Each platform has a specific Zoom plugin. - Download the Zoom VDI client and plugin
Make sure you download both components from the same page to ensure version compatibility. - Run the installation
On the desktop or thin client, double click the installer and run it with administrator rights. Follow the prompts to complete the installation. - Launch the Zoom VDI app
After installation, open the app. You should see the Zoom icon appear in the virtual environment. - Verify the plugin is connected
Once Zoom launches, check the lower-right corner of the app window for the “plugin connected” message.
Now you’re ready to join or host a meeting with full VDI support.
How Do You Verify Zoom VDI Is Working Inside a Virtual Desktop?
Once installed, you’ll want to confirm that Zoom VDI is running as expected. Without proper verification, you might miss out on the performance benefits of media offloading.
Here’s how to verify that the setup is complete:
- Open the Zoom VDI client on your remote desktop.
- Look in the lower-right corner of the Zoom desktop app for a small message:
“Zoom VDI Plugin Connected”
This message confirms that the plugin is active and Zoom is optimized to offload audio and video processing to your local machine.
If that message doesn’t appear, something’s off, maybe a version mismatch or installation error.
Next, run a quick functionality check:
- Join a Zoom meeting and test screen sharing
- Speak and listen to confirm that audio is clear
- Turn on your camera to test video feed performance
- Navigate the app to ensure there’s no input lag
These tests help validate that your VDI client and plugin are communicating properly. If things feel sluggish or the “connected” message is missing, it may be time to re-check your configuration or reinstall the plugin.
What Are the Most Common Issues When Connecting Zoom VDI (and How to Fix Them)?
Even with the correct setup, issues with Zoom VDI can still occur. Most are fixable with a quick version check, reinstallation, or permission update.
Here are the most common problems, and how to solve them:
1. Plugin Not Working or Missing
- Symptom: You don’t see the “plugin connected” message after launching Zoom.
- Fix: Check if your Zoom VDI client and plugin are on the same version. If not, update both. Zoom recommends matching versions exactly.
2. Plugin Disconnect or Not Loading
- Symptom: Plugin works briefly, then stops.
- Fix: Reinstall the plugin. Ensure it’s the correct vdi plugin for your platform. Also, verify that background services aren’t being blocked by your environment.
3. Permissions or Installation Problems
- Symptom: You can’t complete the install or see errors during setup.
- Fix: Run the installer with full administrator privileges. It’s also worth checking group policy restrictions if the system is managed centrally.
4. AV Issues (Audio/Video)
- Symptom: Poor quality or media not loading at all.
- Fix: Check device settings inside Zoom, or reinstall the client using the latest recommended release.
Always start by verifying versions and plugin compatibility before diving deeper into configurations.
Can You Use Zoom VDI Across Platforms Like Citrix, AVD, or VMware?
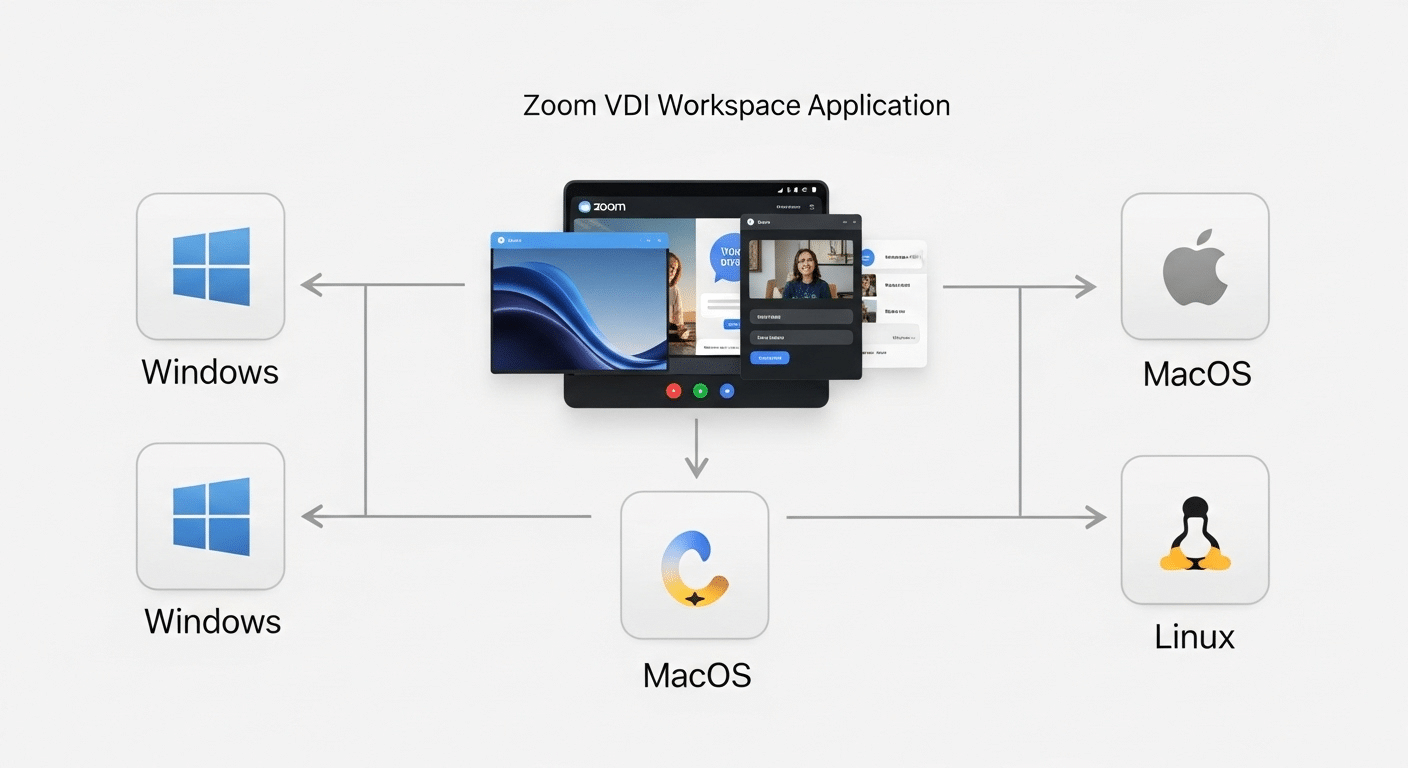
Yes, Zoom VDI is built for flexibility, and it supports the three most widely used virtual desktop platforms: Citrix, Azure Virtual Desktop (AVD), and VMware Horizon.
Each platform uses a dedicated vdi plugin that works alongside the Zoom VDI workspace app. The secrete is to make sure your environment is fully compatible and that the correct plugin is deployed to your local device.
Supported Platforms for Zoom VDI:
- Citrix Workspace Client
Works with the Citrix-hosted virtual desktop and uses the Citrix VDI plugin. Ensure the Workspace Client is updated to the latest stable release. - Azure Virtual Desktop (AVD)
Zoom provides specific integration for AVD. You’ll need to pair the Zoom VDI client with the AVD plugin that matches your environment. - VMware Horizon
If your organization uses Horizon for virtual access, install the corresponding plugin alongside your Zoom VDI workspace app.
In all cases, it’s important to match the plugin version to your Zoom VDI client. Mismatches between platform and plugin are one of the most common reasons Zoom VDI doesn’t behave as expected.
Best Practices to Keep Zoom VDI Running Smoothly
After setup, keeping Zoom VDI in top condition comes down to a few consistent habits. These best practices help reduce performance issues and ensure your users get the experience they expect.
Follow these tips:
- Keep everything updated
Regularly check for Zoom VDI client and plugin updates. An outdated version can break connectivity or reduce AV performance. - Restart services periodically
Rebooting VDI sessions, especially after updates, ensures smoother function and fewer resource conflicts. - Monitor bandwidth and latency
Zoom depends on reliable network performance. High latency can affect audio, video, and screen sharing inside the desktop environment. - Use recommended hardware
Make sure your thin clients or local devices meet Zoom’s recommended specifications. Underpowered machines can lead to choppy performance. - Confirm working plugins
Always test configurations after changes. Small mismatches in plugin versions often go unnoticed until performance issues appear.
Getting these details right ensures that Zoom works not just today, but long-term inside your virtual desktop ecosystem.
Want a Faster, Simpler Way to Deliver Zoom in Virtual Desktops? Try Apporto

If managing Zoom VDI clients, plugins, and platform dependencies feels heavy, Apporto offers a modern, streamlined alternative.
It delivers Zoom-ready virtual desktops through a cloud-native platform that handles optimization, scaling, and updates for you.
Apporto’s cloud workspaces come pre-configured to support video conferencing tools, including Zoom, with minimal setup. Whether you’re supporting classrooms, remote teams, or hybrid workers, the experience is smooth, fast, and easy to manage.
No plugins to match. No infrastructure to maintain. Just log in, launch, and collaborate.
Try Apporto if you’re looking to simplify your Zoom VDI strategy without compromising quality or control.
Final Thoughts
If your team relies on virtual desktops, setting up Zoom VDI is a smart move. It turns sluggish, high-latency sessions into smoother, more responsive experiences with clearer audio and video.
With the right setup—client, plugin, and version match—you gain better performance and more control over your environment. And for organizations that prefer a plug-free, simplified experience, platforms like Apporto can offer a faster path to deployment.
Keep your system updated. Verify your configuration. And if this article helped, consider sharing your feedback or exploring deeper optimization options.
Frequently Asked Questions (FAQs)
1. What is the difference between Zoom and Zoom VDI?
Zoom is the standard video conferencing application for local devices, while Zoom VDI is optimized for virtual desktop infrastructure environments like Citrix, VMware, and Azure Virtual Desktop. Zoom VDI improves audio, video, and screen-sharing performance by offloading media processing to local endpoint devices.
2. What is a Zoom VDI plugin?
A Zoom VDI plugin is a software component that works with the Zoom VDI client to optimize audio and video performance in virtual desktop environments. It processes media locally on endpoint devices to reduce latency and improve meeting quality.
3. How to check if Zoom VDI plugin is installed?
Open the Zoom VDI client inside your virtual desktop session and look for the “Plugin Connected” message in the application window. This confirms the Zoom VDI plugin is installed correctly and actively optimizing media performance.
4. Do I need both the client and plugin?
Yes. The Zoom VDI client runs the app, and the plugin handles media offloading to your local device. Both are required for full functionality.
5. What if the plugin fails to connect?
Check that both the client and plugin versions match. Reinstall both if needed, and verify your administrator privileges during installation.
6. Can I install Zoom VDI without admin rights?
No. You need full administrator access to install both the Zoom client and plugin correctly.
7. Is Zoom VDI better than using Zoom in a browser?
Absolutely. Zoom in a browser lacks optimizations for AVD, Citrix, or VMware platforms. The full Zoom VDI setup delivers better performance, reduced latency, and a more secure experience in VDI environments.
