How to Teach Students to Use AI Responsibly?
Teaching students to use AI responsibly requires combining AI literacy, critical thinking, clear classroom policies, and academic integrity guidelines. Students should learn how AI works, how to verify outputs, and when disclosure is required. Platforms like Apporto TrustEd help schools support transparent, policy-aligned AI use with human oversight.
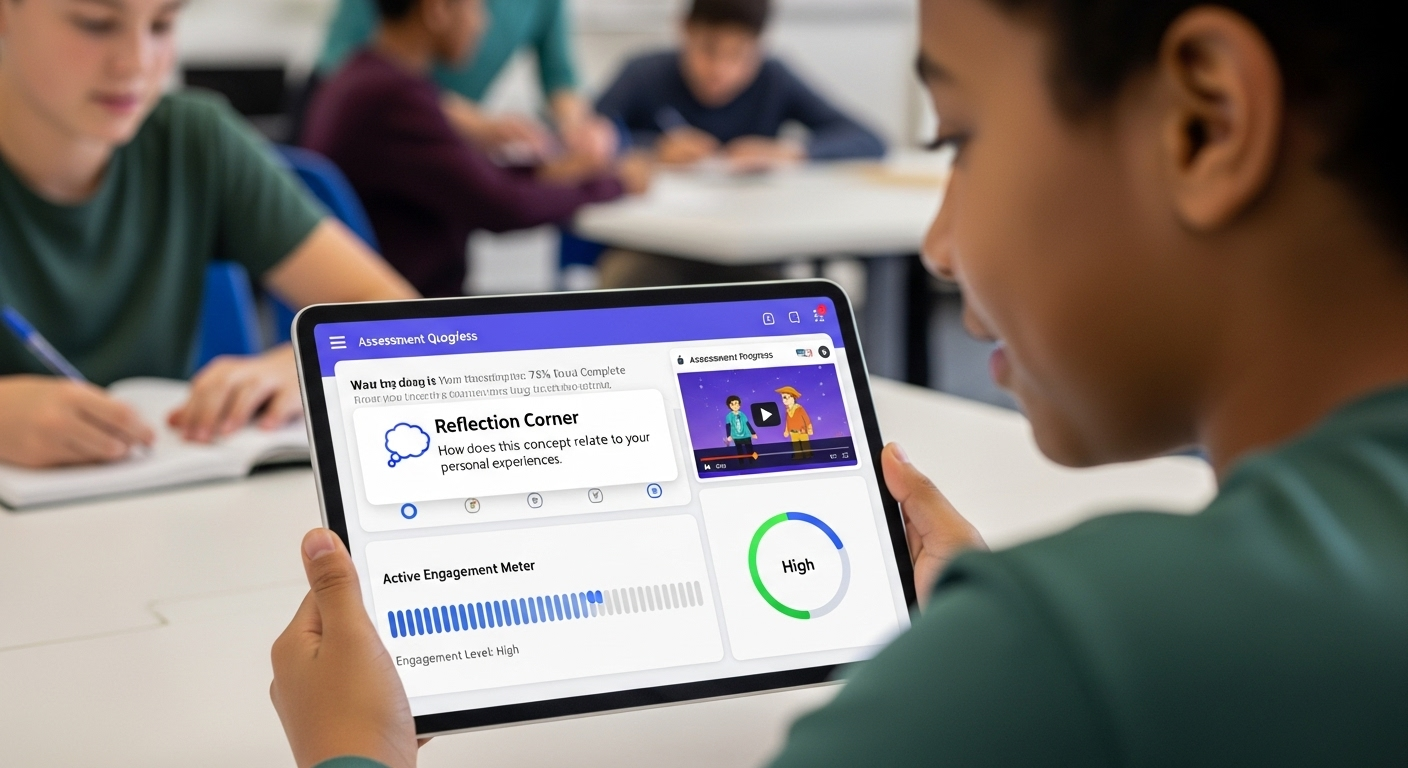
Students use AI tools to brainstorm ideas, organize notes, generate summaries, and receive instant feedback. In many classrooms, AI is no longer optional. It is present in writing assignments, research projects, and even problem solving exercises.
Because AI is increasingly integrated into education, you cannot assume students will know how to use it responsibly. AI literacy has become a key skill.
Just as digital literacy once focused on search engines and online safety, today it must include an understanding of how artificial intelligence works.
Students need to understand how AI learns from data patterns, how it generates responses, and why it can sometimes produce biased or incorrect information. Without that foundation, AI use becomes passive. Students may accept outputs without question.
AI can support human thinking. It can simplify complex topics, offer personalized learning support, and help students manage their workload. But it does not replace reasoning, judgment, or original thought.
If you want to teach students how to use AI responsibly, you must treat responsible AI education as intentional instruction, not an afterthought. AI literacy belongs at the center of modern learning.
What Does Responsible AI Use Actually Mean in the Classroom?
Responsible AI use in the classroom begins with clarity. Students need to understand that artificial intelligence is a tool, not a substitute for their own thinking. To use AI responsibly means to use it in ways that are honest, safe, and fair.
Ethical use requires transparency. If AI helps generate ideas, organize writing, or summarize content, that assistance should be acknowledged.
Academic integrity remains the foundation of all schoolwork. When AI generated work is submitted without disclosure, it creates risk. It blurs authorship and can lead to academic dishonesty.
There is also a clear difference between AI assistance and AI replacement. Assistance might include brainstorming, refining grammar, or creating practice questions.
Replacement occurs when AI does the core intellectual work. Responsible AI use means students remain the primary author and decision maker.
Institutions vary in their AI policies. Some allow limited AI support. Others restrict certain generative AI tools for assignments. That is why you should define acceptable AI use in the syllabus. State which tools are allowed, for what purposes, and when disclosure is required.
When students are taught to use AI ethically and with transparency, AI becomes a support for learning rather than a shortcut around it. Responsible AI use strengthens academic integrity instead of weakening it.
Why AI Literacy Must Come Before AI Integration?

Students need foundational AI literacy before they can use AI tools responsibly. Without that understanding, AI becomes a shortcut instead of a learning tool. You cannot expect students to use generative AI tools wisely if they do not understand how AI works.
Artificial intelligence does not think the way humans do. AI learns from data patterns. It analyzes vast amounts of text and predicts likely word sequences.
It does not reason through ideas or understand truth. This distinction matters. When students believe AI “knows” the answer, they stop questioning it.
AI can also produce hallucinations. In this context, a hallucination is false information presented confidently. AI can fabricate facts, misattribute quotes, or provide outdated information.
It can reflect biased data from its training sources. If biased or incomplete data is used to train a model, that bias can appear in its outputs.
AI lacks intuition. It does not have judgment, context awareness, or lived experience. It generates responses based on statistical probability, not comprehension.
That is why AI literacy must become a core part of digital literacy. Students need critical thinking skills before they integrate AI into their assignments.
Key Concepts Students Should Understand
- AI learns from patterns in data, not independent reasoning.
- AI can be confidently wrong.
- AI output can reflect bias and stereotypes.
- AI does not understand truth or context.
- AI responses must be verified with reliable sources.
When students understand these principles, they become active users instead of passive consumers.
How Can You Build Critical Thinking Into AI Use?
AI literacy without critical thinking creates dependency. If students accept AI answers without analysis, they risk outsourcing judgment. Generative AI tools can generate ideas quickly, but speed does not guarantee accuracy.
Students should question AI answers at all times. AI can produce biased, incorrect, or incomplete outputs. It can rely on outdated information. It may sound authoritative even when the response lacks depth. When students assume that polished language equals correctness, critical thinking weakens.
To teach students how to use AI responsibly, you must treat AI as a starting point, not a final source. AI can function as a learning tool, but only when paired with evaluation. Students must double check information using reliable sources such as academic journals, textbooks, and reputable databases. The goal is not to eliminate AI use. The goal is to strengthen judgment.
Practical Strategies
- Require students to verify AI generated content with reliable sources before submission.
- Ask students to critique AI responses and identify weaknesses or missing perspectives.
- Compare AI output with academic databases and search engines to check accuracy.
- Require short reflections explaining how AI was used and where it fell short.
- Encourage classroom discussions about ethical considerations and bias in AI systems.
When students evaluate AI tools instead of relying on them blindly, they develop stronger critical thinking skills. AI can help generate ideas, but it should never replace independent reasoning.
How Should You Restructure Coursework to Encourage Responsible AI Use?

If you want students to use AI responsibly, you must redesign assignments with intention. When coursework focuses only on the final product, AI becomes tempting as a shortcut.
When you emphasize the learning process, AI becomes a support tool instead of a replacement.
Shift attention toward drafts, outlines, and revisions. Ask students to show how their ideas develop over time. This approach strengthens writing skills and reinforces ownership of work.
AI can help with brainstorming and organizing thoughts, but students should remain the primary thinkers.
Generative AI tools can also create practice questions or summarize complex topics. They can automate repetitive tasks such as formatting or note sorting.
These uses support student learning without replacing reasoning. When you integrate AI thoughtfully, it becomes part of structured classroom strategies rather than an uncontrolled influence.
Tiered AI Assignment Model
- Level 1: No AI allowed. Students complete assignments independently to build foundational skills.
- Level 2: AI for brainstorming only. Students may generate ideas but must write independently.
- Level 3: AI for structured assistance with documentation. Students can use AI to outline or organize, with full disclosure.
- Level 4: AI-integrated project work with full transparency and reflection.
Additional Requirements
- Require documentation of AI prompts used.
- Ask for short reflection statements about how AI supported the work.
- Require proper citation of AI assistance in assignments.
When you design assignments with clarity, students learn not just how to use AI, but how to use it responsibly.
How Can Teachers Model Responsible AI Behavior?
Students learn as much from observation as from instruction. If you want to teach AI responsibly, your own behavior in the classroom sets the standard. Teachers should model responsible AI use openly and consistently.
When you use AI tools for lesson planning, brainstorming, or organizing content, explain how and why you are using them. Demonstrate ethical AI use in class.
Show students how to verify outputs, cross-check facts, and refine AI generated suggestions instead of accepting them without question. This transparency builds trust.
It is equally important to show how to cite AI assistance properly. If AI contributes to an example assignment or draft, demonstrate how that support should be acknowledged. Modeling citation practices reinforces academic integrity and normalizes disclosure.
You can also use current events to spark ethical discussions about artificial intelligence. News stories about biased data, misinformation, or automated decision systems create natural opportunities to explore ethical considerations. These conversations help guide students beyond technical skills and toward thoughtful use.
When teachers approach AI with curiosity and caution, students are more likely to do the same. Responsible AI education begins with example.
What Ethical Risks Should Students Understand About AI?

Responsible AI education must address ethical risks directly. Artificial intelligence can be a powerful tool, but it carries limitations that affect fairness, privacy, and truth. If students do not understand these risks, responsible use becomes unlikely.
AI systems learn from large collections of data. If that data contains bias, stereotypes, or historical inequalities, the outputs can reflect those same patterns.
AI can produce biased, racist, or sexist responses. These issues are not rare exceptions. They are documented limitations of machine learning systems.
AI can also fabricate information. It may generate statistics, quotes, or references that sound convincing but are inaccurate or completely false.
These fabricated responses are sometimes called hallucinations. When students accept them without verification, misinformation spreads.
Privacy is another concern. AI companies may store user data. Students must protect personal information and avoid sharing sensitive details. Responsible use requires awareness of how data is collected and reused.
AI is only as good as the data it receives. It does not understand context or moral implications. That responsibility remains human.
Ethical Considerations to Teach
- Bias in training data can influence AI outputs.
- Hallucinated facts may appear credible but be incorrect.
- Data privacy risks require careful information sharing.
- Over-reliance on AI can weaken real learning and critical thinking.
- Screen time balance and human connection remain essential in everyday life.
How Can AI Support Real Learning Instead of Replacing It?
Artificial intelligence becomes valuable in education when it strengthens student learning instead of substituting it. The distinction matters.
AI can provide instant feedback on drafts, quizzes, and practice exercises. That speed helps students correct mistakes early and refine their thinking before final submission.
AI can also help students stay organized. It can summarize notes, outline assignments, and suggest study plans. When used intentionally, it supports time management and reduces confusion.
This structure allows students to focus on understanding complex topics rather than managing logistics.
Personalized support is another potential benefit. AI systems can adapt explanations to different levels of difficulty. Students who need additional examples can request them. Those who grasp a concept quickly can explore deeper material.
Combined with teacher guidance, this flexibility encourages independent learners to take ownership of their progress.
AI can help manage the overall learning process. It can generate practice questions, clarify terminology, and assist with repetitive tasks such as formatting or restructuring outlines. In that sense, it is a helpful tool that can save time.
However, AI should function as a complement to human instruction, not a replacement. It can support problem solving, but it cannot replicate judgment, creativity, or meaningful discussion.
When you frame AI as an assistant rather than an authority, you preserve the core purpose of education: developing capable, thoughtful individuals.
How Should Schools Establish Clear AI Policies?

Banning AI may feel decisive, but clarity is more effective than prohibition. Artificial intelligence is already a core part of modern learning. Instead of attempting to remove it from the classroom, schools should define how to use AI responsibly within clear boundaries.
Start by engaging students in rule creation. When students participate in discussions about responsible use, they better understand the reasoning behind policies. This shared responsibility strengthens academic integrity.
Define acceptable AI use in the syllabus. Specify which tools are allowed, for what purposes, and under what conditions. If AI can be used for brainstorming or outlining but not for final submissions, state that clearly. Require AI documentation so students disclose how and where AI contributed to their assignments.
Transparency expectations should be explicit. When students understand that disclosure is expected, misuse becomes less likely. Clear communication reduces confusion and builds trust.
Policy Components
- Allowed AI tools: Identify approved generative AI tools and their permitted uses.
- Prohibited uses: Clarify when AI generated work is not acceptable.
- Citation requirements: Require students to credit AI assistance clearly.
- Review process: Outline how AI use will be evaluated in assignments.
- Consequences for misuse: Define fair and consistent responses to violations.
When policies are structured and visible, responsible use becomes part of classroom culture rather than an afterthought.
How Can Apporto Help Schools Teach and Govern Responsible AI Use?
Clear policies are essential, but policy alone is not enough. Schools also need systems that reinforce responsible AI oversight in a consistent and fair way.
TrustEd is designed specifically for academic institutions that want to protect academic integrity while integrating AI tools thoughtfully.
Instead of delivering automatic judgments, it provides structured insights that help educators review student submissions with context.
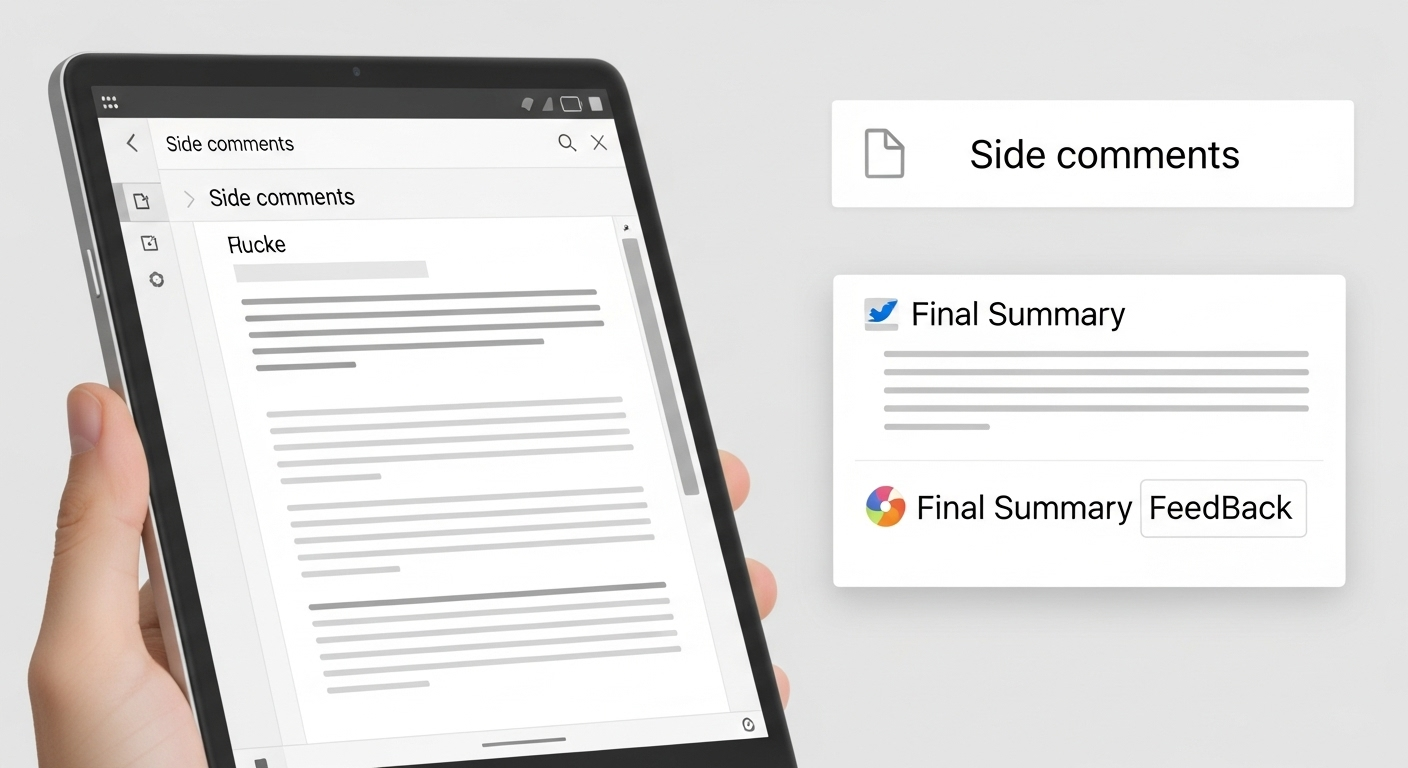
Its context-aware detection model analyzes patterns in writing while allowing instructors to apply professional judgment. AI content detection becomes part of a guided review process, not a final verdict. This approach helps reduce false positives and protects legitimate student work.
TrustEd aligns with institutional AI policies by supporting documentation, transparency, and review workflows. It does not replace educator decision making.
It strengthens it. When AI oversight systems are transparent and balanced, students understand expectations more clearly.
If your institution is developing policies around responsible AI use, you should also consider how those policies are implemented in practice.
TrustEd provides the structure to connect classroom expectations with consistent evaluation, helping you promote fairness and accountability as AI tools become more common in education.
Conclusion
Artificial intelligence is not a temporary trend in education. It is becoming part of how students research, write, and solve problems. That reality calls for thoughtful instruction, not reaction.
AI literacy must be integrated across subjects, not confined to a single lesson or workshop. When students understand how AI works and where it fails, they become more capable users. Critical thinking remains central. AI can generate ideas, organize information, and provide instant feedback, but it cannot replace human judgment.
Students must learn to question outputs, verify claims, and reflect on how they use AI tools. That habit of inquiry protects academic integrity and strengthens real learning. Transparency builds trust. Clear policies, documented AI use, and open discussion reduce confusion and prevent misuse. When expectations are visible, responsible behavior becomes more likely.
AI is a powerful tool, not a replacement for reasoning or creativity. If you teach students to use AI responsibly, you prepare them for future careers and civic life where artificial intelligence will play a growing role. Review your syllabus, refine your classroom strategies, and make responsible AI education a deliberate part of your teaching practice.
Frequently Asked Questions (FAQs)
1. How can you teach students to use AI responsibly in everyday classroom assignments?
You should define acceptable AI use clearly, require documentation of AI assistance, and build reflection into assignments. Responsible AI education combines transparency, verification, and structured guidance.
2. Why is AI literacy important for students today?
AI literacy helps students understand how artificial intelligence works, where it can fail, and how to evaluate AI generated content critically. It is now a core part of digital literacy.
3. Is using AI for schoolwork always considered academic dishonesty?
Not necessarily. Policies vary across institutions. Academic integrity depends on how AI is used, whether it replaces original work, and whether AI assistance is properly disclosed.
4. How can teachers encourage responsible AI use without banning AI tools?
You can establish clear classroom policies, model ethical AI use, and require students to verify outputs. Structured guidelines are more effective than blanket bans.
5. What risks should students understand before using generative AI tools?
Students should understand that AI can reflect biased data, fabricate information, and store user input. They must verify outputs and protect personal information.
6. Can AI actually improve student learning?
Yes, when used thoughtfully. AI can provide instant feedback, help students stay organized, and support independent learning. It should complement instruction, not replace critical thinking.
7. How can schools maintain academic integrity while integrating AI tools?
Schools should combine clear policies, transparency requirements, and responsible oversight systems. AI use must be documented, reviewed, and aligned with institutional expectations to protect fairness.