What Is Citrix Client?
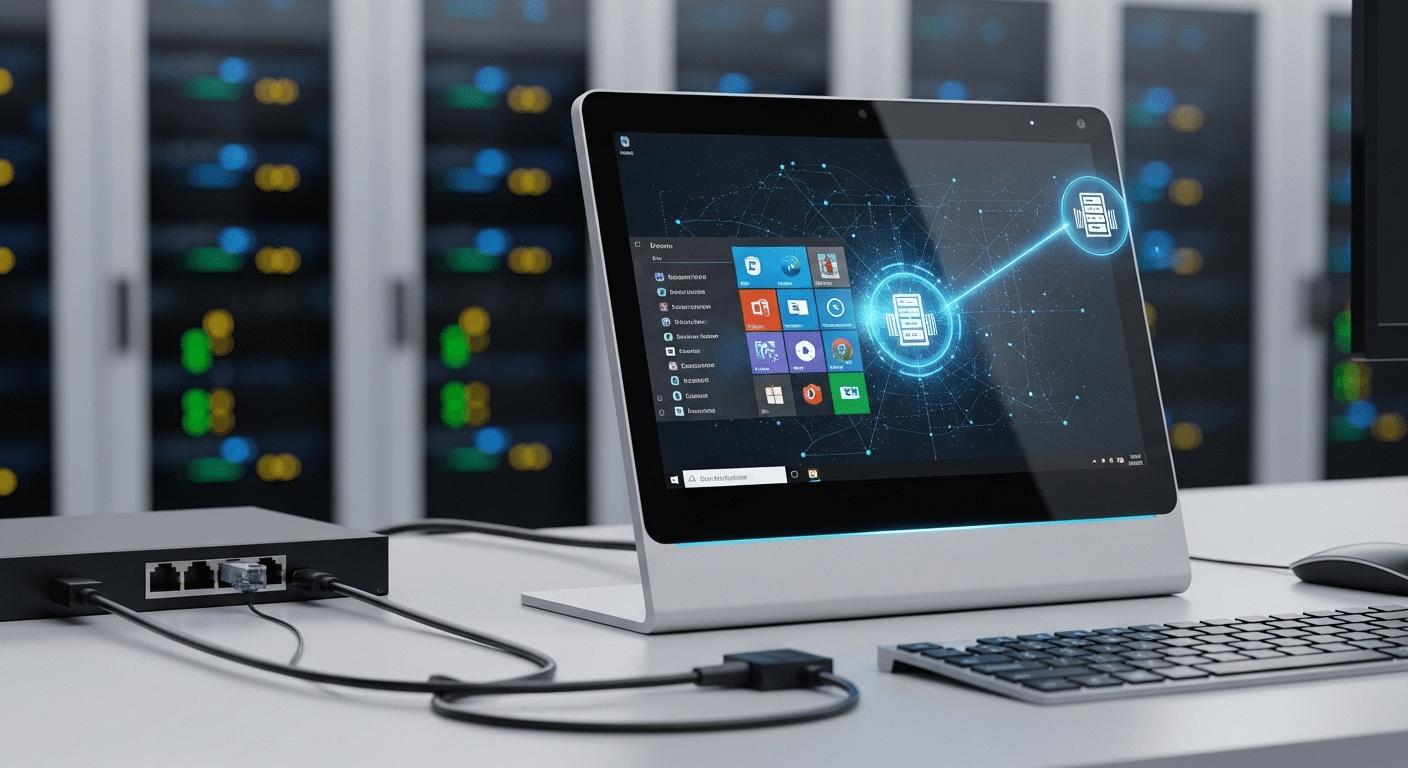
A Citrix client is software that connects users to virtual desktops and applications hosted on remote servers or cloud environments. Through tools like Citrix Workspace, organizations deliver secure remote access without installing applications locally. Browser-based alternatives like Apporto simplify access by removing traditional client installation requirements.
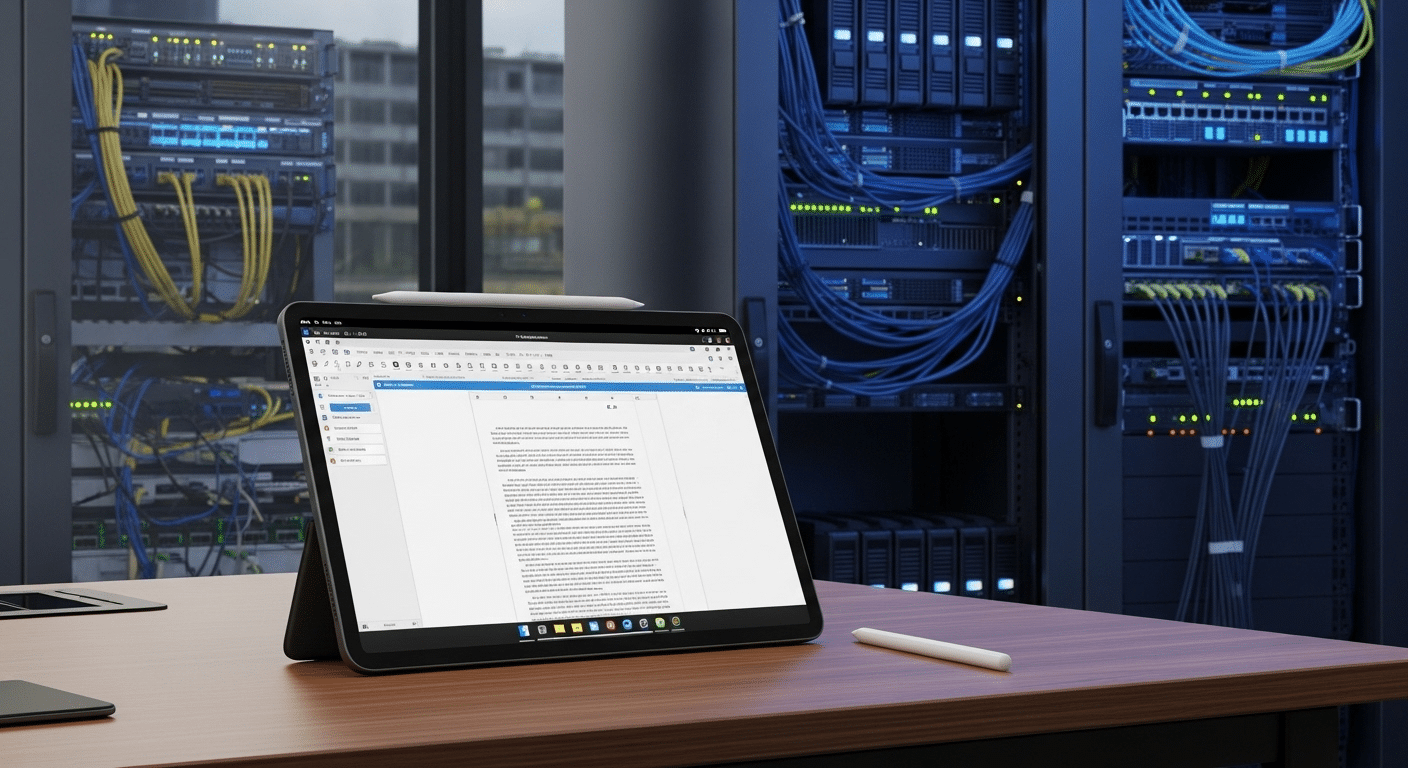
Most modern applications no longer live on the device in front of you. They run somewhere else, inside a data center or cloud environment, while you interact with them through a secure connection. This approach is made possible by desktop virtualization and application virtualization, technologies that allow organizations to centralize software while still giving employees flexible access.
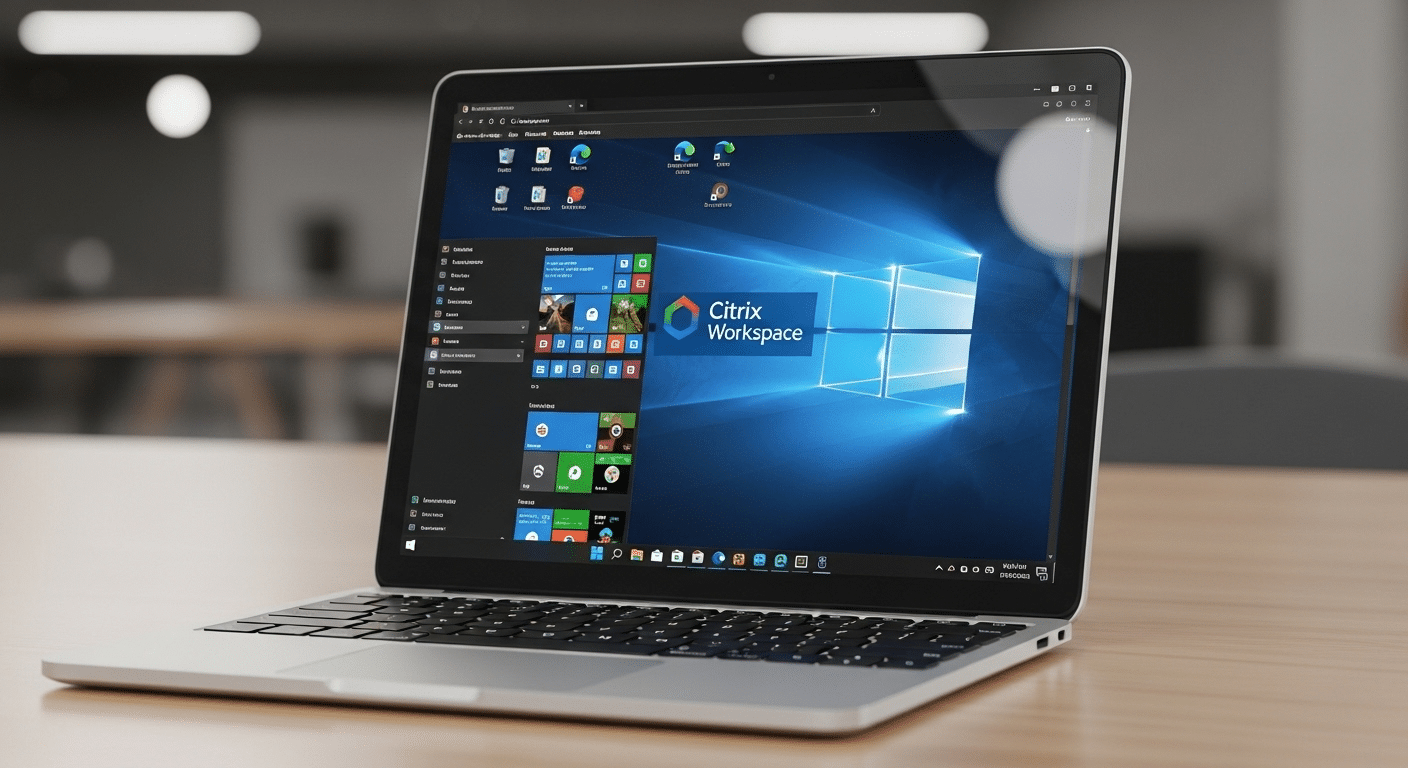
Companies rely heavily on Citrix Systems to deliver this model. A Citrix client acts as the bridge between your device and those hosted environments, allowing you to open company applications without installing them locally. Through Citrix Workspace, users gain remote access to desktops and apps running in secure infrastructure.
In this blog, you’ll learn what a Citrix client is, how it works, and why organizations use it to support secure, flexible work environments.
What Is a Citrix Client and What Does It Actually Do?
A Citrix client is software installed on your device that allows you to connect to applications running somewhere else, usually on servers inside a company data center or cloud environment. The program itself does not contain the applications. Instead, it acts as a secure doorway. You open the client, authenticate, and the system presents the apps or desktops hosted on remote infrastructure.
From your perspective, those programs behave almost like local software. Click, type, move windows around. Everything feels familiar. Behind the scenes though, the actual processing happens on the server side while your device simply displays the interface.
This model allows organizations to deliver Citrix Virtual Apps and entire desktop environments without installing heavy software on every computer.
The idea isn’t new. Citrix Systems, founded in 1989, spent decades refining ways to deliver applications remotely. Early work focused heavily on Microsoft operating systems, and one of the first breakthroughs was a product called Citrix Multiuser, which allowed multiple people to access software hosted on a single server.
That concept later evolved into several well known platforms, including WinFrame, MetaFrame, Presentation Server, and XenApp.
Today, most users interact through the Citrix Workspace App, the modern successor to Citrix Receiver. The purpose remains the same, connect people to centralized applications quickly, securely, and from almost any device.
How Does the Citrix Client Connect You to Virtual Apps and Desktops?
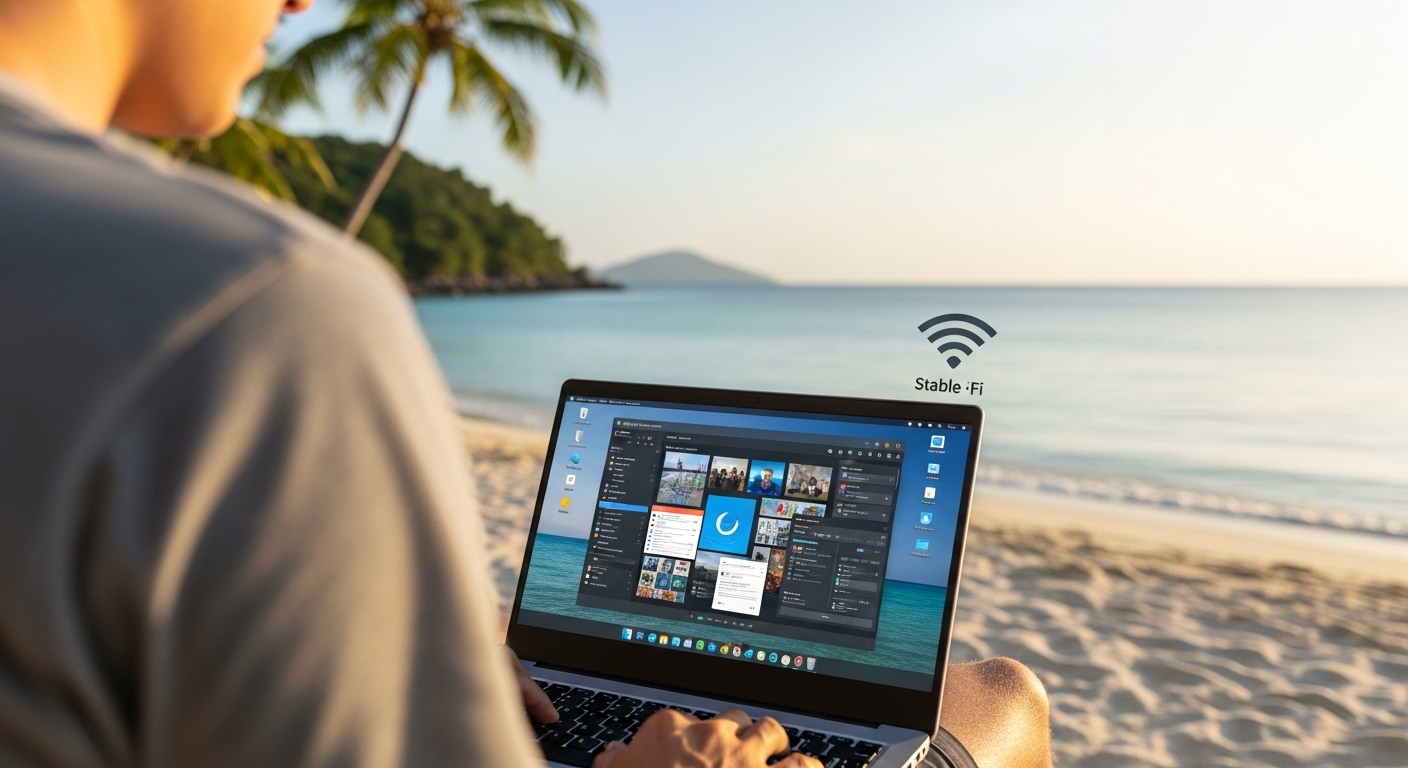
Once the Citrix client is installed, the real magic happens quietly in the background. You open the Citrix Workspace app, sign in, and choose the application or desktop you need. From that moment forward, the device in front of you becomes more of a window than a workstation.
The actual applications live elsewhere, usually on a remote server inside a virtual desktop infrastructure environment. Those servers run the software, process the commands, and manage the data.
Your device simply displays the results and sends back your inputs. Click a button, type a sentence, move a file. The instructions travel across the network, get executed on the server, and the screen refreshes almost instantly.
This model works especially well for thin client environments, where devices do not need powerful processors or large local storage. The heavy lifting happens in centralized systems running virtual machines. Your laptop, tablet, or desktop just acts as the interface.
Several technologies make this interaction smooth and reliable.
Core technologies powering Citrix client connections
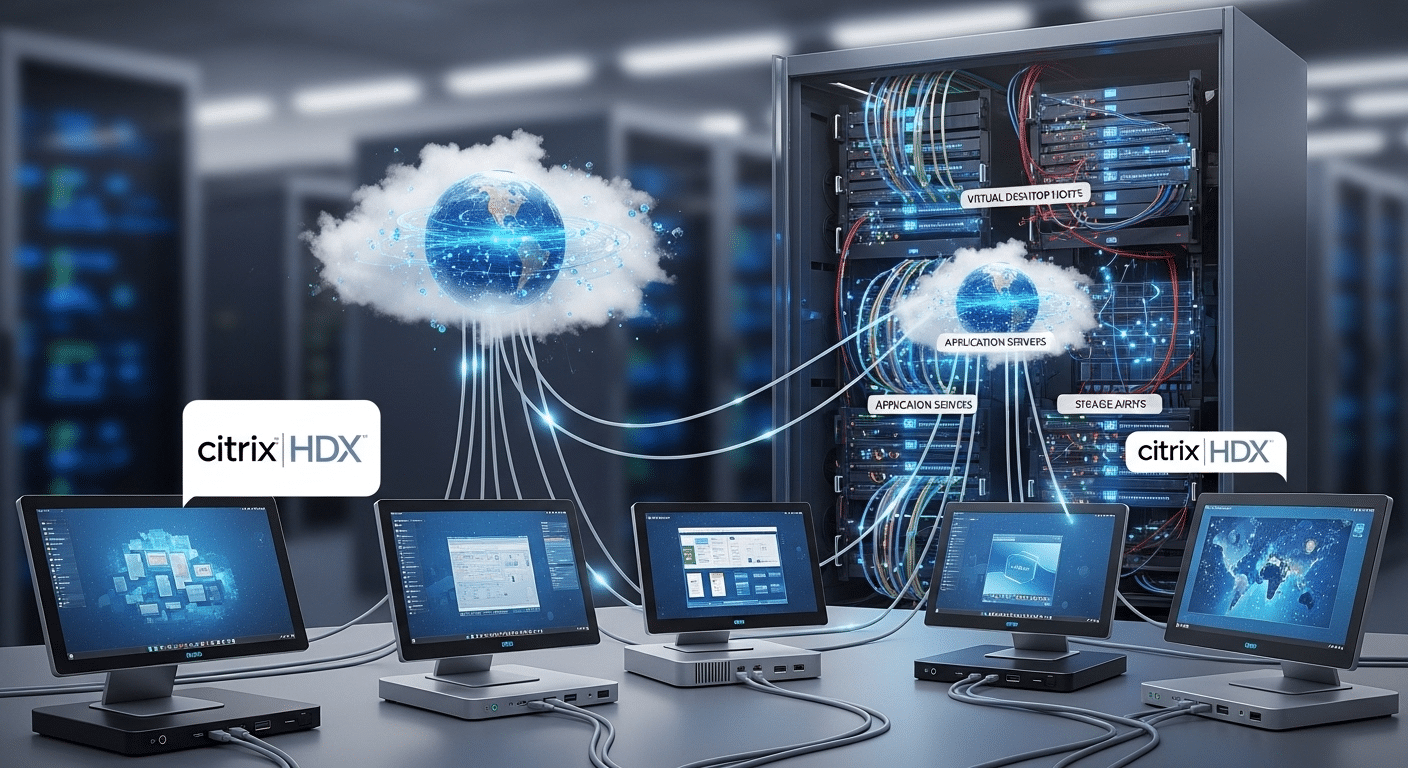
- ICA Protocol Handles communication between the Citrix client and the remote server, transmitting screen updates, keyboard input, and mouse actions.
- HDX Technology Enhances graphics, video, and audio performance so applications remain responsive even on slower networks.
- Remote Desktop Services Integration Citrix builds on Microsoft RDS to deliver Windows desktops and applications from centralized servers.
- Citrix Gateway Provides secure authentication and remote connectivity before users gain access to internal systems.
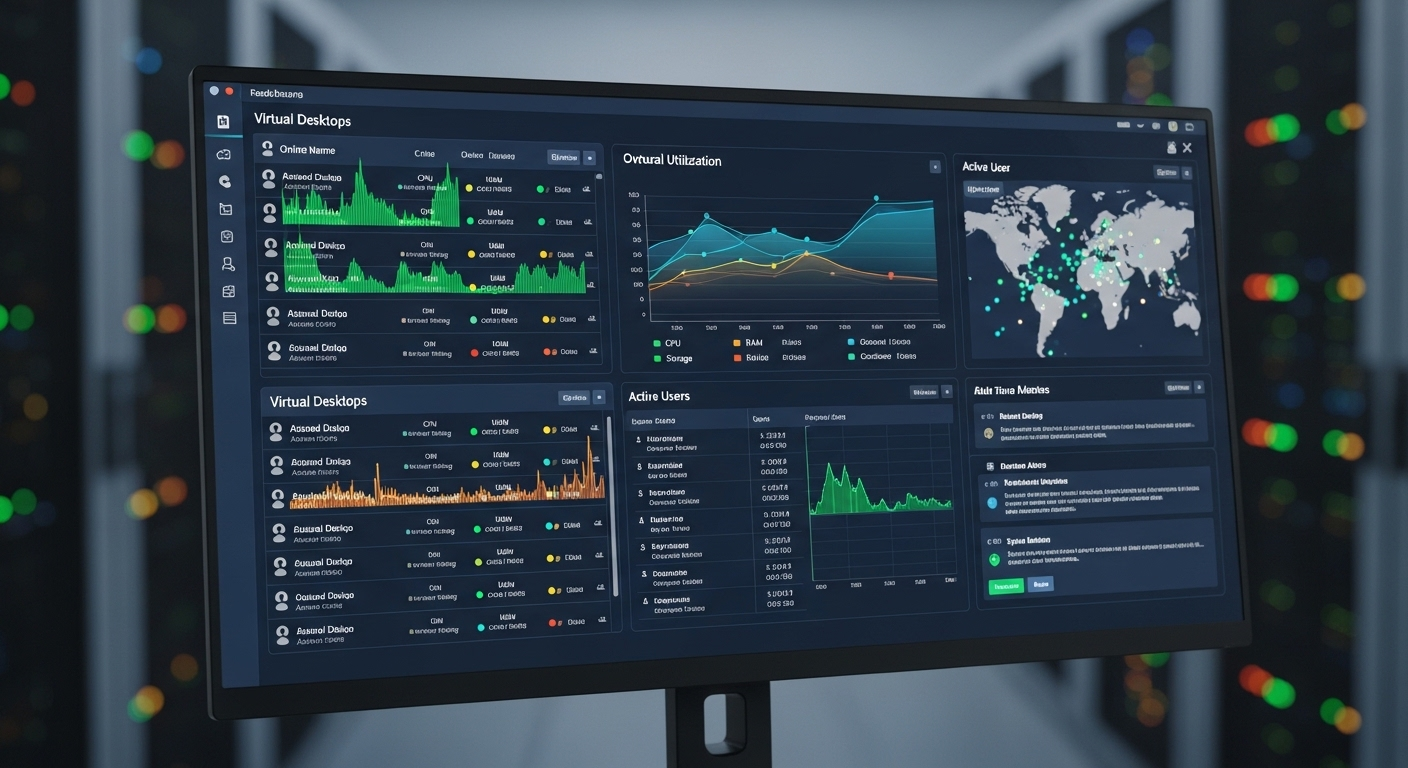
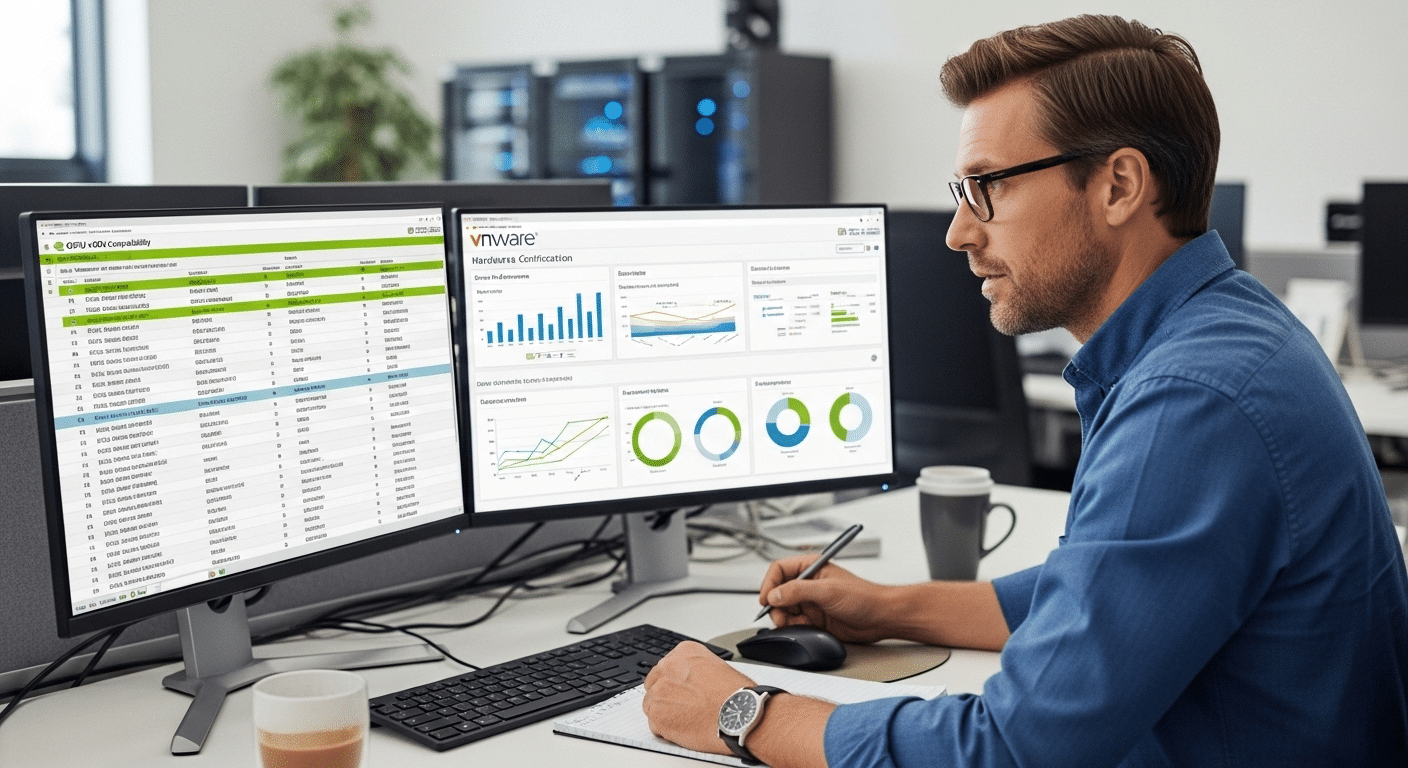
What Features Does the Citrix Workspace Client Provide?
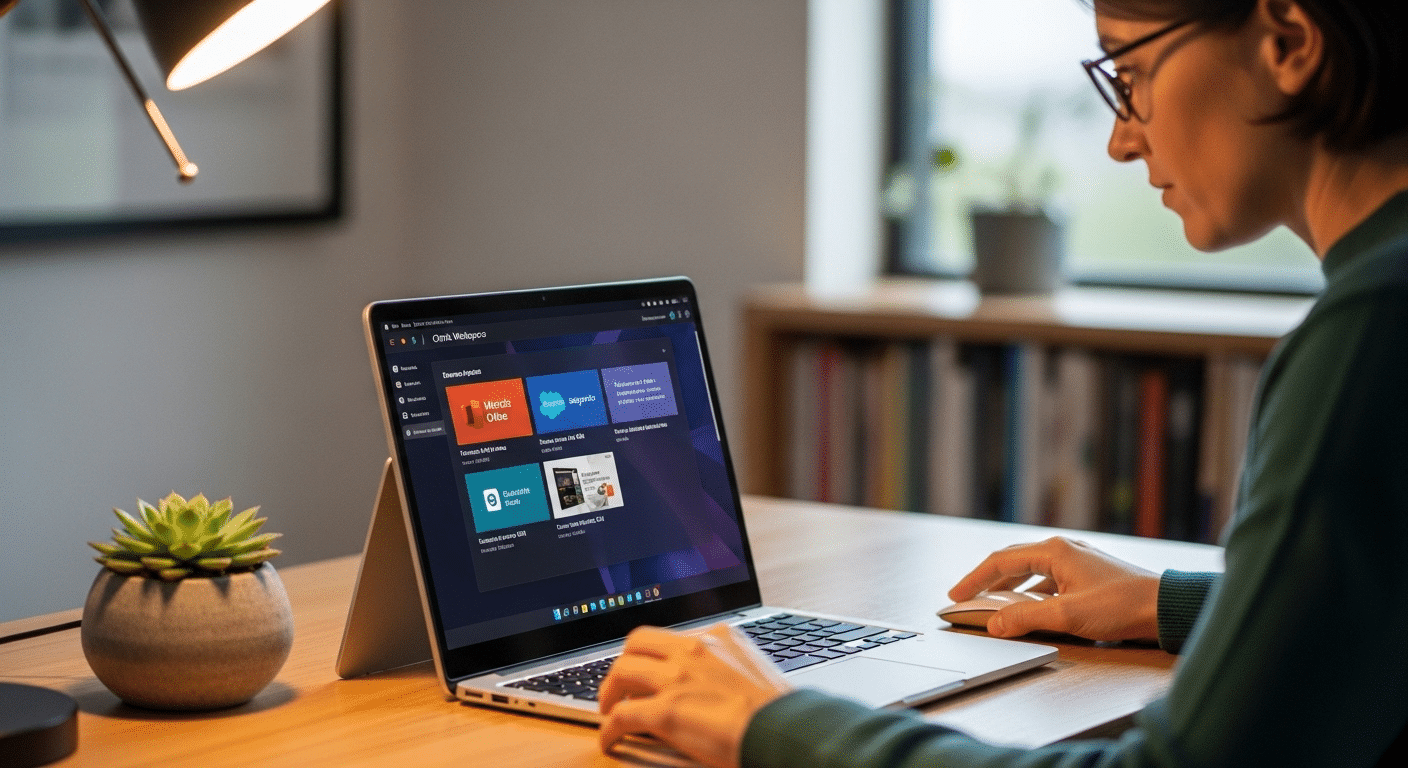
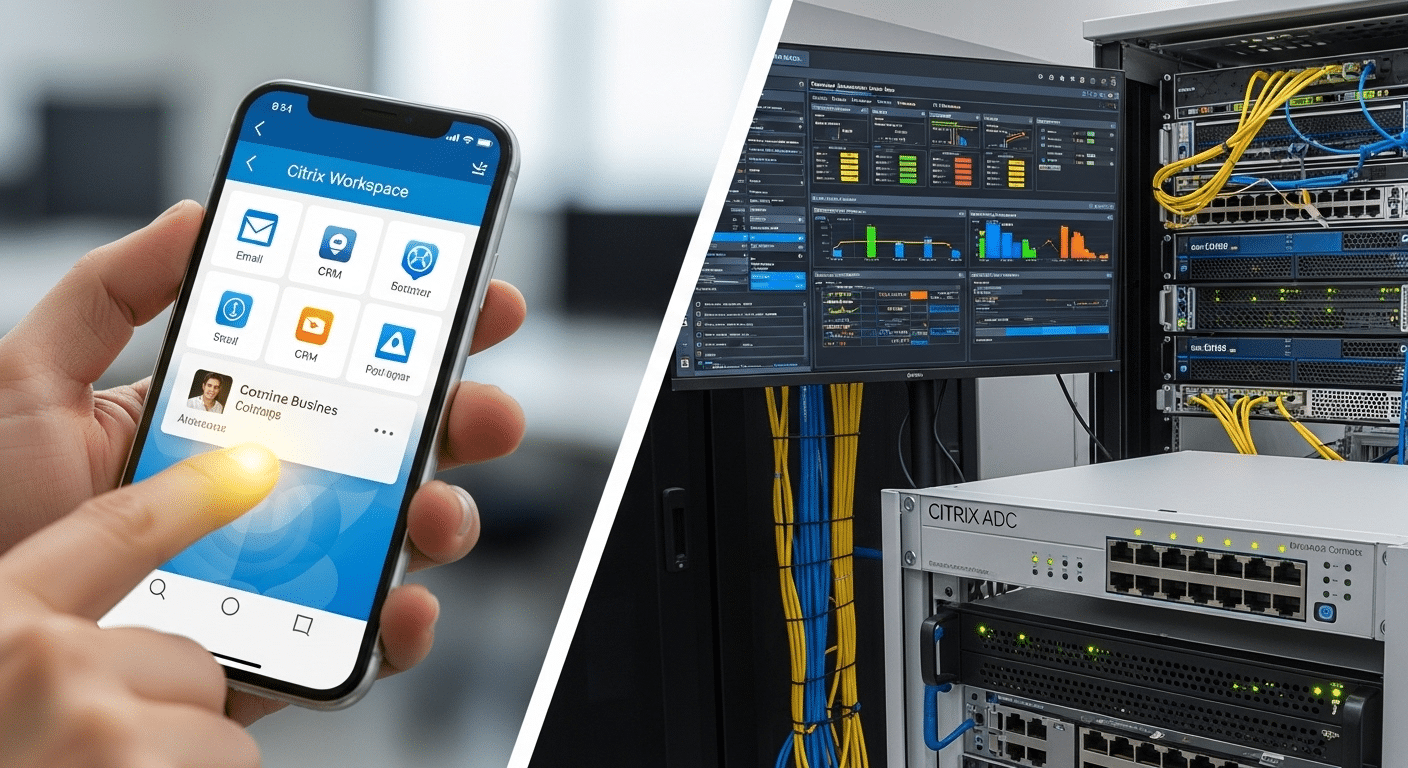
The Citrix Workspace client looks like a simple launcher. Open it, log in, click an app. Done. But underneath that quiet interface sits a fairly capable system designed to give users consistent access to applications and desktops from almost any device.
The goal is simplicity. Instead of juggling multiple logins or installing different programs across machines, Citrix Workspace gathers everything into one place. Applications, desktop environments, and company tools appear inside a unified workspace. You log in once, choose what you need, and the software connects you to the right environment.
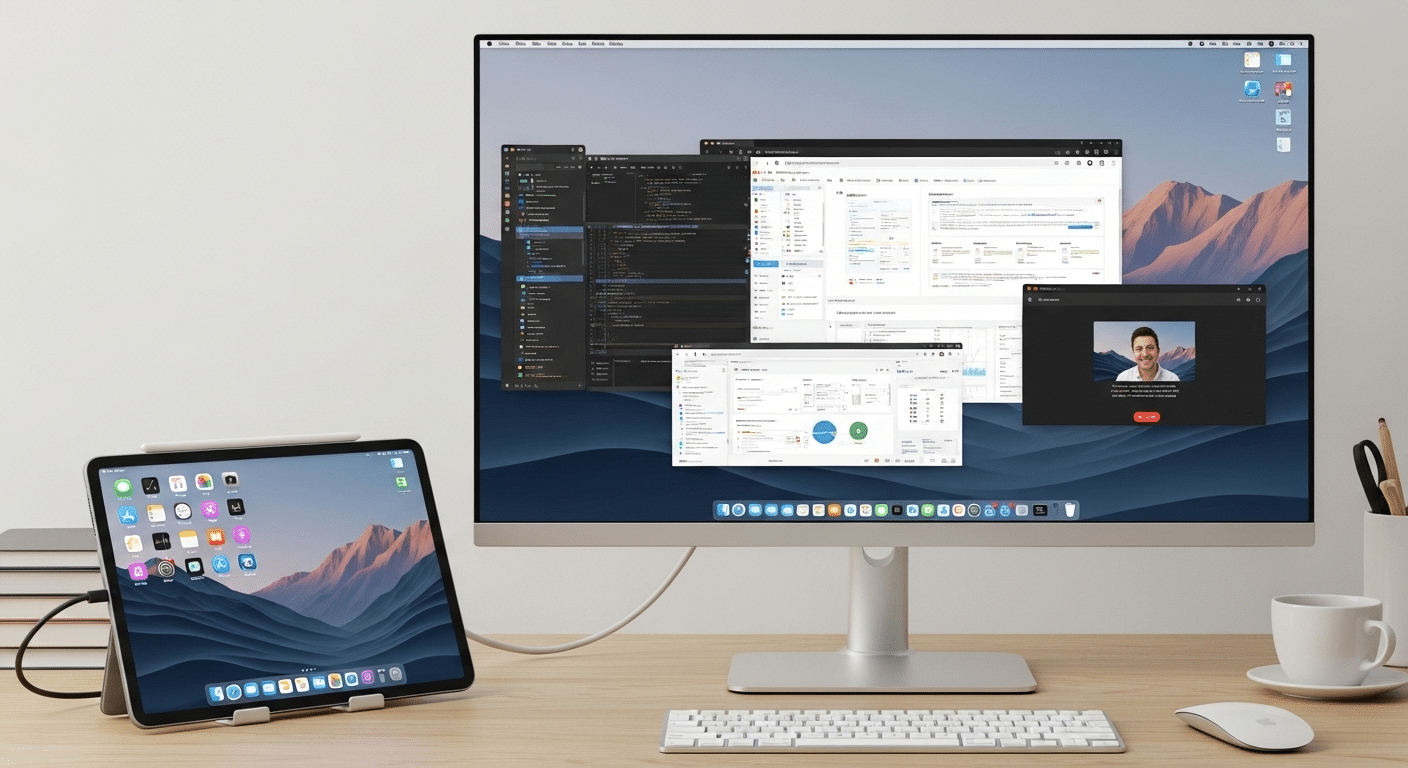
This approach also solves a practical problem. Employees rarely work from just one computer anymore. Some start the day on a laptop, continue on a tablet, maybe check something quickly on a phone.
The Citrix client maintains a consistent interface across mobile devices, desktops, and thin clients so the experience feels familiar no matter where you connect from. Behind the scenes, authentication and session management keep everything organized and secure.
Core capabilities of Citrix client software
- Cross Platform Access: Supports Windows, macOS, Linux, Android, iOS, and HTML5 browsers so users access applications from almost any device.
- Single Sign On: Allows users to authenticate once and reach multiple company applications without repeated logins.
- Session Reliability: Maintains active sessions during short network interruptions, allowing work to continue after reconnection.
- Local Device Mapping: Connects local printers, USB drives, and local hard drives inside remote sessions.
- HDX Multimedia Optimization: Enhances audio, video, and graphics performance during application use.
- Universal Workspace Interface: Keeps the same workspace layout across different devices and operating systems.
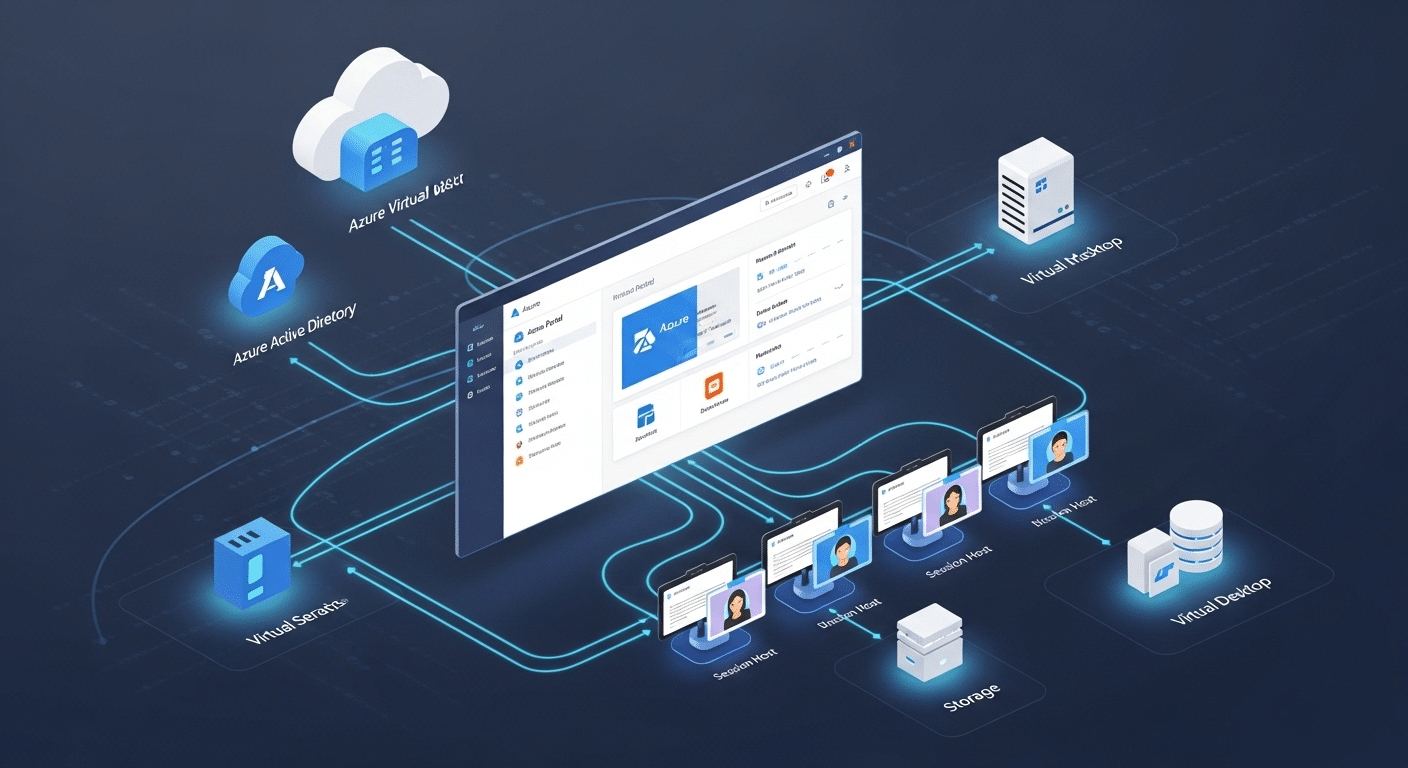
How Does the Citrix Client Fit into the Citrix Virtualization Ecosystem?
A Citrix client rarely works alone. It sits at the edge of a much larger system designed to deliver applications and desktops from centralized infrastructure. Think of it as the front door. You open the client, authenticate, and the rest of the Citrix environment takes over behind the scenes.
The basic flow looks like this. Your device launches the Citrix client. The client connects through a secure gateway. From there, the request reaches the organization’s virtualization platform, where the applications or desktops actually run.
Only the screen updates travel back to you. The architecture often includes several Citrix technologies working together.
At the core sits Citrix Virtual Apps and Desktops, which hosts the applications and desktop environments delivered to users. These workloads run inside virtual machines created by a virtualization layer such as Citrix Hypervisor. That hypervisor manages how computing resources are shared across servers.
Security and device management enter the picture as well. Citrix Endpoint Management helps administrators control how devices connect and what resources they can reach. Meanwhile, Citrix Analytics monitors user behavior and system activity, giving IT teams insights into performance and potential security risks.
Traffic moving through the environment is often handled by Citrix ADC, an application delivery controller responsible for optimizing and securing connections between users and backend systems.
Put together, this ecosystem allows administrators to manage applications centrally while users access them from almost anywhere.
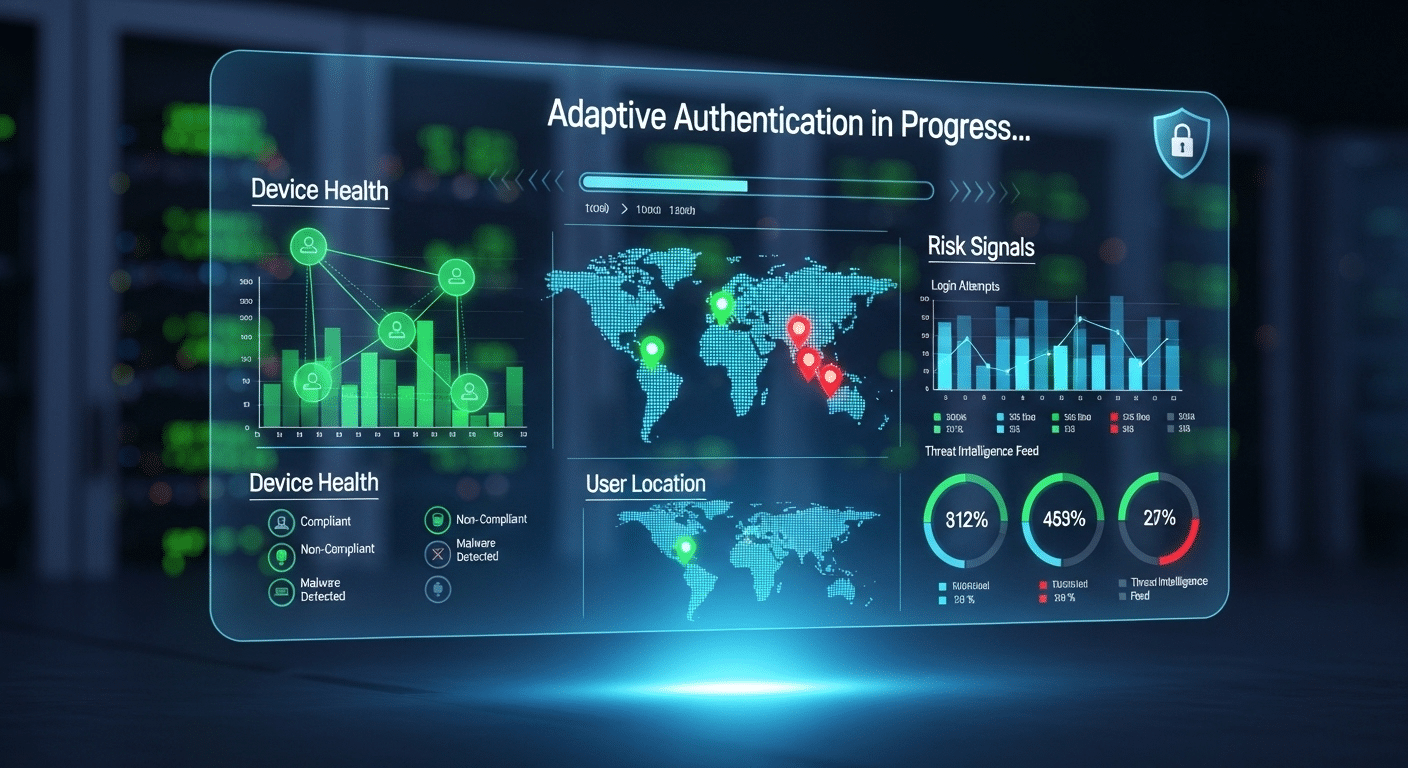
How Does the Citrix Client Keep Corporate Data Secure?
Security sits at the heart of the Citrix architecture. When you connect through a Citrix client, the system is designed so that applications and files remain inside controlled infrastructure rather than spreading across individual devices. This approach helps organizations reduce risk, especially when employees work from personal laptops, tablets, or other unmanaged systems.
In most deployments, applications run in centralized environments such as company data centers or cloud platforms. Your device does not store the actual application or most of the data. Instead, it receives a visual stream of the application interface.
Commands travel back to the server, which processes them securely. This method limits the exposure of sensitive data and reduces the chances of files being copied or downloaded to unprotected machines.
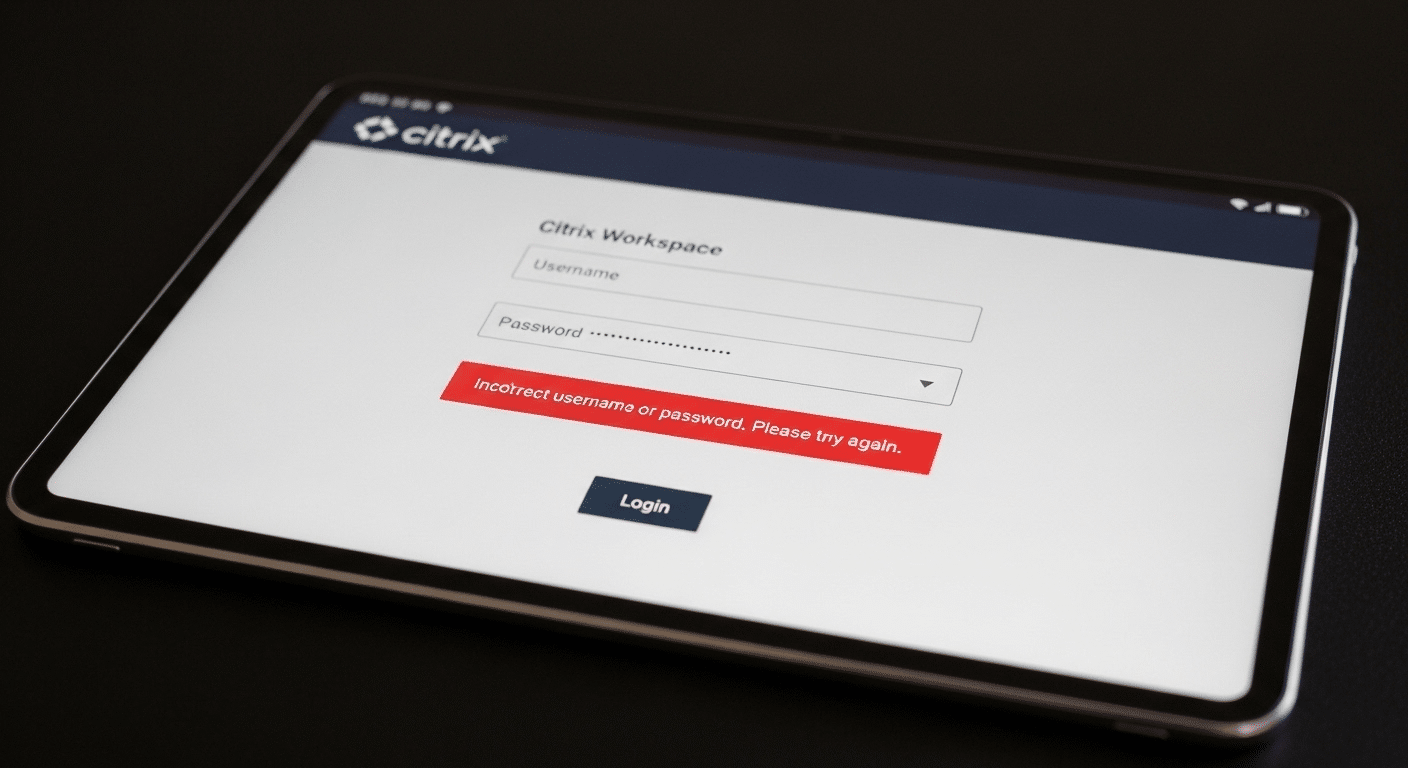
Authentication also plays a big role. Organizations typically combine passwords with additional verification methods before granting secure access to applications. These Citrix secure controls help confirm the identity of the user before the connection begins.
Security protections inside Citrix client environments
- Centralized Data Storage: Applications and files remain inside secure data centers rather than being stored on local devices.
- Secure Authentication: Supports multi factor authentication and adaptive login policies.
- App Protection: Blocks keylogging attempts and prevents screen capture malware.
- Citrix Gateway Security: Protects remote sessions before users reach internal systems.
- Endpoint Control Policies: Administrators manage how devices interact with applications and company data.
Where Are Citrix Clients Typically Deployed?
Citrix client software is flexible. That flexibility is one of the reasons organizations have used Citrix for decades. The client itself simply connects users to applications, but those applications can live in several different environments depending on how the company designs its infrastructure.
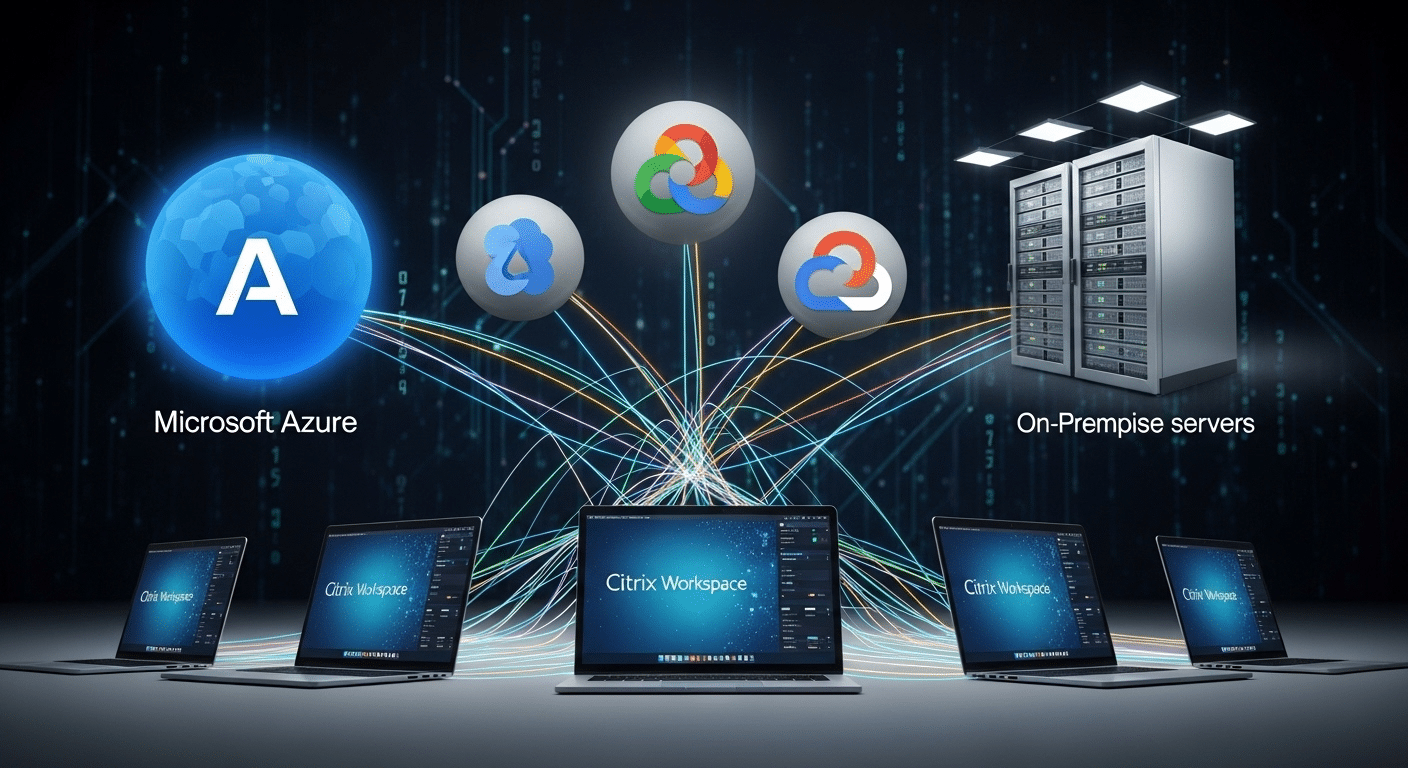
Some organizations keep everything inside their own on premises data centers, especially when strict security or compliance rules apply. Others rely on cloud computing platforms to host applications and desktops so they can scale quickly and support remote teams.
Public cloud providers such as Microsoft Azure and Google Cloud make it easier to deliver virtual desktops without maintaining large server farms. In many cases, businesses choose a hybrid approach. Part of the environment runs in local infrastructure, while other workloads operate in the cloud.
Citrix also offers Citrix DaaS, which allows organizations to deliver desktops and applications through a managed cloud service rather than maintaining complex virtualization systems internally.
| Environment | Description |
|---|---|
| On-Premises Infrastructure | Applications hosted inside corporate data centers |
| Cloud Platforms | Citrix deployed on Microsoft Azure or Google Cloud |
| Hybrid Infrastructure | Combination of cloud and on-prem systems |
| Citrix DaaS | Desktop as a Service delivered through Citrix cloud |
What Are the Limitations of Citrix Client Environments?
Citrix technology delivers powerful virtualization capabilities, but organizations often encounter several challenges when deploying and maintaining these environments. Most of these limitations relate to infrastructure complexity, ongoing administration, and the technical requirements needed to support large numbers of users.
- Client Installation Requirements: Users usually need to install the Citrix Workspace app on their device before accessing applications or desktops, which can create setup friction for new users or unmanaged devices.
- Infrastructure Complexity: A full Citrix infrastructure typically includes virtualization servers, gateways, networking components, and security systems, making deployment and configuration technically demanding.
- Network Dependency: Performance depends heavily on internet bandwidth and latency. Poor network connections can lead to slow application response times or lag during remote sessions.
- Administrative Overhead: IT teams must continuously manage system updates, security patches, user permissions, and compatibility across multiple devices and operating systems.
- Licensing Costs: Enterprise deployments often require multiple licensing layers along with hardware or cloud resources, which can increase the overall cost of maintaining the environment.
How Browser-Based Workspaces Are Simplifying Remote Application Access?
Over the past few years, many organizations have started exploring a simpler way to deliver applications. Instead of relying on heavy client software and layered virtualization stacks, newer platforms allow users to access desktops and apps directly through a web browser.
In these environments, the browser becomes the workspace. Applications still run on centralized servers or cloud platforms, but users no longer need to install dedicated client software to reach them. A secure login opens the session and the interface appears instantly in the browser window.
This cloud native workspace approach reduces several common friction points. Fewer installations mean fewer compatibility issues across devices. IT teams spend less time maintaining endpoint software. And deployments become much faster because the infrastructure is easier to scale.
The result is a lighter model for remote application access. Systems remain centralized, security controls stay intact, but the experience becomes easier to deliver and simpler for users to adopt.
Why Apporto Offers a Simpler Alternative to Traditional Citrix Clients?
Traditional Citrix environments can deliver powerful virtualization capabilities, but they often require layered infrastructure, client installations, and ongoing maintenance. Newer platforms are moving toward simpler delivery models. This is where browser based virtual desktops enter the picture.
Apporto focuses on reducing complexity while still providing secure remote access to applications and desktops. Instead of installing a dedicated client, users connect through a standard web browser.
The applications run in secure cloud environments, while the user interacts with them through the browser interface. The result is a cleaner setup for both users and administrators.
- Browser Based Access
- Centralized Applications
- Simplified Infrastructure
- Secure Application Delivery
Final Thoughts
So, what is a Citrix client? It’s the software that allows you to securely access applications and desktops running on remote infrastructure. Instead of installing everything on your local machine, the Citrix client connects your device to centralized systems where the applications actually live.
For many organizations, this model remains essential. It allows employees to connect to virtual desktops, run business applications, and work from different locations while keeping corporate systems protected. That’s why Citrix environments continue to appear across large enterprises and IT-driven organizations.
At the same time, the technology behind remote access keeps evolving. Newer browser-based platforms now simplify how users connect to applications, reducing the need for traditional client installations while still maintaining secure, centralized control over company resources.
Frequently Asked Questions (FAQs)
1. What is a Citrix client used for?
A Citrix client is software that allows users to access applications and desktops hosted on remote servers. Instead of running programs locally, the client connects your device to centralized infrastructure where applications are securely delivered.
2. Is Citrix Workspace the same as Citrix Receiver?
Citrix Workspace App is the newer version of Citrix Receiver. Citrix rebranded the software to provide a unified platform where users can access virtual apps, desktops, and company resources from one centralized interface.
3. Do you need to install a Citrix client to access virtual desktops?
In most environments, yes. Users typically install the Citrix Workspace App on their device to connect to virtual desktops and applications. Some environments also support browser-based access, which removes the need for installing client software.
4. How does Citrix client connect to remote servers?
The Citrix client establishes a secure connection to remote infrastructure using specialized protocols such as ICA and HDX. These technologies transmit keyboard input, mouse movement, and screen updates between the user device and server.
5. Can Citrix clients work on mobile devices?
Yes, Citrix clients support many platforms including smartphones and tablets. The Citrix Workspace App is available for iOS and Android devices, allowing users to securely access applications and desktops from mobile devices.
6. Is Citrix secure for remote work?
Citrix environments include multiple security features such as encrypted connections, multi-factor authentication, and centralized data storage. These controls help protect sensitive corporate information while allowing employees to access applications remotely.
7. What protocol does Citrix use to deliver applications?
Citrix primarily uses the Independent Computing Architecture, ICA, protocol along with HDX technology. These protocols transmit application visuals and user inputs efficiently so remote applications appear responsive even across slower network connections.