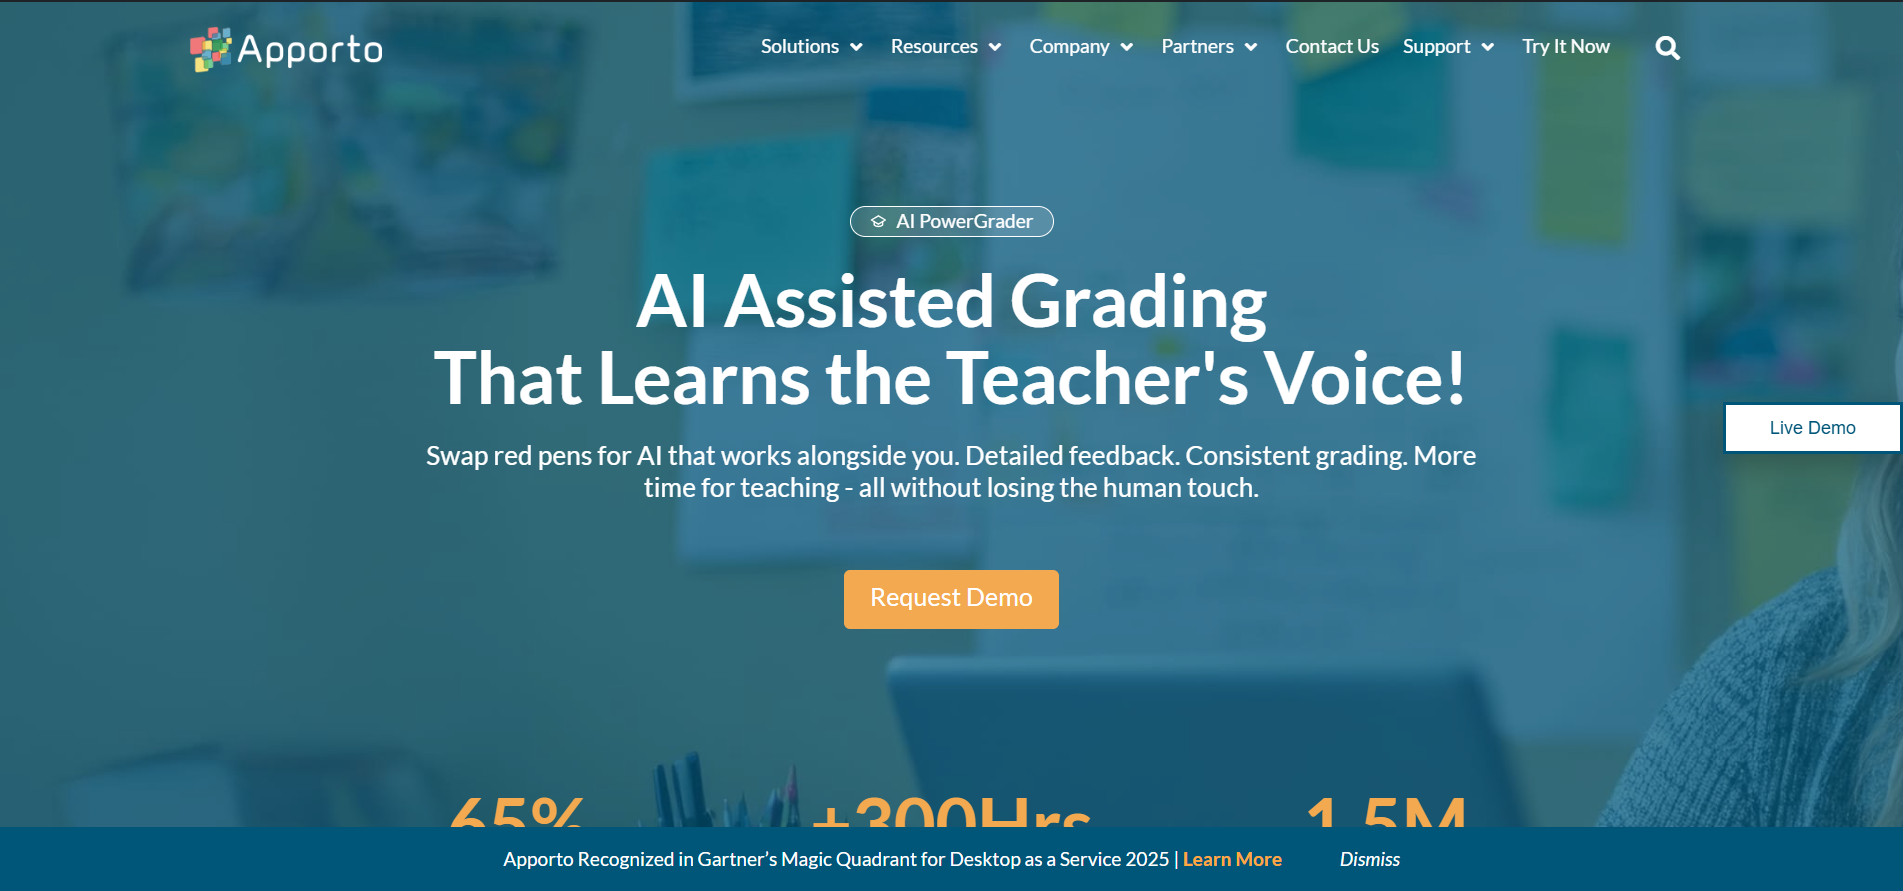
What Is the Difference Between Apporto PowerGrader and Packback?
Apporto PowerGrader and Packback support different stages of learning. Apporto PowerGrader helps higher education instructors grade essays and programming assignments faster with AI-assisted, rubric-based feedback, while Packback improves student engagement through AI-powered discussions and writing guidance before assignments are submitted.
Artificial intelligence is becoming a practical part of higher education, helping educators improve grading, feedback, and student learning without adding more administrative work. Yet, not every AI platform solves the same challenge.
Some focus on AI-assisted grading, while others are designed to increase student engagement through meaningful discussions and writing support. Apporto PowerGrader and Packback represent these two distinct approaches. One streamlines rubric-based assessment and reduces grading time, while the other encourages critical thinking before assignments are submitted.
In this blog post, you’ll compare their AI capabilities, feedback quality, teaching workflows, pricing, and ideal use cases to determine which platform best aligns with your educational goals.
What Are Apporto PowerGrader and Packback, & How Do They Differ?

Although Apporto PowerGrader and Packback both use artificial intelligence to support higher education, they address different stages of the learning process. Understanding that distinction is the first step toward choosing the platform that best fits your instructional goals.
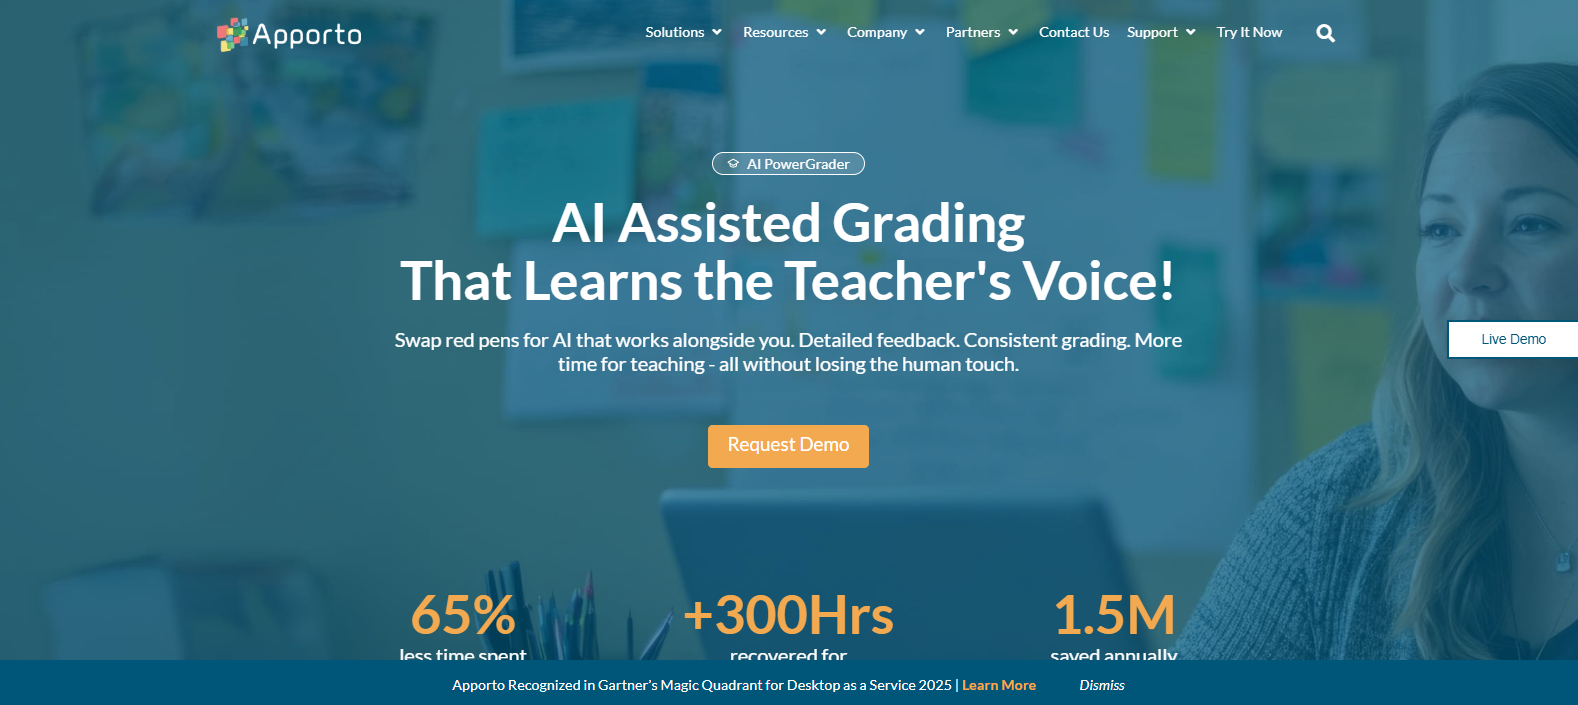
Apporto PowerGrader is an AI-assisted grading tool built to help instructors evaluate student work more efficiently. It automates repetitive grading tasks, generates rubric-aligned scores and personalized feedback, and integrates with learning management systems like Canvas.
Instead of replacing instructor judgment, it assists you by reducing grading time while maintaining consistency across written and structured assignments.
Packback, by contrast, is an AI-powered discussion platform designed to improve how students learn before grading even begins. Through inquiry-based discussions, real-time writing guidance, and AI moderation, it encourages students to ask stronger questions, support their ideas with credible sources, and think more critically. The platform is widely used in higher education to increase classroom participation and strengthen writing skills.
The biggest difference lies in their primary objective. PowerGrader focuses on grading efficiency, helping faculty evaluate assignments faster with consistent, rubric-based assessments.
Packback focuses on student engagement, creating an environment where meaningful discussions and formative feedback improve the quality of student submissions before instructors assign a final grade.
That difference also shapes how each platform fits into your teaching workflow. If you spend significant time grading essays, reports, or technical assignments, PowerGrader helps streamline the evaluation process.
If your goal is to encourage richer classroom discussions, improve critical thinking, and increase participation throughout the course, Packback becomes a valuable learning tool.
Ultimately, these platforms are not direct replacements for one another. They solve complementary challenges within higher education, one improves assessment after submission, while the other enhances learning before submission. The following sections examine those differences in greater detail.
Platform Overview Comparison
| Feature | Apporto PowerGrader | Packback |
|---|---|---|
| Primary purpose | AI-assisted grading and grading automation | AI-powered discussion platform that promotes inquiry-based learning |
| Best for | Efficient grading of essays, written work, and structured assignments | Increasing student engagement, writing quality, and classroom discussions |
| AI functionality | Rubric-aligned grading, personalized feedback, grading assistance | AI moderation, writing guidance, discussion coaching, and formative feedback |
| Student engagement | Indirectly improves learning through faster, consistent feedback | Primary focus through interactive discussions and critical thinking activities |
| Written assignments | Supports essays, short answers, programming assignments, and other text-based assessments | Helps students strengthen written responses before final submission |
| Discussion platform | No, primarily designed for grading workflows | Yes, built specifically for academic discussions and inquiry-based learning |
| Personalized feedback | AI-assisted, rubric-aligned feedback reviewed by instructors | Real-time writing suggestions that help students improve before submission |
| Higher education use | Designed for colleges and universities seeking grading efficiency | Trusted by more than 600 higher education institutions to improve engagement and learning |
How Does Each Platform Use Artificial Intelligence to Improve Learning?

Artificial intelligence can improve education in different ways, depending on where it fits into the learning process. Some platforms use AI to make grading faster and more consistent, while others use it to help students think more critically before they submit their work.
Apporto PowerGrader and Packback represent these two approaches, each designed to solve a different educational challenge.
Apporto PowerGrader applies AI-assisted grading to evaluate student work against instructor-defined rubrics. Instead of manually reviewing every response from scratch, you receive AI-generated scoring recommendations and personalized feedback that align with your grading criteria.
The platform adapts to instructor preferences over time, helping produce more consistent evaluations while reducing repetitive grading tasks. Importantly, AI serves as an assistant, not a decision-maker. Instructors review, edit, and approve every grade before it is released.
Packback uses AI much earlier in the learning journey. As an AI-powered discussion platform, it provides real-time feedback while students are writing discussion posts and responses. Rather than waiting for instructor comments after submission, students receive guidance that encourages them to improve clarity, strengthen arguments, cite credible sources, and ask more thoughtful questions. This continuous support promotes formative feedback, allowing learners to revise their work before it contributes to the final grade.
Packback also uses AI moderation to maintain respectful, high-quality discussions. In addition, its AI-generated content detection and academic integrity features help educators identify potential plagiarism or AI-written submissions, supporting more authentic student work.
The difference is ultimately one of timing. PowerGrader improves learning by making assessment faster and more consistent after work is submitted. Packback improves learning before grading begins by helping students produce stronger, more thoughtful responses from the start.
Which Platform Creates Better Student Engagement and Critical Thinking?

Student learning extends beyond completing assignments. It also depends on how actively students engage with course material, participate in discussions, and develop the confidence to think independently. This is where the differences between Apporto PowerGrader and Packback become especially clear.
Packback is purpose-built to increase student engagement through inquiry-based discussions. Instead of simply responding to prompts on a traditional discussion board, students are encouraged to ask meaningful questions, support their ideas with credible evidence, and engage thoughtfully with their classmates.
This approach naturally strengthens critical thinking skills while making classroom interaction more engaging. In fact, Packback reports that students post 2X more source citations than those using standard LMS discussion tools, and more than 55% of students say the platform improves their writing confidence.
Apporto PowerGrader contributes to learning in a different way. Its primary focus is assessment after submission, helping instructors deliver faster, more consistent, and personalized feedback.
While that feedback supports learning and helps students improve over time, the platform is not designed to facilitate ongoing discussions or increase participation during the learning process.
Student Learning Comparison
| Learning Area | Apporto PowerGrader | Packback |
|---|---|---|
| Student engagement | Improves learning through timely, personalized feedback | Primary focus through AI-powered discussions and active participation |
| Critical thinking | Encouraged through instructor feedback after grading | Promotes inquiry-based learning and critical thinking throughout the course |
| Discussion quality | Not designed as a discussion platform | AI moderation encourages thoughtful, evidence-based discussions |
| Writing confidence | Improves through detailed rubric-aligned feedback | Over 55% of students report greater writing confidence |
| Participation | Supports assessment after submission | Encourages consistent classroom interaction and discussion participation |
| Learning outcomes | Stronger grading consistency and actionable feedback | Stronger engagement, curiosity, and collaborative learning before assessment |
Which Platform Provides Better Feedback for Written Assignments?

The quality of feedback often has a greater impact on student learning than the grade itself. When students understand why they earned a particular score and how they can improve, they are more likely to produce stronger work on future assignments.
Although both Apporto PowerGrader and Packback support written assignments, they provide feedback at different stages of the writing process.
Apporto PowerGrader delivers feedback after submission. It evaluates essays, short answers, and other text-based assignments using instructor-defined rubrics, generating rubric-aligned feedback and personalized comments for every student.
Instead of spending hours writing similar remarks, instructors receive AI-assisted recommendations that they can review, edit, and approve before assigning a final grade. This approach creates consistent evaluations while reducing grading effort.
Packback takes a formative approach by offering feedback before submission. As students write discussion posts and responses, the platform provides suggestions on writing quality, grammar, clarity, word count, and supporting evidence.
This allows students to revise their work before it is graded, helping them build stronger writing habits over time rather than simply correcting mistakes afterward.
The difference comes down to the purpose of the feedback. Packback focuses on helping students improve while they are writing, whereas PowerGrader helps instructors deliver fair, consistent, and detailed evaluations once the work has been submitted.
Feedback Comparison
| Feedback Feature | Apporto PowerGrader | Packback |
|---|---|---|
| Feedback timing | Provides detailed feedback after assignment submission as part of the grading process | Delivers real-time feedback while students are writing, before submission |
| Personalized feedback | AI-assisted, rubric-aligned feedback customized to each student’s work | Writing guidance tailored to improve clarity, evidence, and overall quality |
| Instructor review | Instructors review, edit, and approve AI-generated comments before publishing grades | Students revise their work using AI suggestions before instructor evaluation |
| Assessment approach | Primarily supports summative feedback through consistent rubric-based grading | Focuses on formative feedback that helps students improve before grading |
| Comment support | AI-generated recommendations and a comment library reduce repetitive grading while maintaining consistency | Real-time suggestions replace repetitive instructor corrections during drafting |
| Writing improvement | Helps students learn from detailed evaluations after grading | Encourages continuous writing improvement through revisions before final submission |
Which Platform Saves More Time for Instructors?

Reducing the time spent grading is one of the biggest reasons institutions invest in AI-powered education tools. Every hour spent reviewing assignments is time that could be used for teaching, mentoring students, or preparing future lessons. Both Apporto PowerGrader and Packback improve instructor productivity, but they save time in different parts of the academic workflow.
Apporto PowerGrader focuses on grading automation. Using AI-assisted evaluation, it scores assignments against instructor-defined rubrics, generates detailed feedback, and prepares grading recommendations for instructor review.
Instead of evaluating every response manually, you review AI-generated suggestions before approving the final grade. According to Apporto, this workflow can reduce grading time by up to 75%, making it particularly valuable for large classes with frequent written assignments.
Packback approaches efficiency from the opposite direction. Rather than automating grading itself, it helps students submit stronger work by providing writing guidance before submission.
Because assignments are generally better organized and require fewer revisions, instructors spend less time correcting common writing issues. Packback reports that educators save approximately 30% grading time per essay, allowing faculty to focus more on higher-level feedback instead of basic corrections.
Research surrounding automated grading also supports the broader value of AI in education. Modern grading tools consistently reduce repetitive administrative work while maintaining instructor oversight. The result is a more efficient workflow without removing educators from the decision-making process.
The productivity benefits extend beyond grading.
- PowerGrader reduces grading time by up to 75% through AI-assisted scoring, rubric-aligned feedback, and instructor review.
- Packback saves approximately 30% grading time per essay by helping students improve their writing before submission.
- Auto grading reduces repetitive tasks, allowing instructors to spend less time on manual evaluation and more time supporting student learning.
- Workflow improvements simplify assignment review, feedback delivery, and grade management.
- Faculty workload becomes more manageable, especially in large enrollment courses with hundreds of submissions.
- Time saved can be invested in lesson preparation, curriculum development, office hours, and student mentoring instead of repetitive grading.
Ultimately, both platforms improve efficiency. If your greatest challenge is grading large volumes of assignments, PowerGrader delivers the greater time savings. If your priority is reducing writing corrections before grading begins, Packback offers meaningful improvements to the overall teaching workflow.
Which Platform Better Supports Academic Integrity and AI Detection?

Maintaining academic integrity has become more challenging as AI writing tools become increasingly common in higher education. Educators need confidence that student submissions reflect original thinking while also preserving trust within the classroom. Although both Apporto PowerGrader and Packback contribute to quality assurance, they do so in different ways.
Packback places a stronger emphasis on integrity during the writing process. The platform includes AI-generated text detection, plagiarism checks, and AI moderation to help identify potentially unoriginal work before it becomes part of the learning record. These features encourage original writing while supporting instructors in maintaining fair academic standards.
Apporto PowerGrader approaches integrity through human review. While it uses AI to evaluate assignments and generate grading recommendations, instructors remain responsible for reviewing, editing, and approving every score and comment before releasing the final grade.
This instructor oversight ensures that AI supports, rather than replaces, academic judgment. Together, these workflows help institutions balance efficiency with accountability.
Integrity Comparison
| Integrity Feature | Apporto PowerGrader | Packback |
|---|---|---|
| AI detection | Relies primarily on instructor oversight during grading | Includes AI-generated text detection to identify potentially AI-written content |
| Plagiarism support | Depends on institutional workflows and integrated tools | Includes plagiarism and originality checks to support authentic submissions |
| Instructor approval | Instructors review and approve all AI-generated grading recommendations | Instructors review flagged content and student work before grading |
| Academic integrity | Promotes fairness through human review and rubric-based evaluation | Strong focus on academic integrity with AI moderation and originality tools |
| Submission review | AI assists evaluation after submission with instructor oversight | Reviews submissions for originality and writing quality before instructor assessment |
Which Platform Fits Better into Your Existing Teaching Workflow?

A grading platform should complement your existing teaching workflow instead of creating extra administrative work. Both Apporto PowerGrader and Packback integrate with learning management systems, but they support different stages of the instructional process.
Apporto PowerGrader is built around grading efficiency. It offers Canvas integration, broad LMS compatibility, grade passback, and grade synchronization, allowing instructors to review student submissions, approve AI-generated feedback, and publish grades without leaving their LMS.
This seamless workflow reduces manual tasks for faculty and improves administrative efficiency across departments.
Packback fits naturally into courses centered on discussions and collaborative learning. It integrates with major LMS platforms, supports Single Sign-On, and simplifies the management of discussion activities and group submissions.
The platform is also designed for straightforward institutional deployment, making it easier for administrators to implement across multiple courses while giving instructors the tools they need to encourage participation and writing development.
Workflow Comparison
| Workflow Feature | Apporto PowerGrader | Packback |
|---|---|---|
| LMS integration | Integrates with Canvas and major learning management systems for streamlined grading | Integrates with leading LMS platforms for discussion and assignment management |
| Canvas | Direct Canvas integration for assignment submissions and grading workflows | Supports Canvas integration for course access and discussion activities |
| Grade passback | Automatically synchronizes approved grades with the LMS | Supports grade synchronization through LMS integrations where available |
| Single Sign-On | Supports secure institutional authentication | Supports Single Sign-On for faculty and students |
| Deployment | Designed for fast institutional implementation with minimal workflow disruption | Built for scalable deployment across departments with easy course setup |
How Do Pricing and Long-Term Value Compare?

Pricing is only one part of the decision when evaluating educational technology. You should also consider how much time the platform saves, how easily it fits into existing workflows, and the value it delivers over multiple semesters.
Both Apporto PowerGrader and Packback primarily serve colleges and universities through custom pricing and enterprise licensing, allowing institutions to choose plans based on their size and implementation needs.
Neither platform emphasizes low-cost, self-service paid plans for enterprise customers. Instead, pricing is typically determined through institutional purchasing.
When evaluating long-term ROI, PowerGrader delivers value by reducing grading time and improving operational efficiency, while Packback creates value by increasing student engagement, strengthening writing skills, and supporting critical thinking.
Looking beyond the subscription cost helps institutions select the platform that best aligns with their educational priorities.
Pricing Comparison
| Pricing Area | Apporto PowerGrader | Packback |
|---|---|---|
| Pricing model | Custom pricing tailored to institutional requirements | Custom institutional pricing based on implementation needs |
| Public pricing | No publicly available pricing | No standard public pricing for institutional plans |
| Enterprise licensing | Enterprise licensing for colleges and universities | Enterprise licensing for higher education institutions |
| Best fit | Institutions seeking AI-assisted grading, grading efficiency, and long-term productivity gains | Institutions focused on student engagement, inquiry-based learning, and writing improvement |
Why Is Apporto PowerGrader the Better Choice for AI-Assisted Grading?
If your primary objective is to improve grading quality while reducing faculty workload, Apporto PowerGrader is the stronger choice. Unlike platforms that focus on discussions before submission, PowerGrader is purpose-built for AI-assisted grading, helping instructors evaluate essays, technical assignments, and other written work with greater speed and consistency.
The platform generates rubric-aligned feedback and personalized feedback based on instructor-defined grading criteria. Instead of replacing educators, it supports them by automating repetitive grading tasks while keeping every grading decision under instructor control. Combined with LMS integration, this creates a smoother workflow from assignment submission to grade passback.
For institutions looking to improve grading accuracy and faculty efficiency, PowerGrader delivers practical value that extends beyond automation. Try Apporto PowerGrader Now.
Frequently Asked Questions (FAQs)
1. Is Apporto PowerGrader better than Packback?
It depends on your institution’s priorities. Apporto PowerGrader is better for AI-assisted grading, grading automation, and rubric-based feedback, while Packback excels at increasing student engagement, improving writing skills, and encouraging inquiry-based discussions before assignments are submitted.
2. What is the biggest difference between Apporto PowerGrader and Packback?
The biggest difference is their purpose. Apporto PowerGrader is an AI-assisted grading platform that streamlines assessment and feedback after submission. Packback is an AI-powered discussion platform that helps students improve writing, critical thinking, and participation before grading begins.
3. Which platform is better for grading essays and written assignments?
Apporto PowerGrader is the better choice for grading essays, short answers, and other written assignments. It provides rubric-aligned, personalized feedback while reducing grading time. Packback improves writing before submission but is not designed as a dedicated grading platform.
4. Does Packback improve student engagement and critical thinking?
Yes. Packback encourages inquiry-based discussions that promote curiosity, classroom participation, and critical thinking. Its AI-powered feedback helps students ask stronger questions, support ideas with credible sources, and develop greater confidence in their writing throughout the course.
5. Can Apporto PowerGrader integrate with Canvas and other LMS platforms?
Yes. Apporto PowerGrader integrates with Canvas and other leading learning management systems. It supports assignment submissions, grade passback, and streamlined grading workflows, allowing instructors to manage assessments without disrupting their existing teaching process.
6. Which platform saves instructors more grading time?
Apporto PowerGrader offers greater grading efficiency, reducing grading time by up to 75% through AI-assisted evaluation and rubric-based feedback. Packback saves approximately 30% of grading time per essay by helping students improve their work before submission.
7. Does Packback include AI detection and academic integrity tools?
Yes. Packback includes AI-generated text detection, plagiarism support, and AI moderation to encourage original writing and maintain academic integrity. These features help instructors identify potentially unoriginal submissions while supporting fair and authentic assessment practices.
8. Which platform is the better choice for higher education institutions?
Both platforms serve higher education effectively, but the best choice depends on institutional goals. Packback is ideal for improving engagement and discussion-based learning, while Apporto PowerGrader is better for institutions seeking scalable AI-assisted grading, consistent assessments, and greater faculty productivity.