What Is Windows 11 Virtual Desktop?
Windows 11 Virtual Desktop lets you create multiple separate workspaces on one computer to organize apps, reduce clutter, and improve productivity. You can switch between desktops using Task View or shortcuts, while cloud platforms like Apporto extend virtual desktop flexibility across devices.
Managing multiple tasks on one screen can get messy fast. That’s where Windows 11 Virtual Desktop comes in. It lets you create separate digital workspaces—like having multiple monitors, but without the hardware.
Whether you want to separate personal apps from work tools or keep your documents and meetings in their own space, virtual desktops help you stay focused and reduce clutter.
With just a few clicks, you can switch between desktops, organize your open windows, and boost overall productivity.
In this guide, you’ll learn how to set up, customize, and use virtual desktops the smart way.
What Are Virtual Desktops in Windows 11 and Why Should You Use Them?
A virtual desktop in Windows 11 is like a blank slate for your screen. Instead of stacking every app and file on one desktop, you can spread them across multiple desktops, each acting as a separate workspace.
Think of it as dividing your digital life into different desktops—one for work, one for personal use, one for a focused project, or even one for gaming. It keeps everything tidy, makes switching tasks easier, and helps you stay organized.
These separate workspaces don’t share open windows or apps, which means you won’t be distracted by unrelated tasks while working. And the best part? You can move between them without closing anything.
If you often juggle documents, meetings, and browser tabs all at once, Windows 11 Virtual Desktop makes multitasking feel more natural—and much less chaotic.
How Do You Create and Access a New Virtual Desktop in Windows 11?
Creating a new virtual desktop in Windows 11 is quick and simple.
Here’s how to do it:
- Click the Task View icon
– Look for the two overlapping squares on your taskbar.
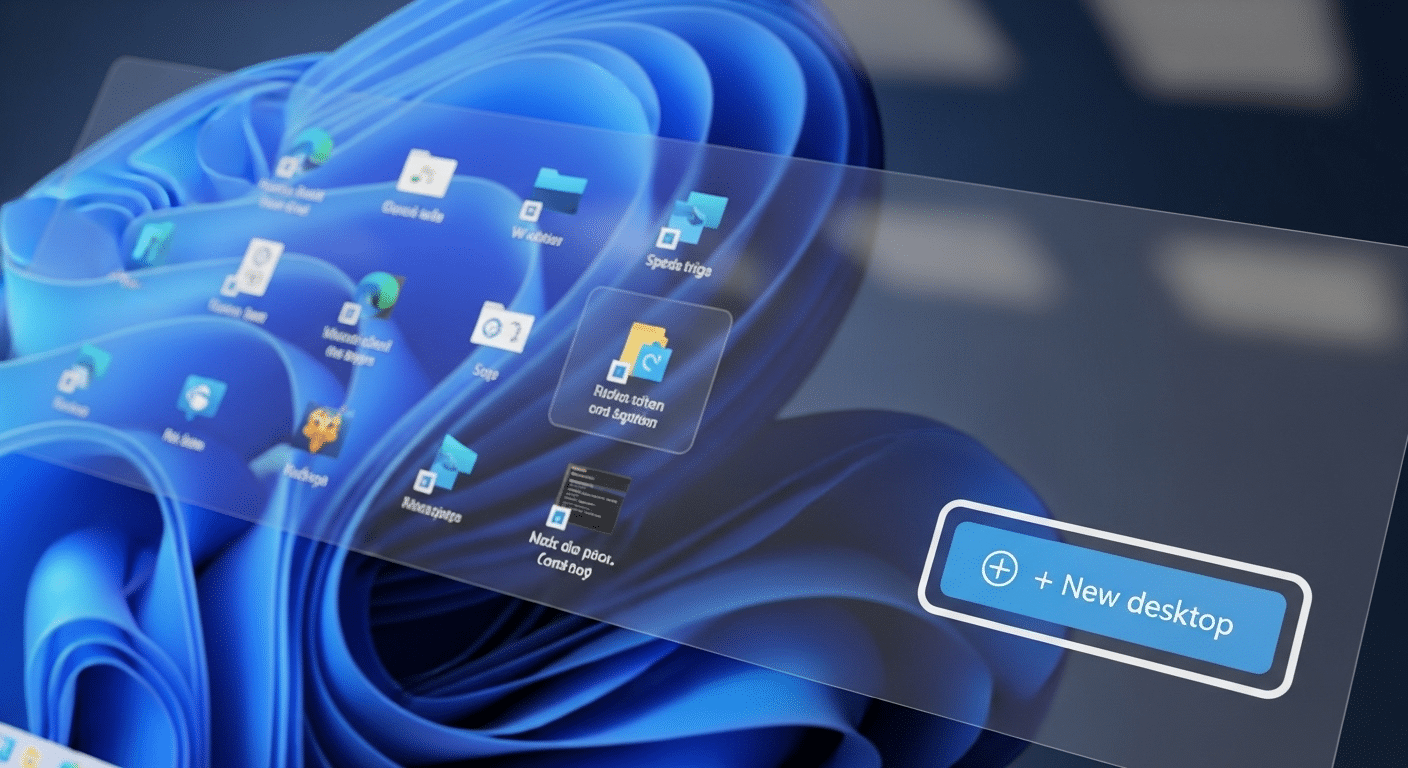
– Or press Windows key + Tab to open Task View. - Add a desktop
– In Task View, click “+ New desktop” at the top or side.
– This creates a blank desktop space with no open apps. - Switch between desktops
– Press Ctrl + Windows + Left/Right arrow to move through them quickly.
– Or open Task View again and click the one you want. - Rename or delete desktops
– In Task View, right-click a desktop thumbnail.
– Choose Rename to give it a custom label, or Delete to remove it.
You can keep desktops open for as long as needed and switch between them seamlessly.
How Do You Customize Backgrounds for Different Desktops?
Each virtual desktop can have its own desktop background, which helps you visually separate your different desktops. This is especially helpful when you’re switching between work, personal tasks, or study sessions.
Here’s how to do it:
- Open Task View and right-click on a desktop thumbnail.
- Select “Choose background”.
- Pick a solid color, a picture, or even a slideshow.
- Repeat for other desktops if needed.
Customizing your desktop background not only looks better, but it also improves your focus by giving each space a clear identity. It’s a simple way to organize your digital environment.
What Are the Best Shortcuts and Gestures to Switch Between Desktops Quickly?

Switching between virtual desktops doesn’t have to slow you down. With just a few keyboard and mouse tricks, you can quickly switch from one space to another and stay organized without lifting your hands from the keyboard.
Use these shortcuts:
- Ctrl + Windows + Left/Right arrow key – Move between desktops instantly.
- Ctrl + Windows + D – Create a new desktop on the fly.
- Ctrl + Windows + F4 – Close the current desktop.
You can also:
- Use Task View (Win + Tab) to see and drag open apps between desktops.
- Customize your taskbar settings to show apps from one desktop or all of them.
These small actions make it easier to manage your open apps and reduce clutter.
How Do Virtual Desktops Help Improve Focus and Productivity?
Virtual desktops are more than just a visual tool—they’re a strategy for better multitasking. By creating separate workspaces, you give each task its own space, making it easier to focus.
You might keep your documents, email, and meetings on one desktop, while using another for research or creative work. For gamers, it’s a way to switch between leisure and productivity without logging out or rearranging windows.
It also keeps your taskbar clean and organized—only showing open windows from the current desktop.
Combine this with snap layouts in Windows 11, and you’ve got a powerful way to boost productivity without buying a second monitor.
Can You Use Windows 11 Virtual Desktops with Cloud Services Like Azure Virtual Desktop?
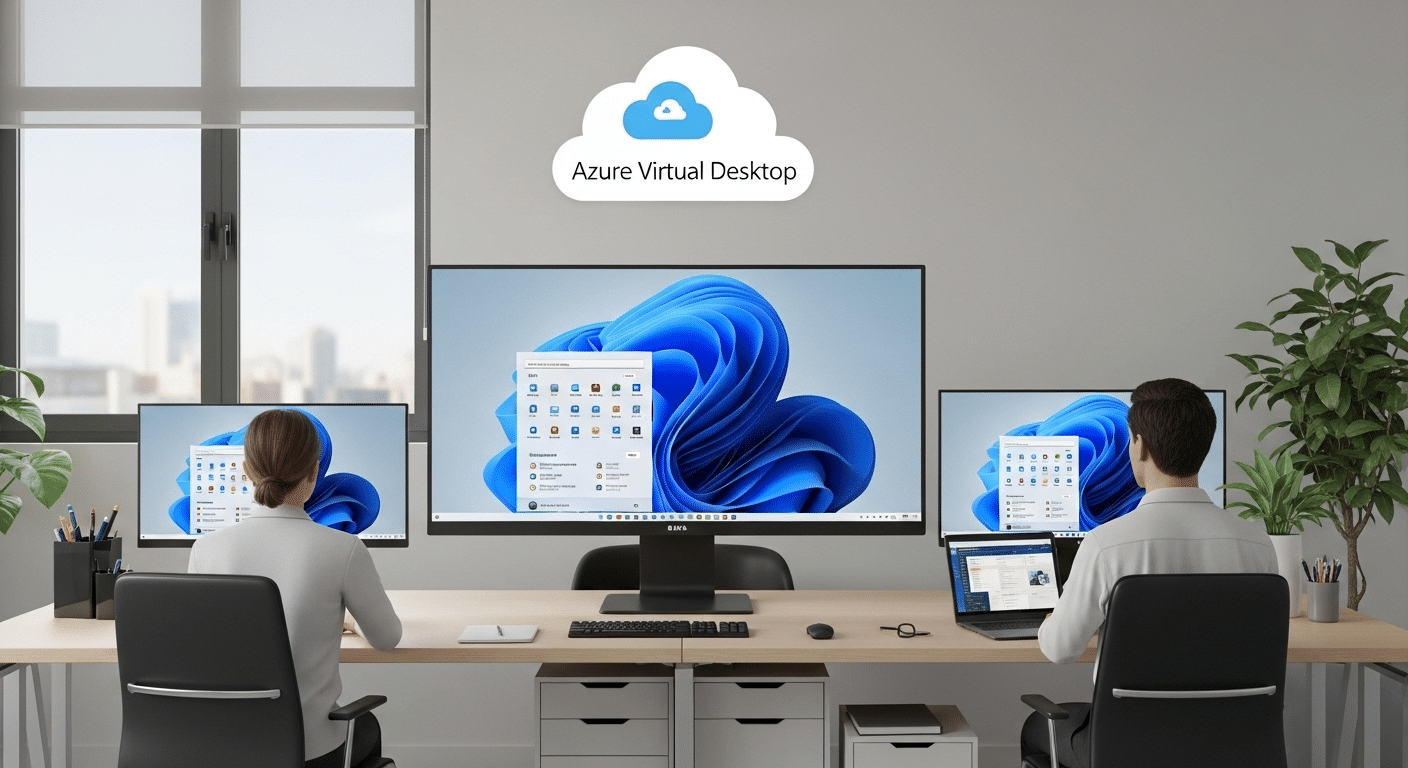
Yes, Windows 11 virtual desktops can work seamlessly with cloud-based services like Azure Virtual Desktop and Windows Virtual Desktop. These platforms let you deliver a full desktop experience to any device, even over a remote connection.
In an enterprise environment, this means users can log in from anywhere with full access to apps, files, and settings—while IT teams manage everything centrally. It supports modern PC deployment, improves security, and simplifies setup.
With Microsoft’s cloud services, you’re not tied to one machine. You get flexibility, scalability, and a consistent experience across multiple endpoints.
What Are Some Common Issues or Hidden Features in Windows 11 Virtual Desktop?
While Windows 11 Virtual Desktop is powerful, it isn’t perfect. You might notice occasional quirks—like desktop backgrounds resetting after a restart, or renamed desktops not saving. App placements may also shift when moving between screens, especially on a laptop or external monitor setup.
But there are hidden features that make up for it:
- Right-click a desktop in Task View to set a default one.
- Drag desktops to reorder them.
- Use search to find open windows across desktops.
These small, helpful tweaks can improve how your computer handles virtual workspaces—if you know where to look.
An Easier Virtual Desktop Solution: Apporto
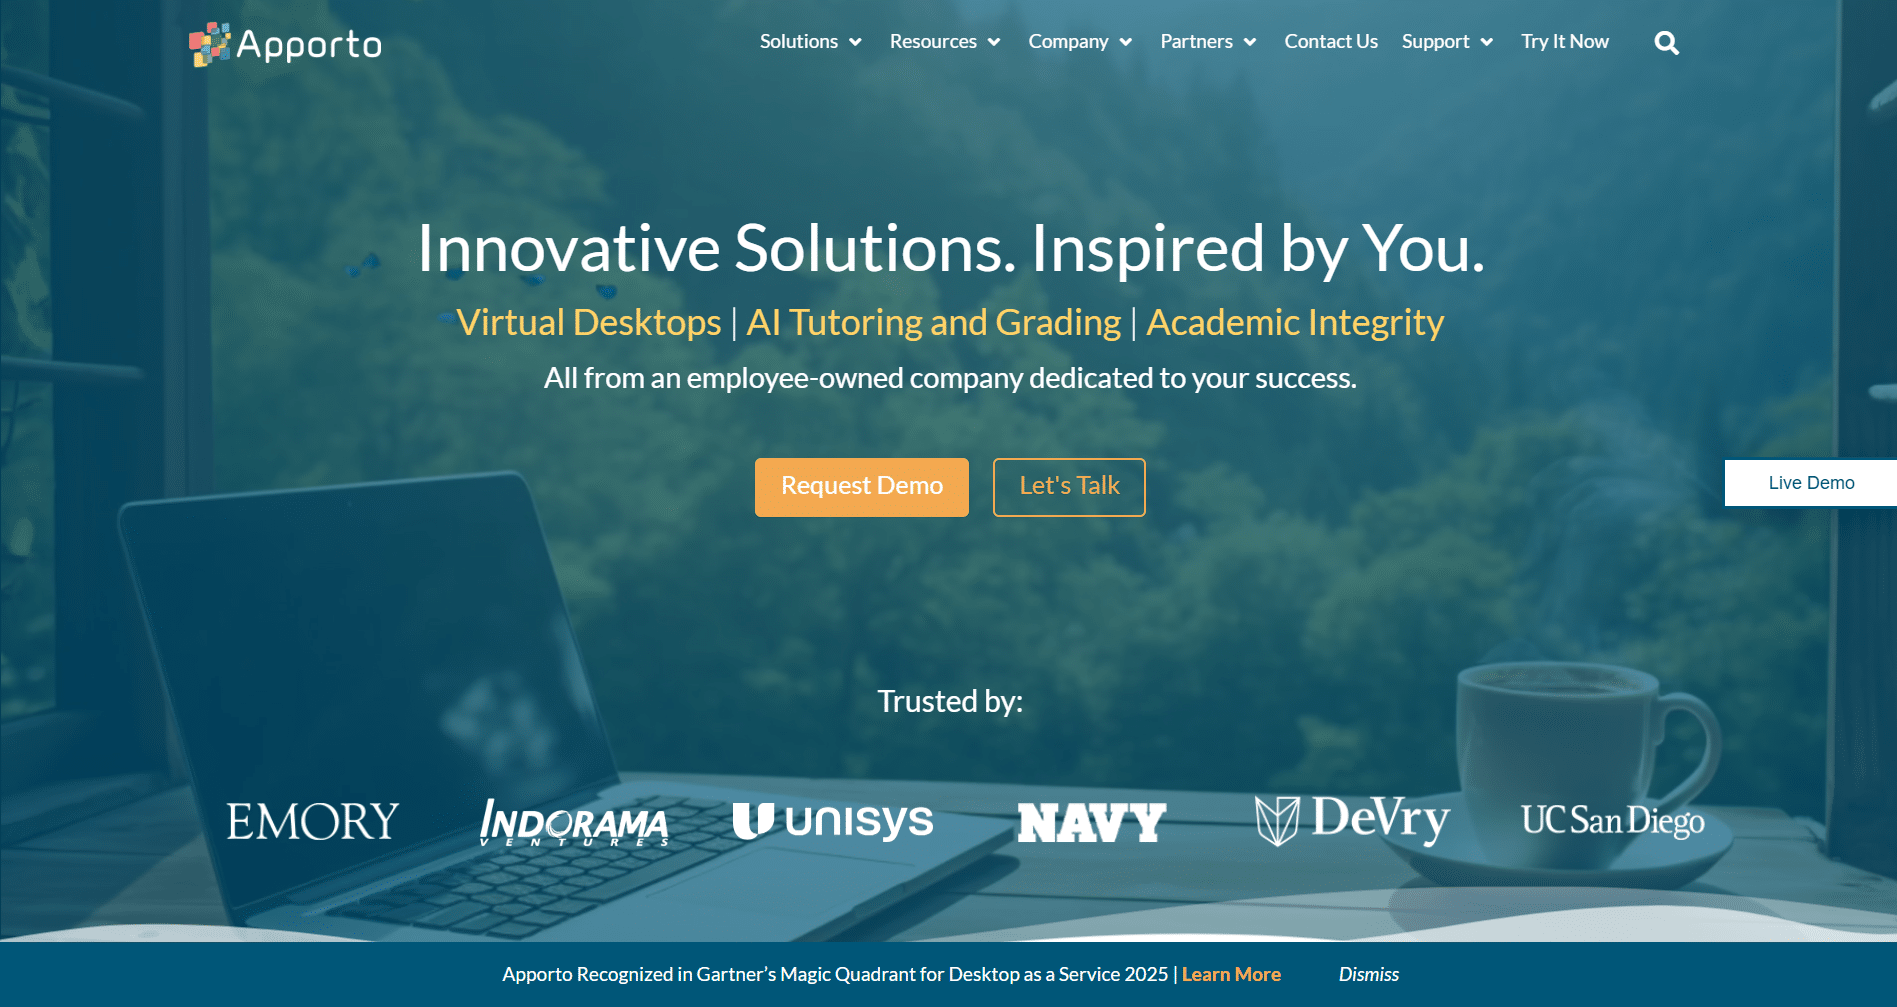
If you want the flexibility of virtual desktops without the manual setup, Apporto offers a fully managed cloud-based desktop experience. It works seamlessly on any device, giving your team secure access to apps and documents—without worrying about updates, storage, or configurations.
Whether you’re an educator, IT admin, or enterprise user, Apporto helps you stay productive and focused. It’s virtual desktops, minus the complexity.
Explore Apporto to streamline your workflow with fewer steps and better control.
Final Thoughts
If you’re looking to stay organized, focused, and in control of your digital workspace, Windows 11 virtual desktops are worth exploring. They let you customize your environment, separate tasks, and boost productivity—all without extra hardware.
Try creating a few desktops for your own workspaces. Move your apps around. Test what works best for your day-to-day.
With a little setup, you’ll find it’s a helpful way to make your personal computer more flexible and your mind a little clearer.
Frequently Asked Questions (FAQs)
3. How many virtual desktops can you have in Windows 11?
There’s no hard limit from Microsoft. You can create as many desktops as your PC can handle without slowing down. Performance depends on your system’s memory and workload.
4. Can you move apps between desktops?
Yes. Open Task View, then drag the app window from one desktop to another. It’s a quick way to rearrange your workspace without closing anything.
5. Do virtual desktops improve performance?
They don’t increase speed, but they improve your ability to focus. Keeping apps and tasks separated across desktops helps reduce clutter and distraction.
6. What happens to apps when you delete a desktop?
The apps stay open and automatically move to the previous desktop. Nothing is closed or lost—you just lose the extra workspace.
7. Can each desktop have its own taskbar layout?
Yes. In Taskbar settings, you can choose to show only the open apps from the current desktop for a cleaner view.
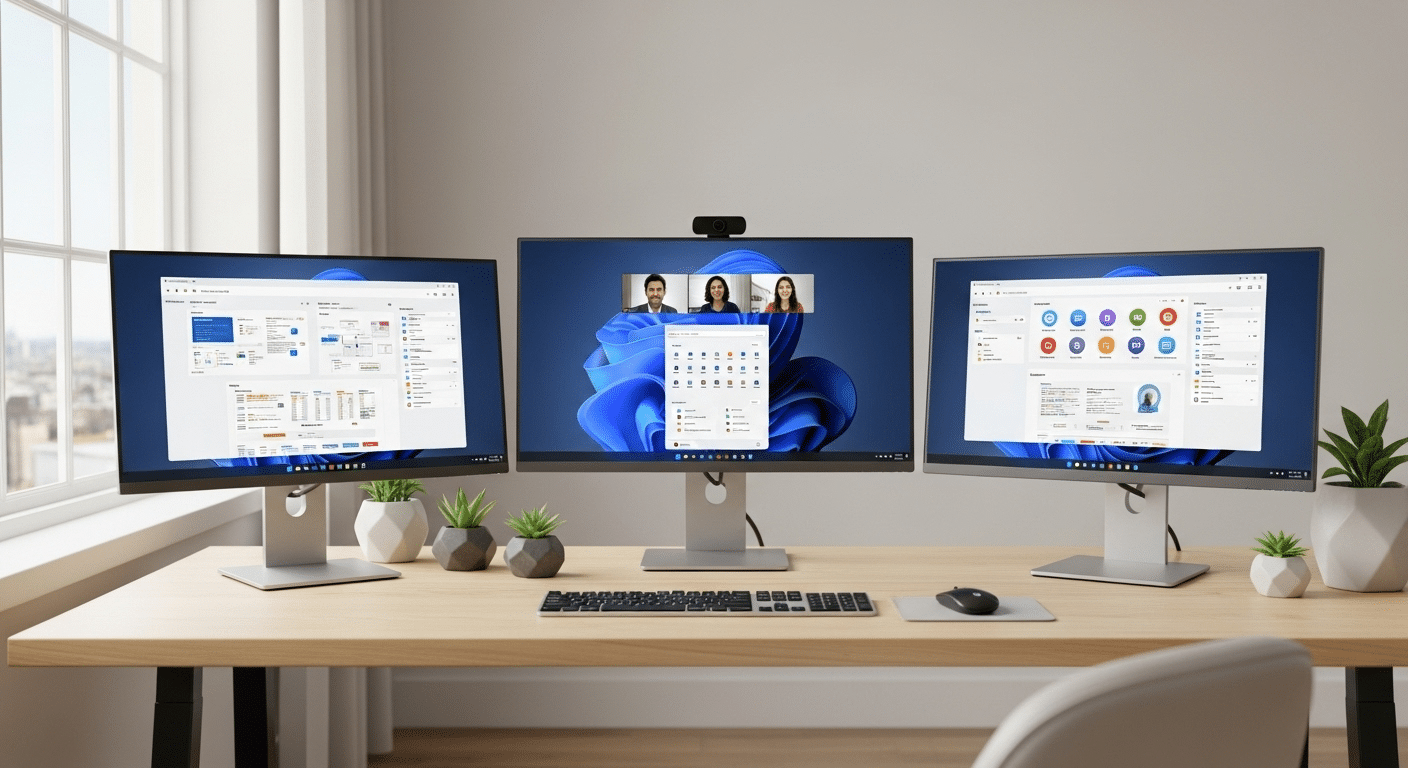
8. Can you have multiple monitors in a virtual desktop?
Yes, you can use multiple monitors with virtual desktops in Windows 11. Each desktop can span your monitor setup, letting you organize apps across screens, though desktop switching affects the full workspace rather than individual monitors separately.
